Post by dukemaddog on Sept 29, 2018 2:14:26 GMT
Now for Part II.
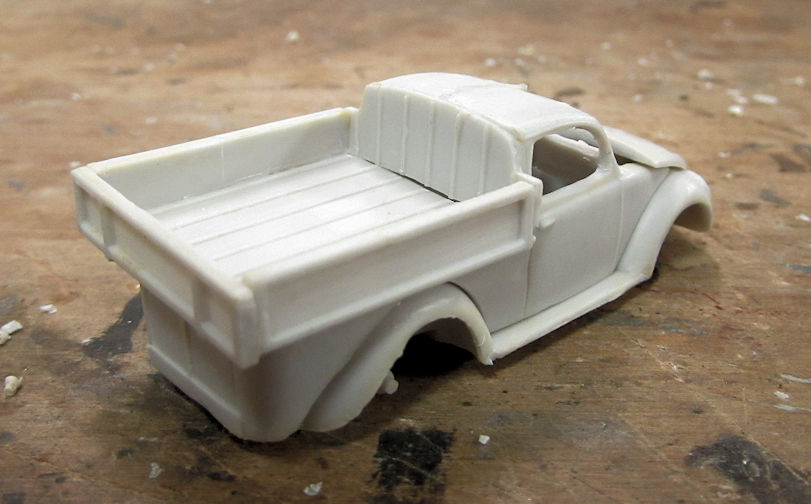
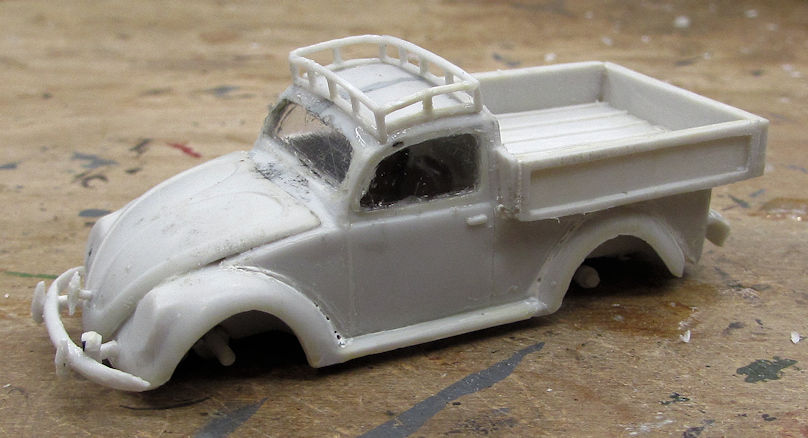
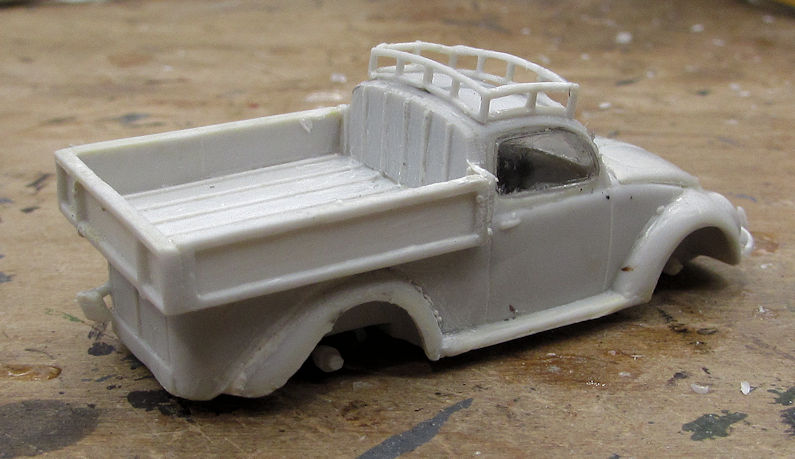
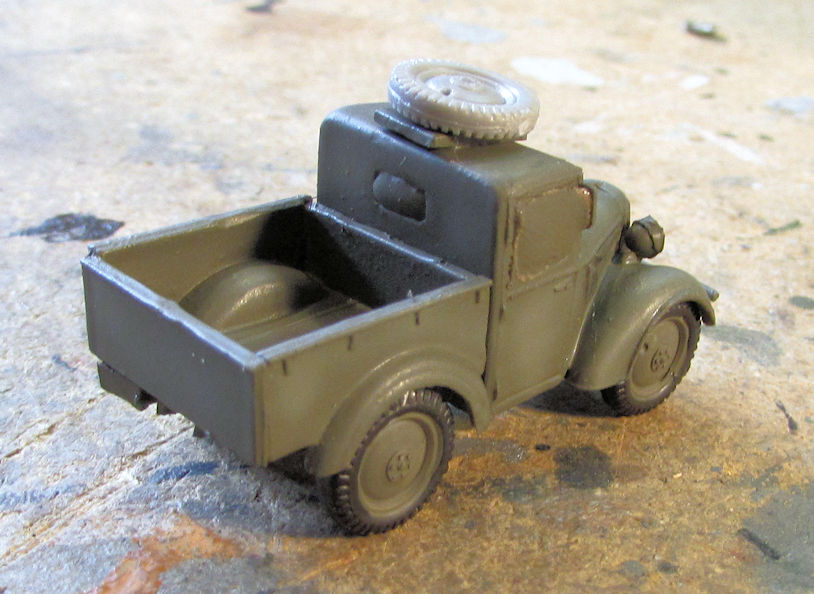
Let's now take a tour of the motor pool to see the latest progress I got done on my vehicles I've been working on. I'll start with the little Japanese Kurogane pickup truck. The fight with this little beastie is almost over. I got the wheels all installed on it and now it is ready for touch up painting and weathering:
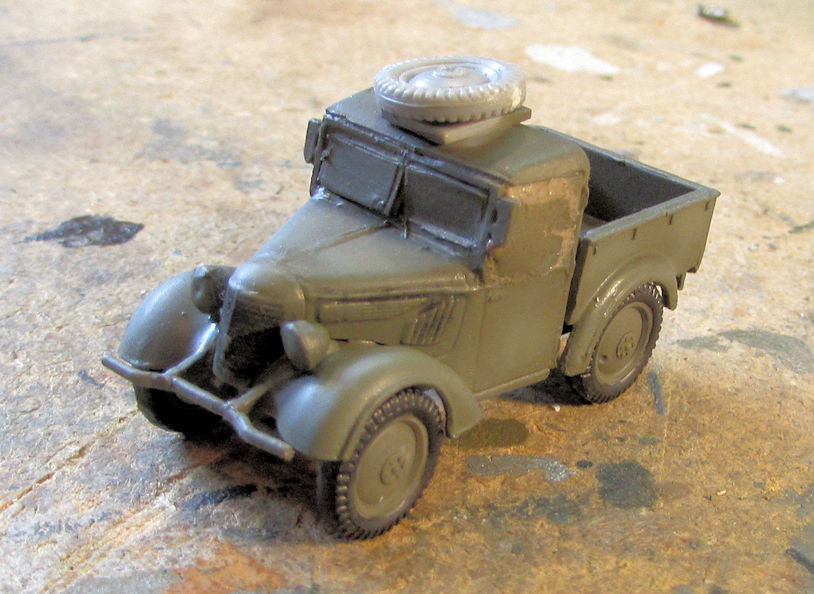
And that's another one down....
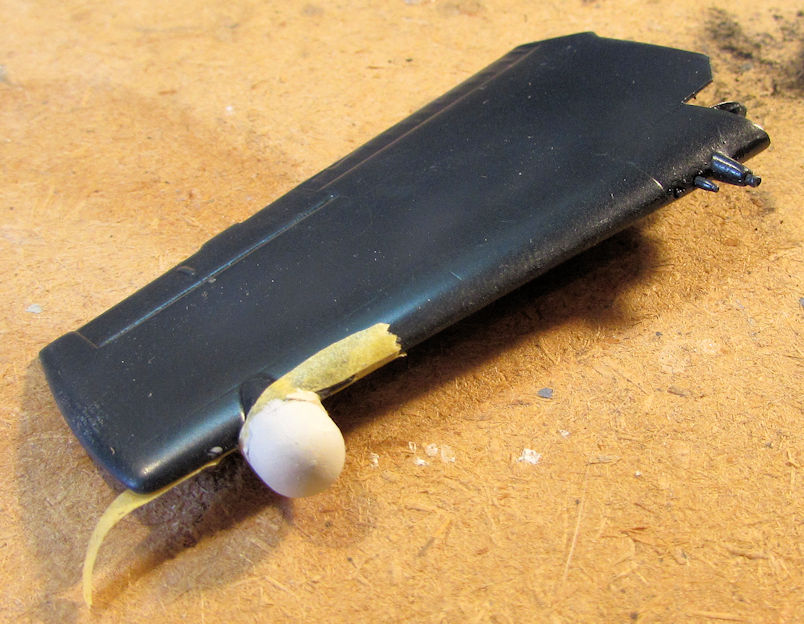
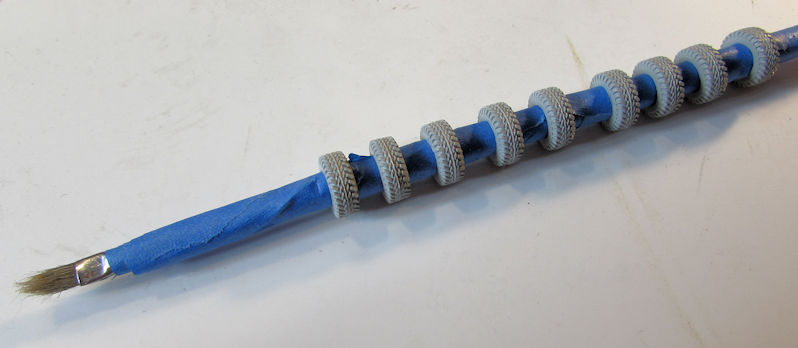
Next I started work on the two Humvees. To start with, I pulled the wheels out of the bag to paint. I wondered how I was going to do this since they were packed all loose in a baggie. Finally, I hit upon an idea: I taped a large paint brush handle to make it thick enough to hold these tires and then slipped them on:
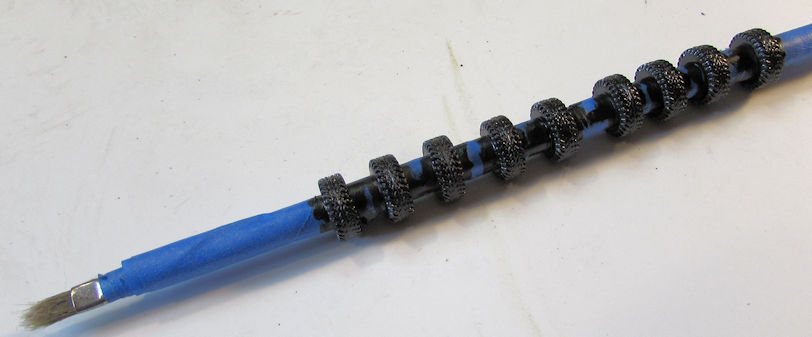
Painting was a snap after that:
Later I wondered why I painted them in the first place but you'll see why later on...
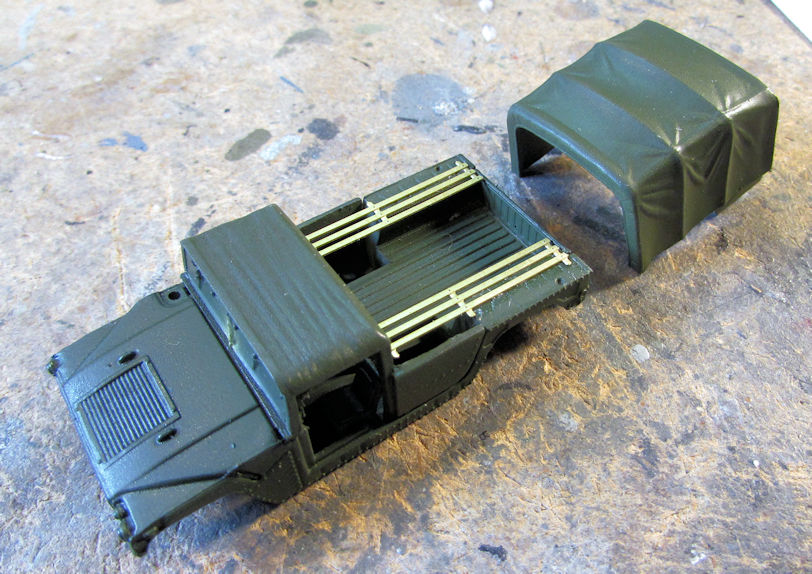
While I waited for them to dry, I added the photo-etch to the two Humvees, starting with the bench grid on the troop carrier:
Then I added the armor plate to the gun truck:
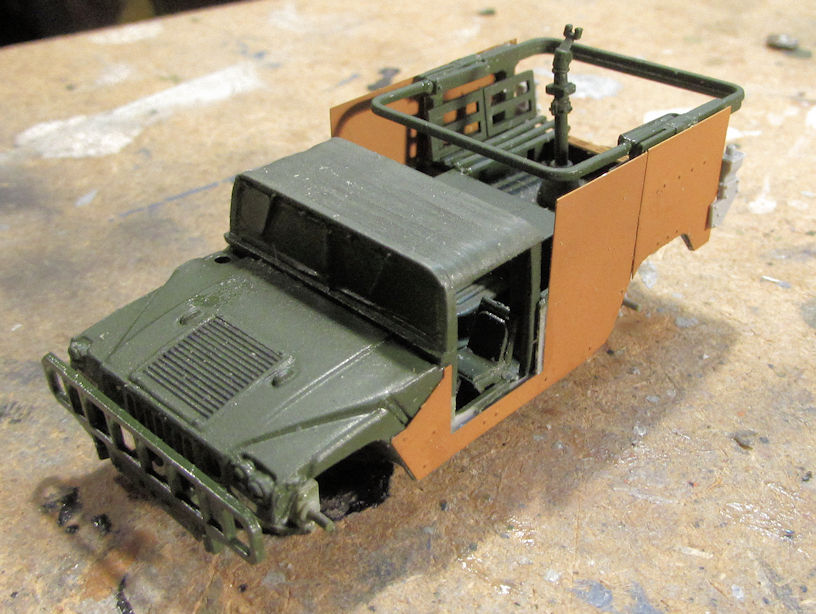
I then painted the bench grid in the troop carrier before adding the canvas tilt:
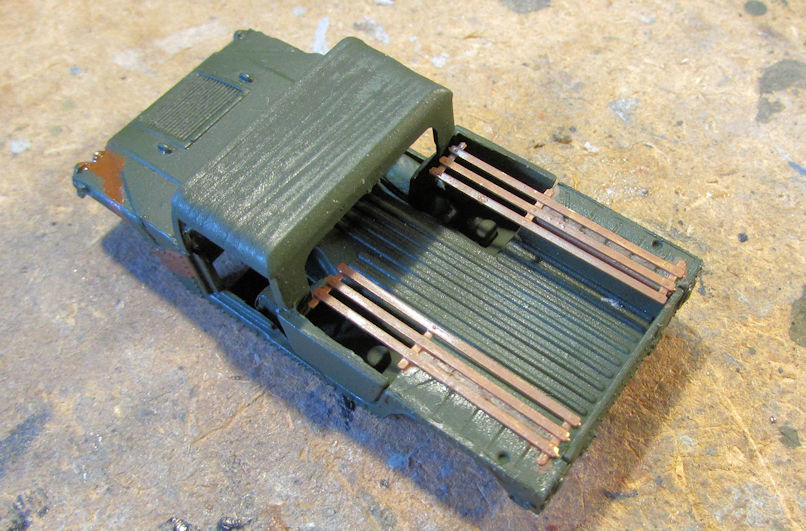
Finally, the wheels were dry enough so I could install them on the hubs. The problem was that the ridge used to hold the tires on the hubs was far too big to get the tires around them. They were too big to push on through the tires. So, I had to sand down all eight of the interior ridges to make these tires fit over them. The sanded one is to the right:
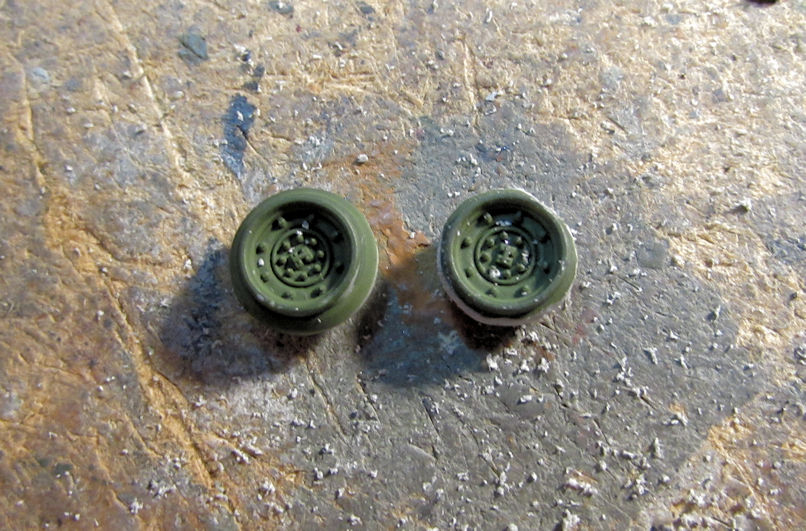
Now you can see what I was talking about.
Finally, I added all the tires to the hubs. Here is the first four that I did. You can see what I meant about painting them first; everything scraped off during the installation on the hubs:
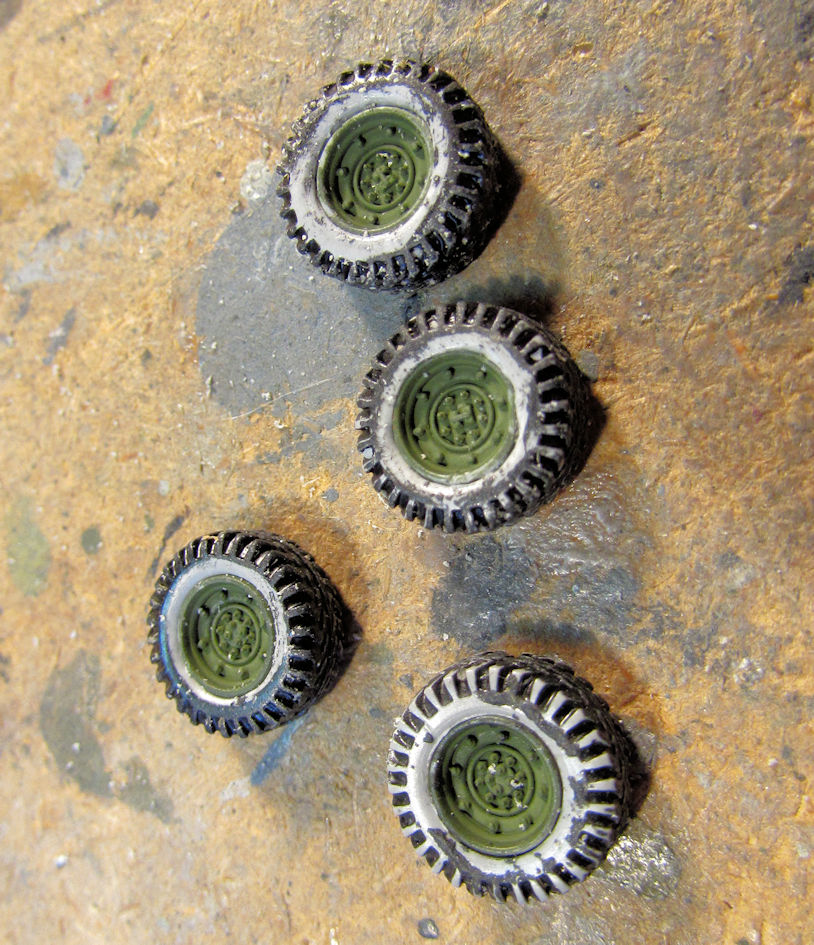
I'm glad that was done. Man that hurt my fingers!
Moving on; I added the cabin doors to the front and then painted the camouflage pattern on the troop carrier:
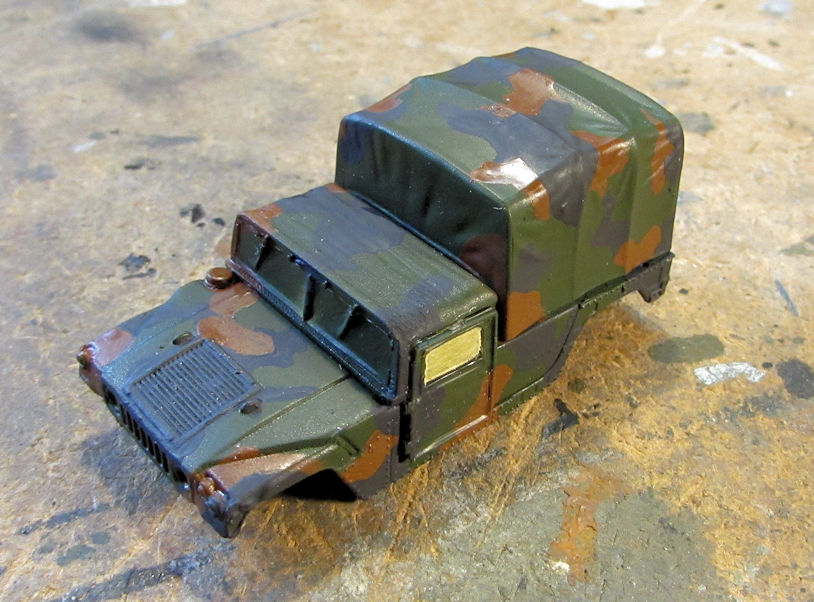
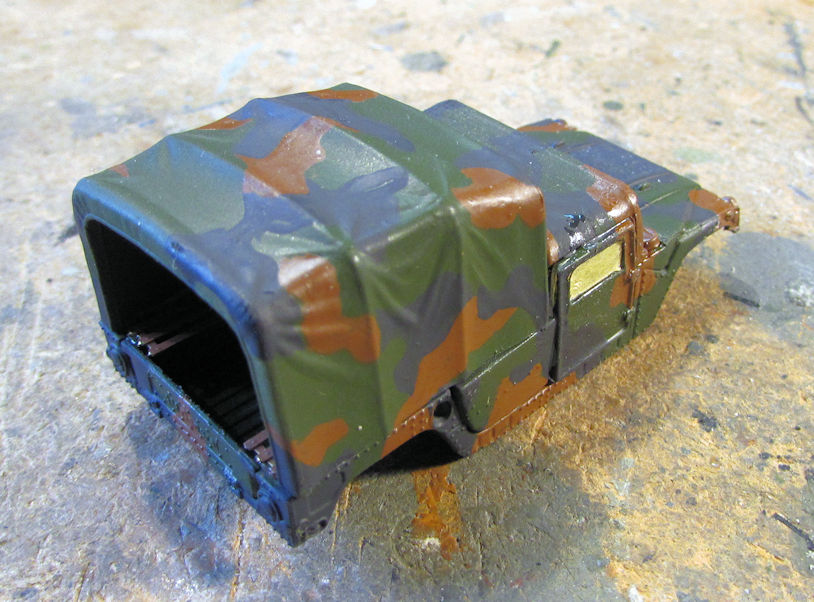
Yeah, that door does look like it's protruding quite far. I tried everything to get it to flush in, but to no avail.
I then painted the undersides of the two Humvees:
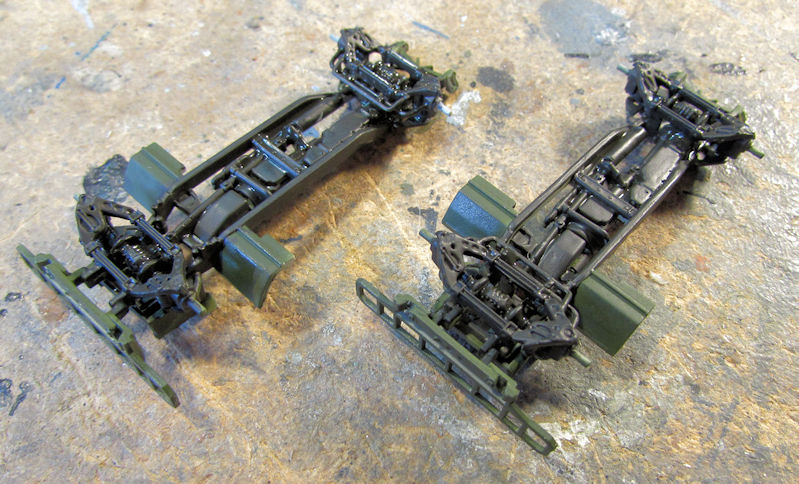
...and then installed the wheels:
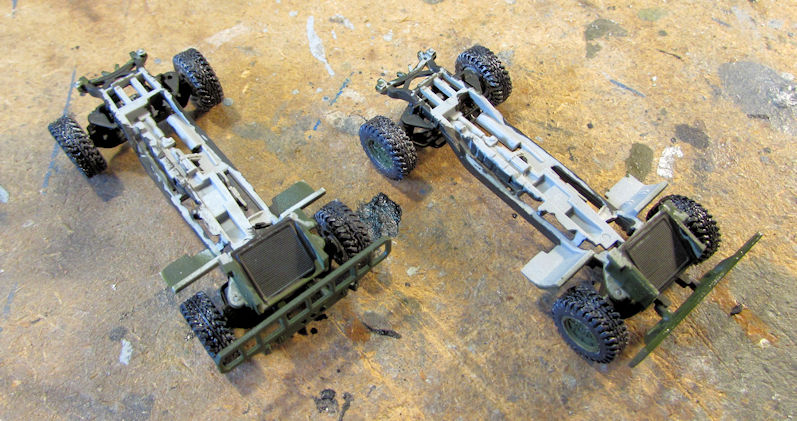
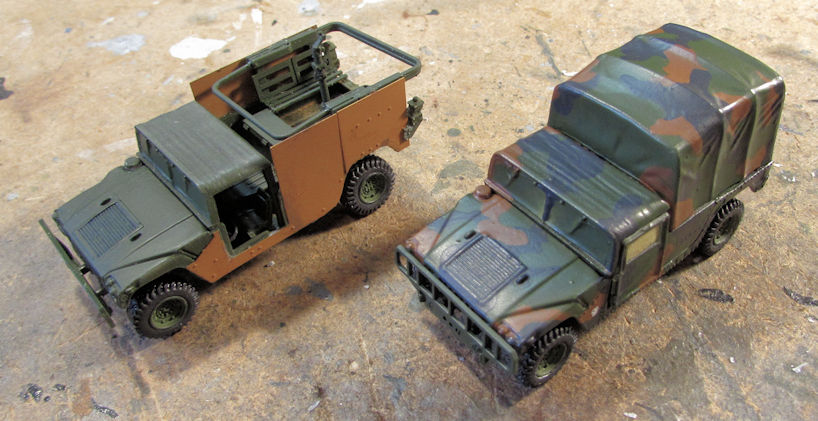
Finally, here they are after decals and dullcoats. Now these two are ready for final weathering:
That's two more down.....
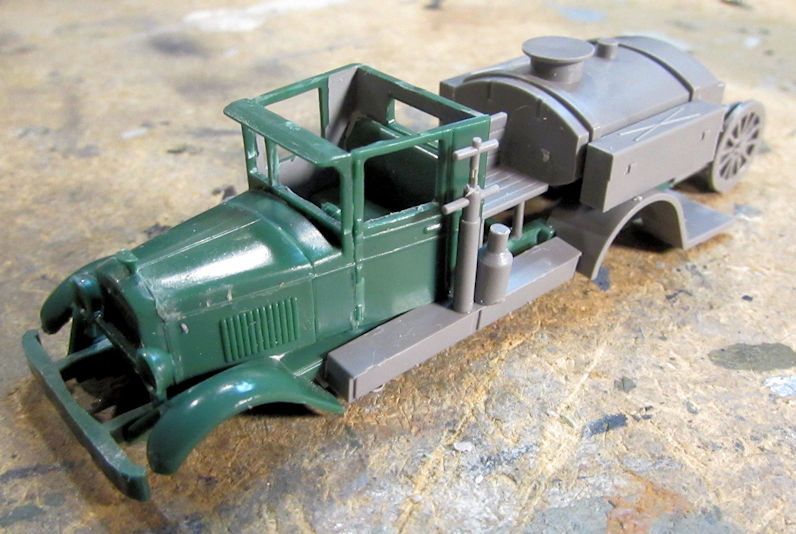
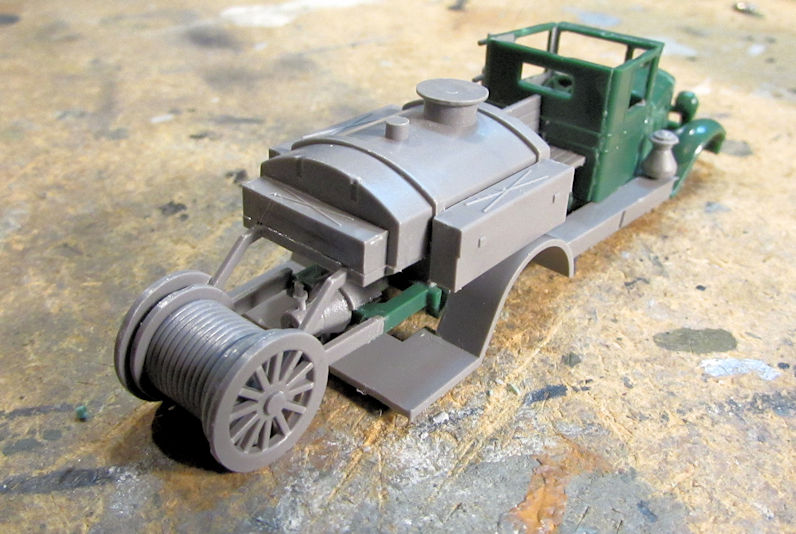
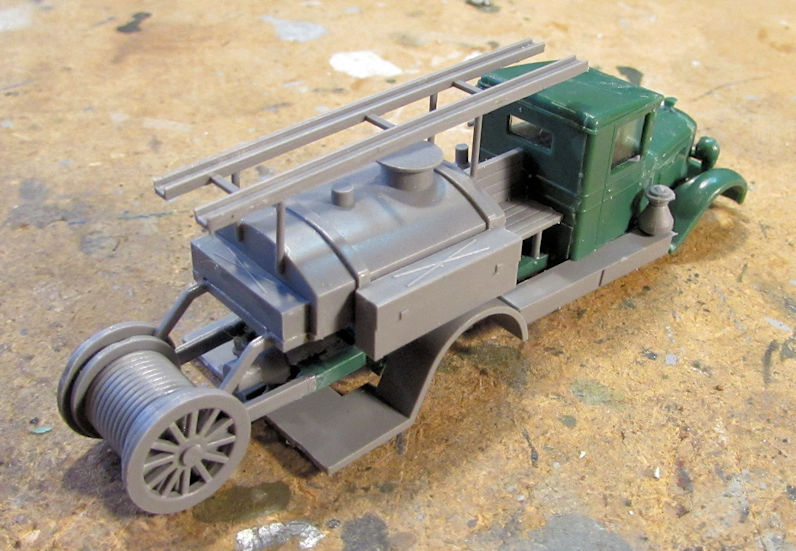
Another truck I started some time ago finally got some more assembly done. My Russian ZIS-5 Fire truck which was in sub-assemblies finally got put together... mostly:
Later on I added the windows to the cab and then closed up the roof. I also added the ladder framework above the tank:
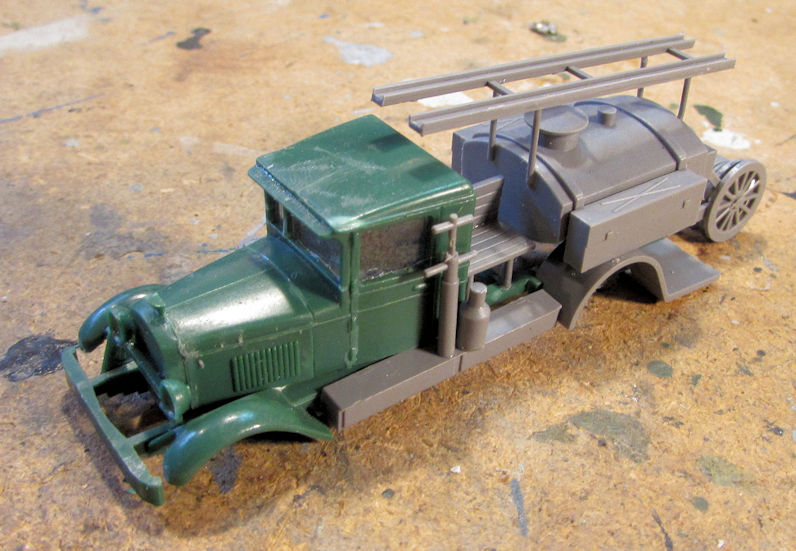
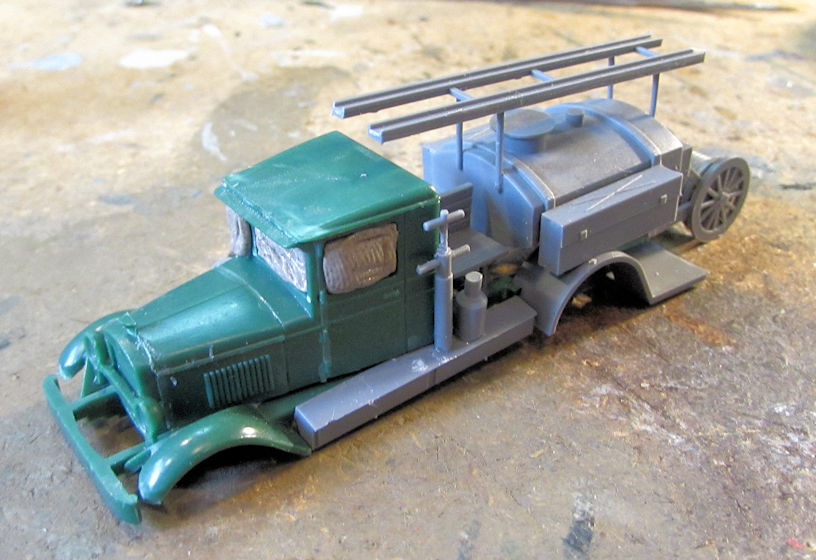
Once that was dry, I masked the windows with Silly Putty to prepare this for paint:
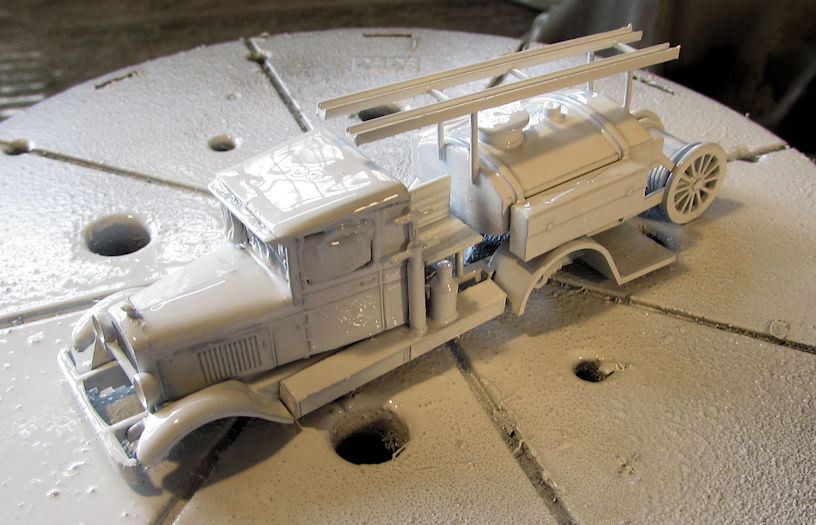
First was a white primer coat. It is still wet in this picture:
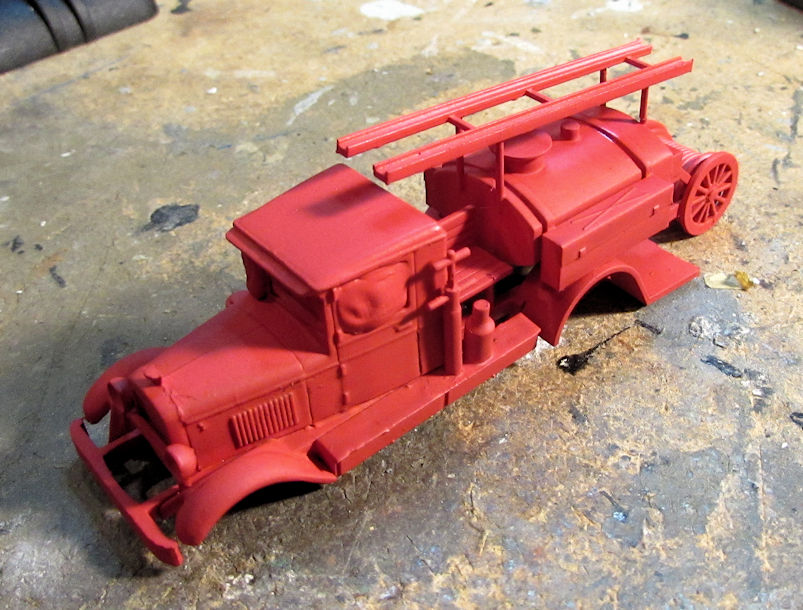
Once the primer dried though, I shot the red over it:
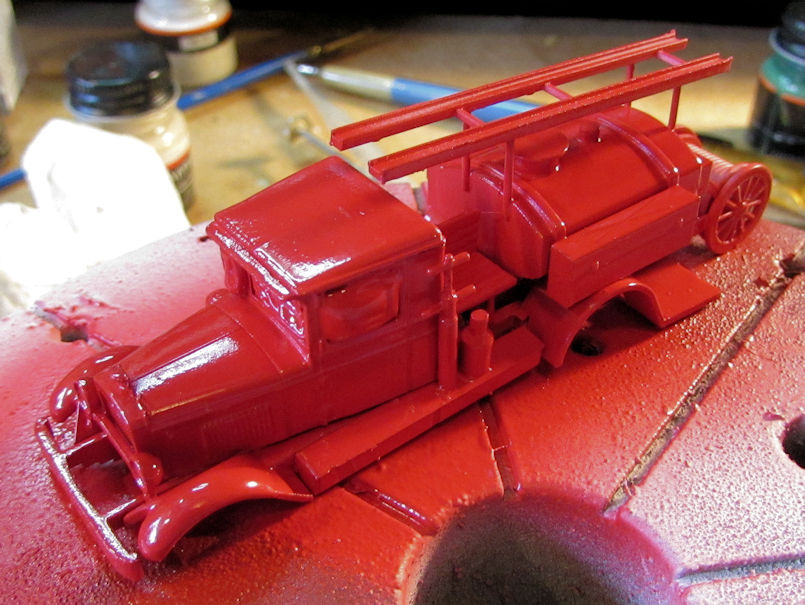
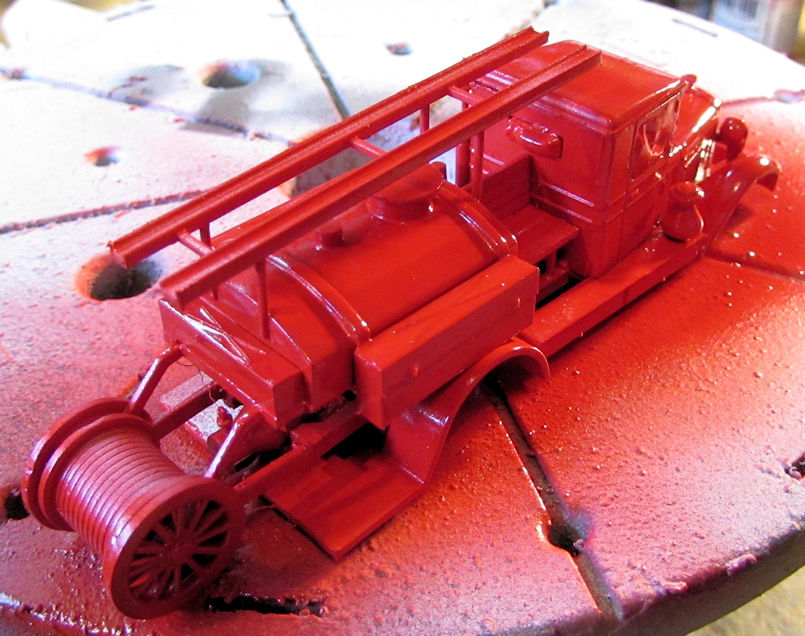
That's as far as I got so far on this. I have it drying now.
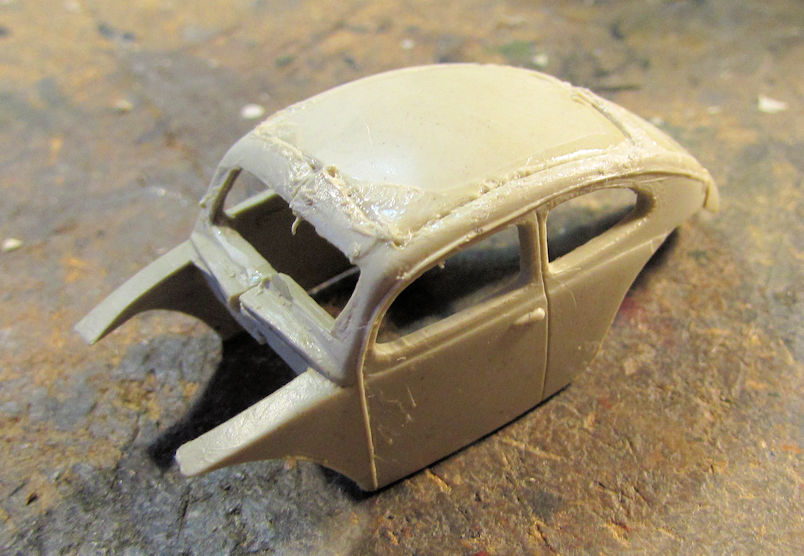
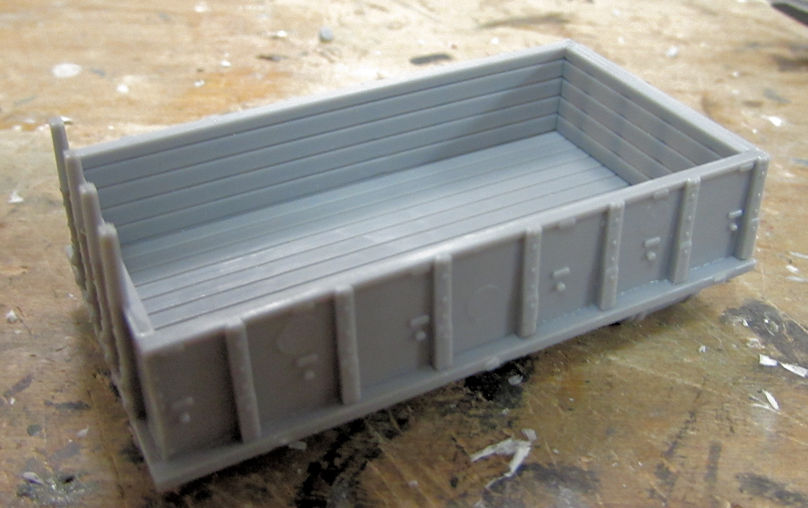
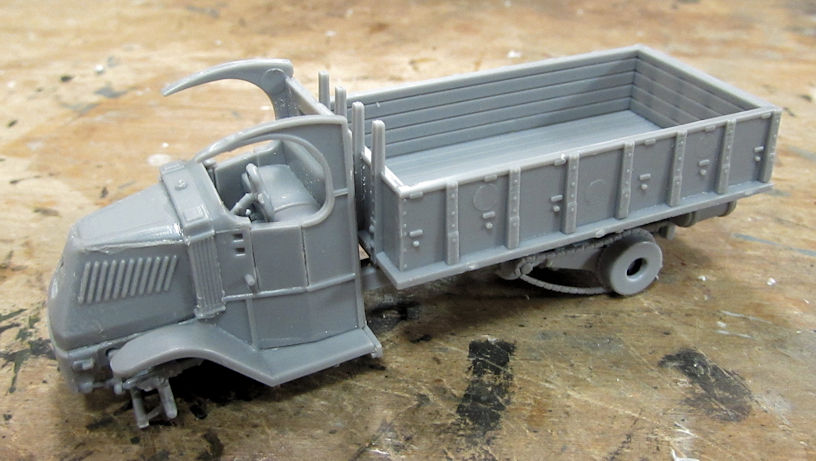
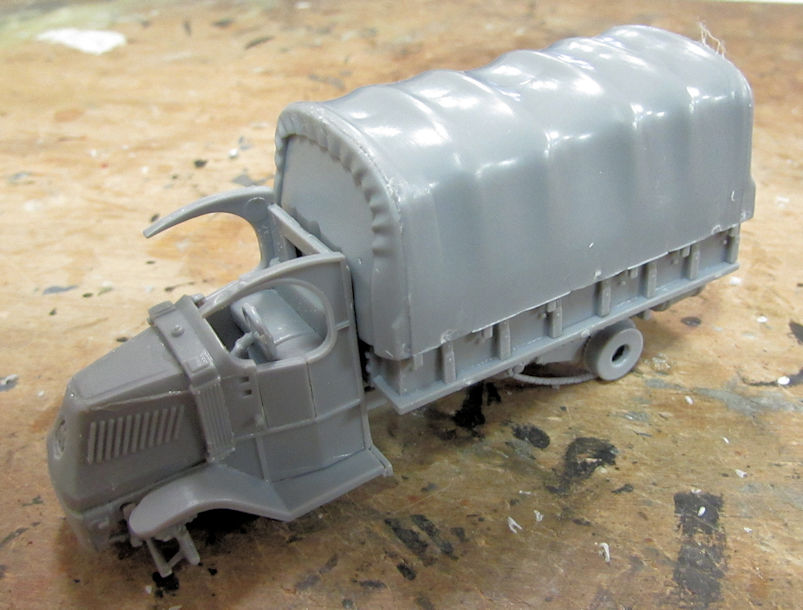
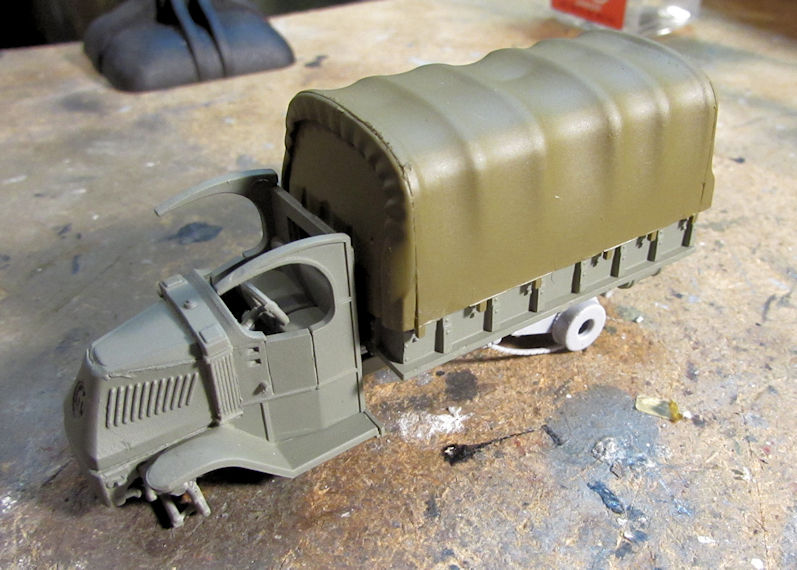
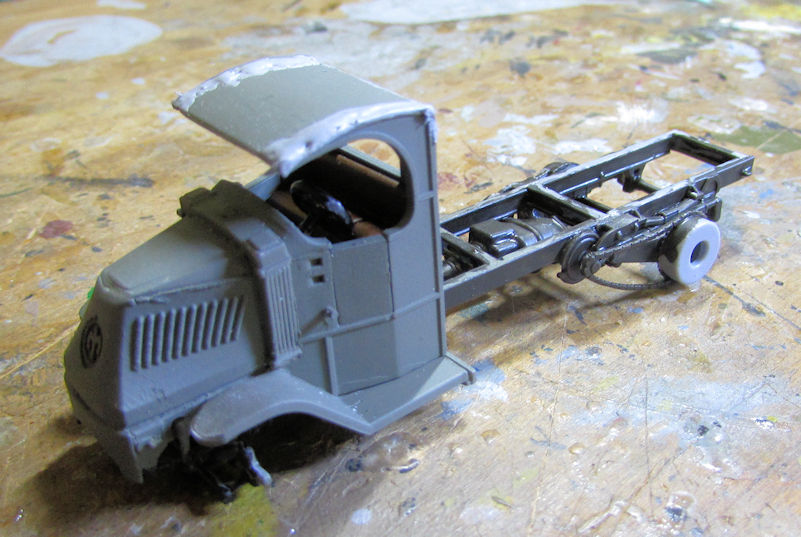
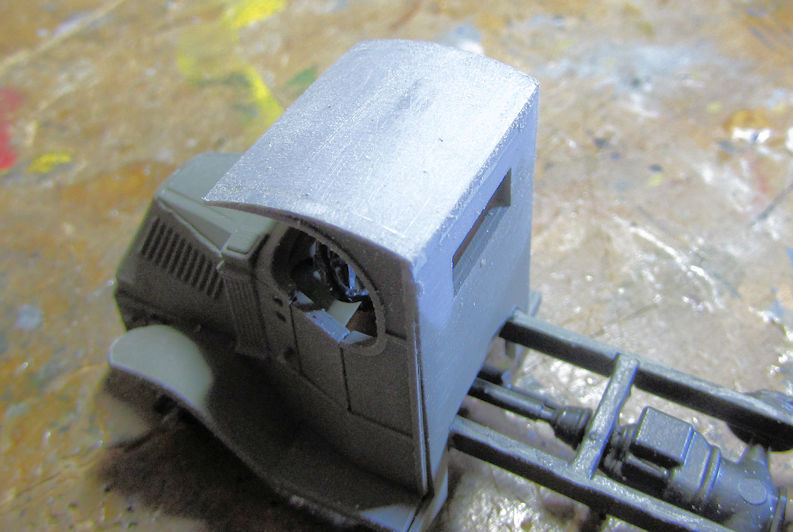
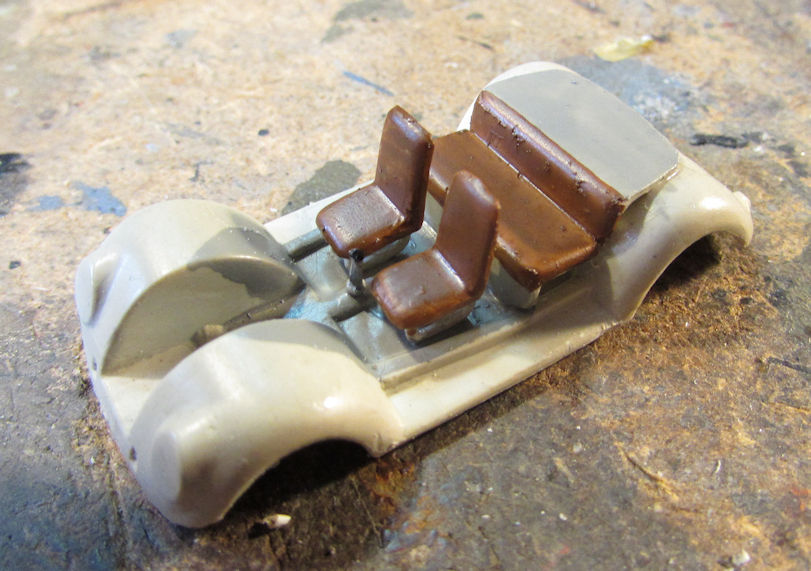
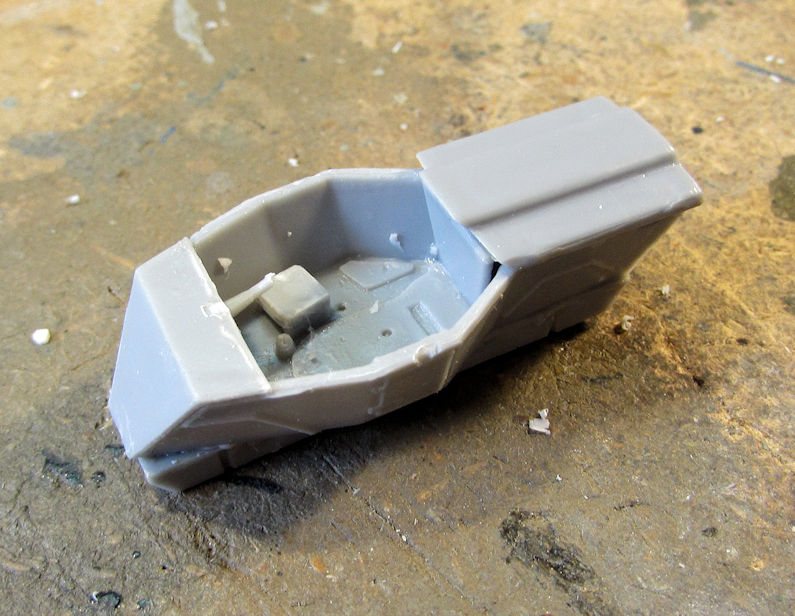
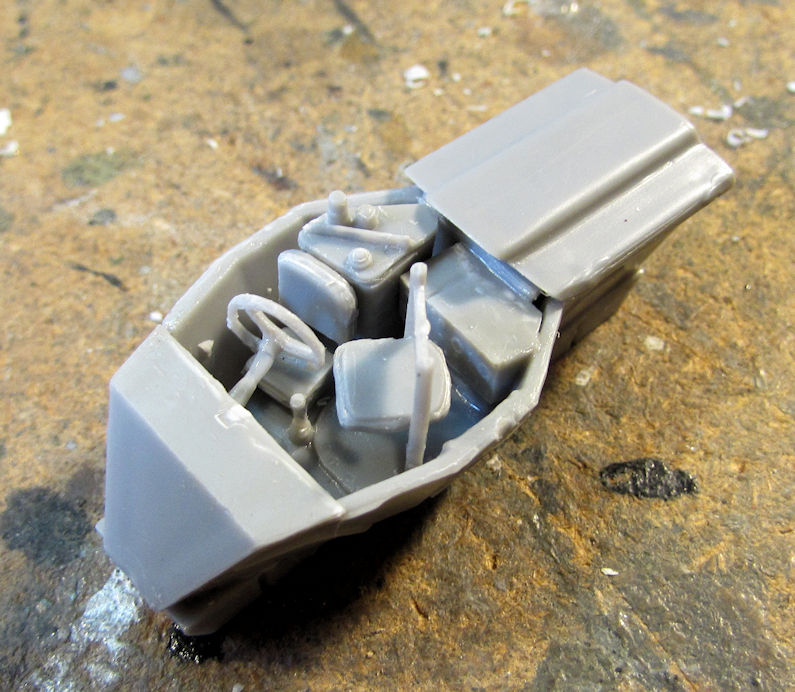
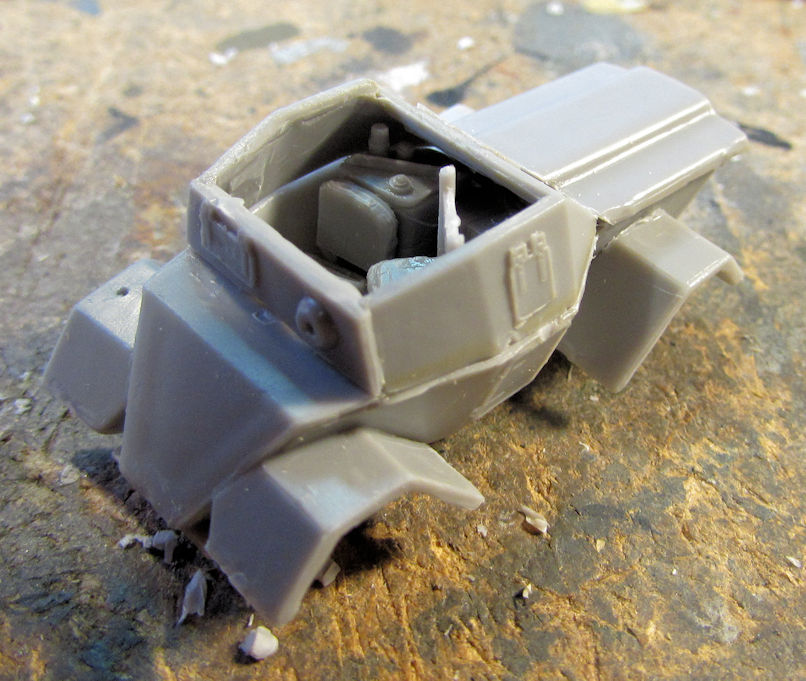
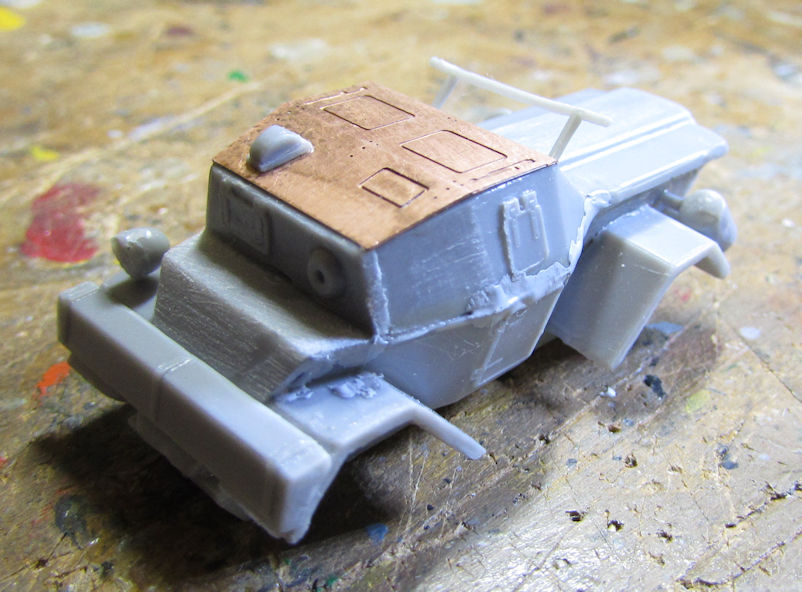
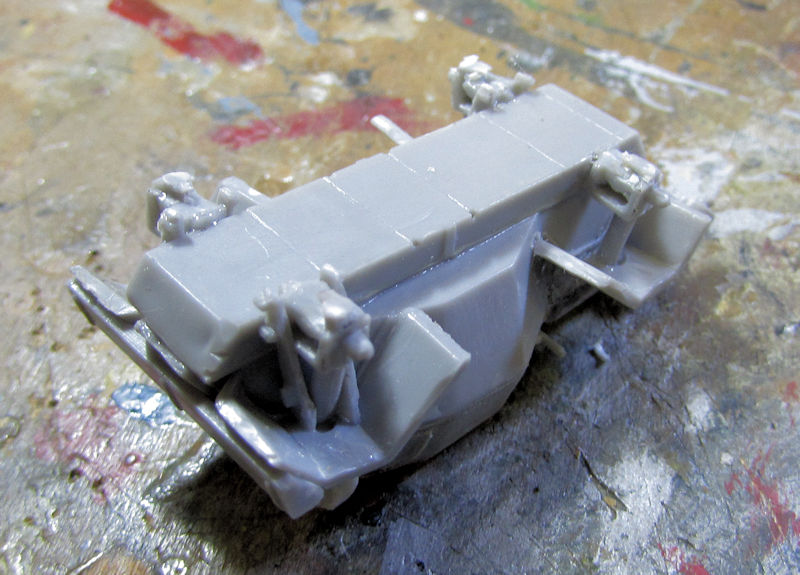
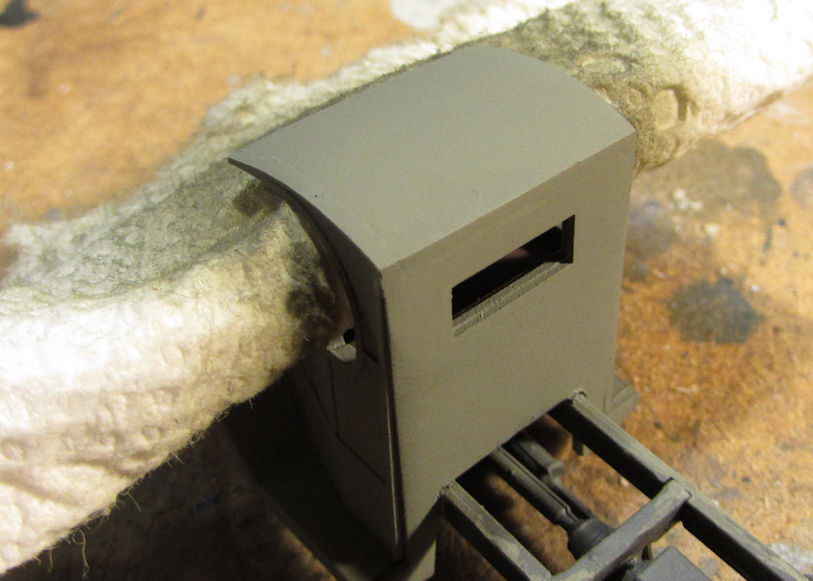
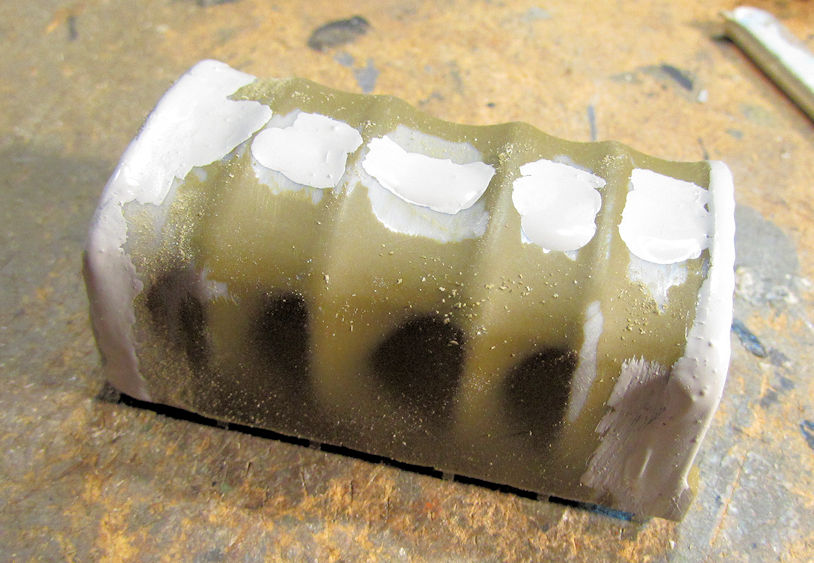
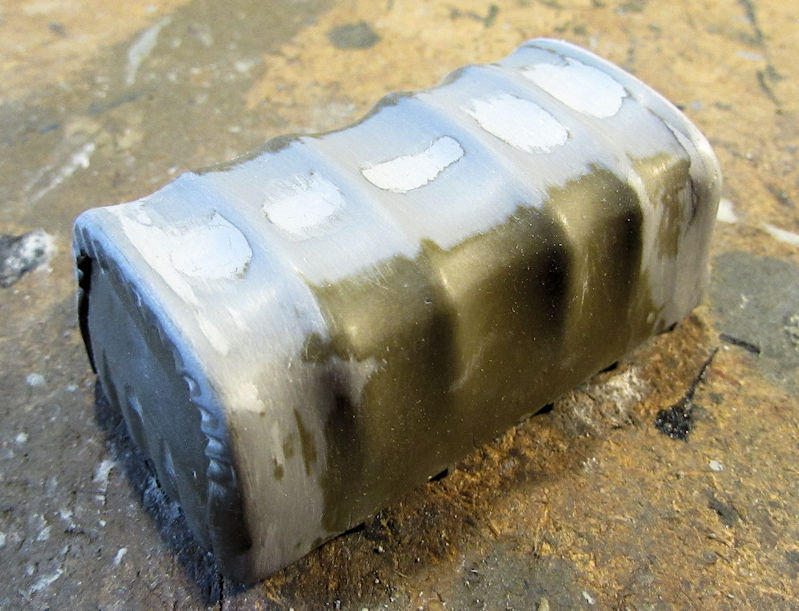
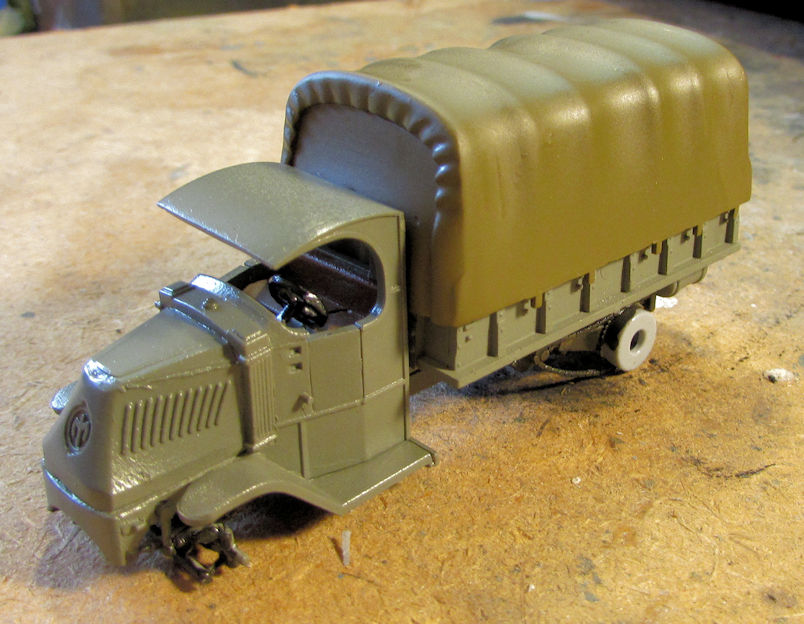
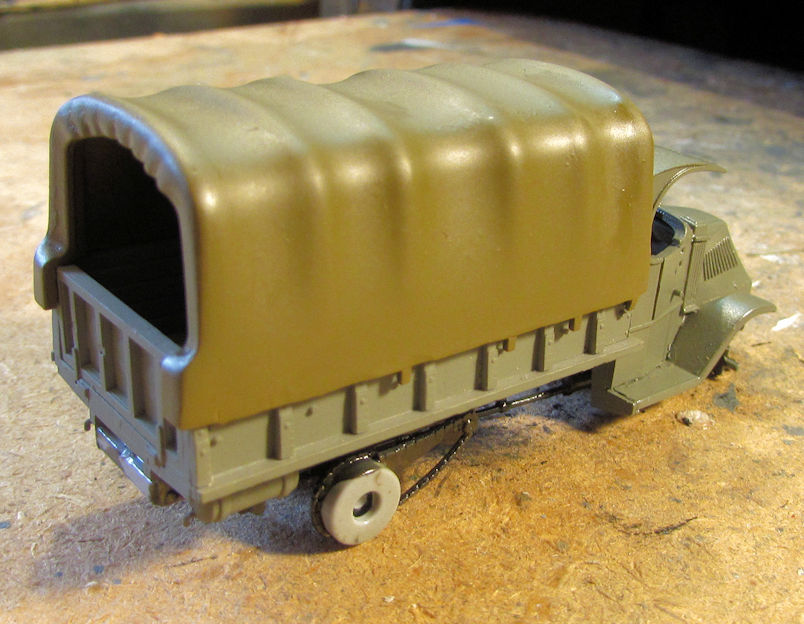
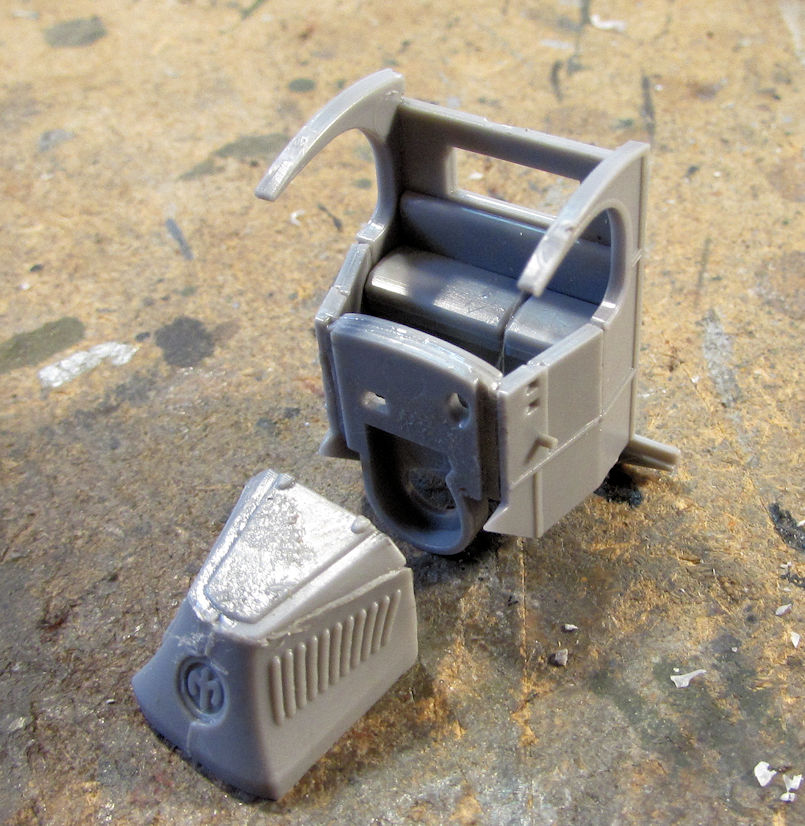
Finally, I decided to build another truck for the WWI campaign here on the Alliance. I didn't get too far yet, but I have the main cab done so far...
...and the engine all assembled:
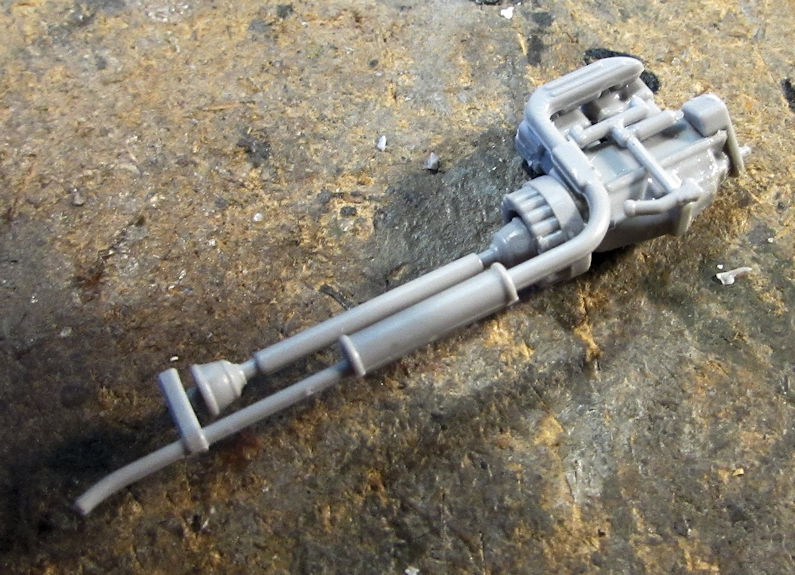
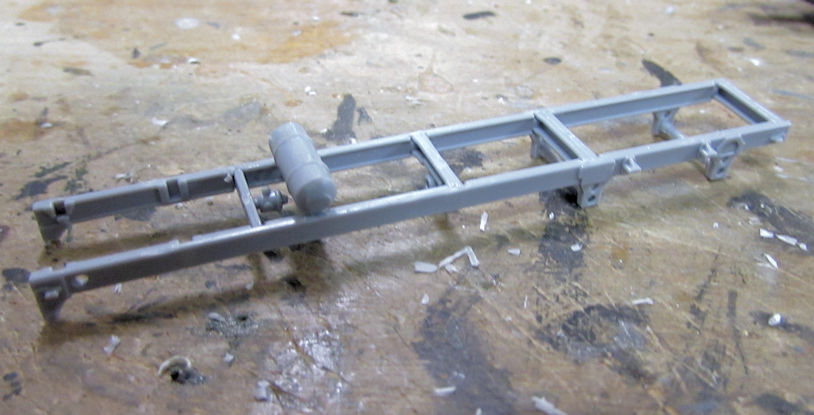
Once I get the chassis done, this will fly.
Let's move on to my shipyards now....
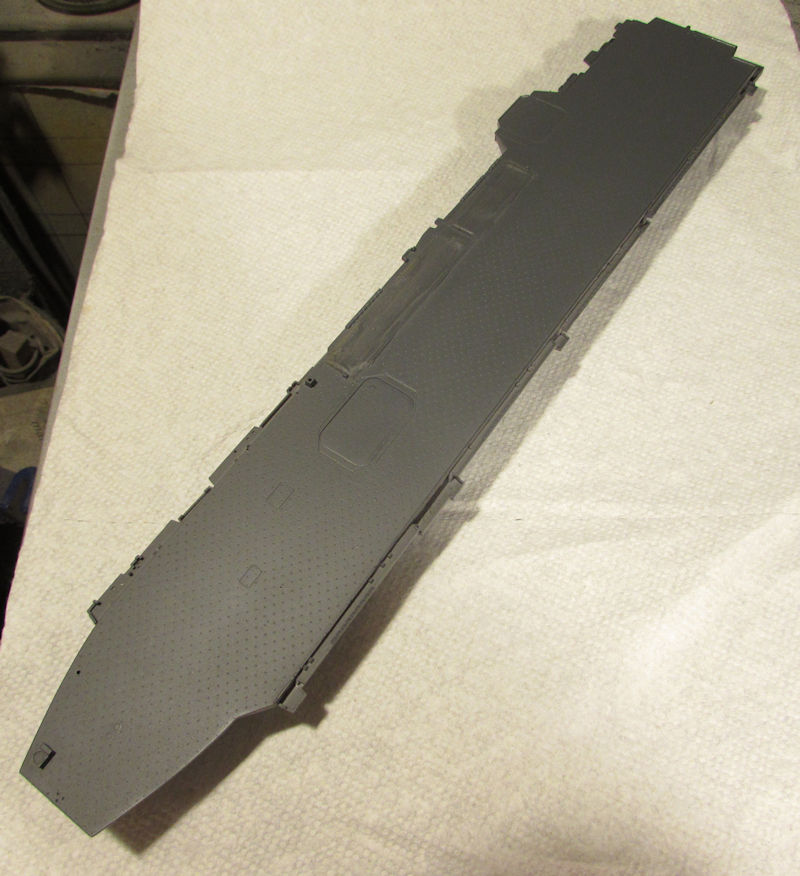
The HMS Daring destroyer was almost complete. It was time to do the decals on this model. The way Dragon did the helicopter deck decal was totally screwed up! I had to cut all around every strip on this decal. Putting it on the deck was almost impossible, as you can see here:
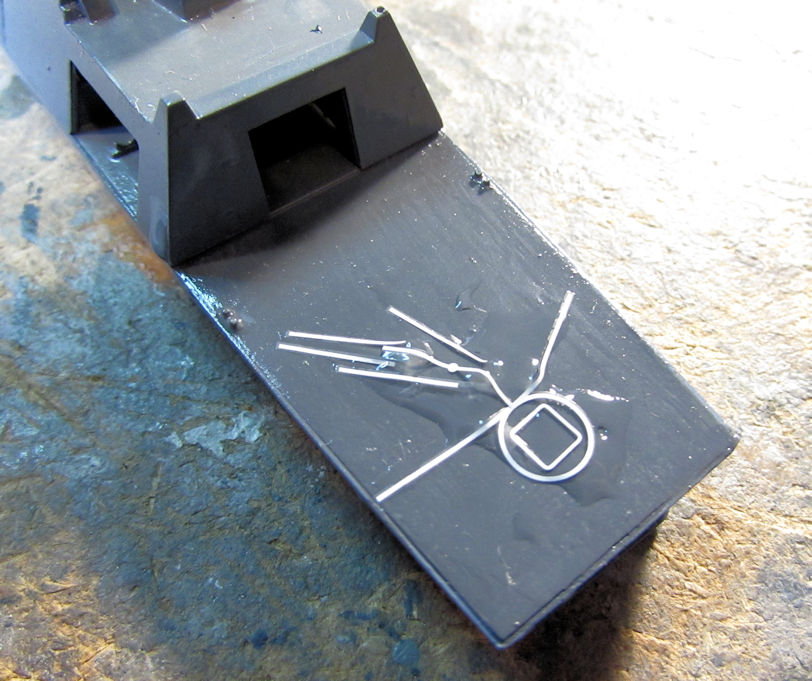
Finally, I managed to get this all laid flat the way it is supposed to look. It wasn't easy but surprisingly, I didn't even break this:
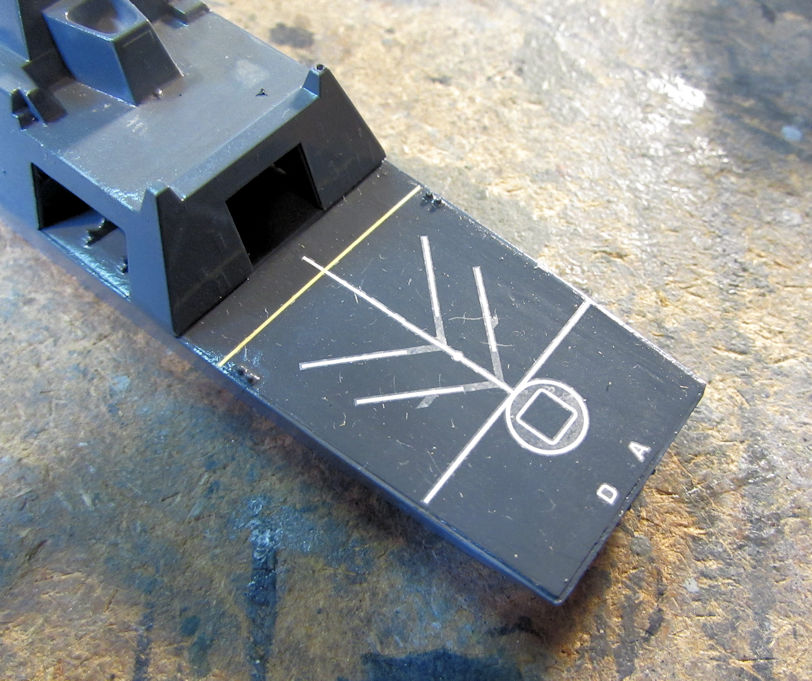
I later doused this with Solvaset to eliminate that silvering. I'm still having so much trouble with silvering....
All the rest of the decals went on fine, especially after more Solvaset:
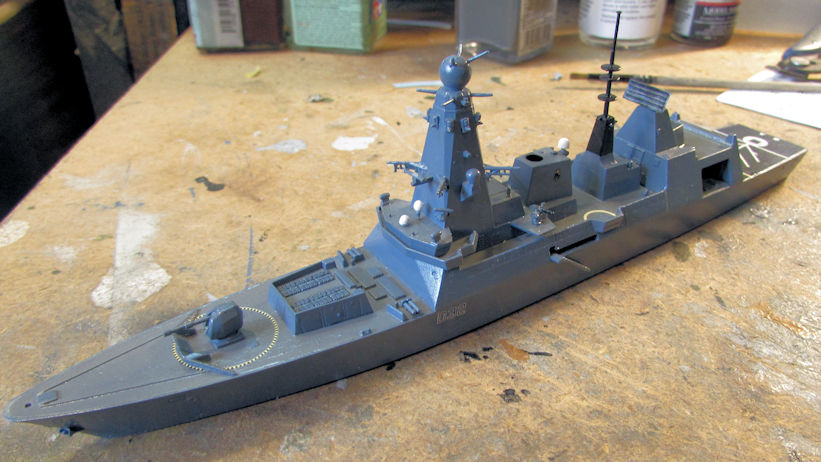
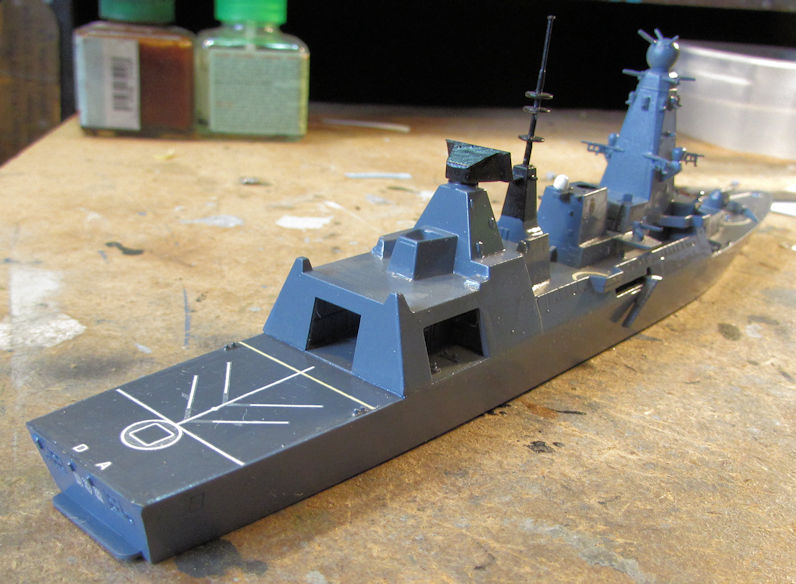
Finally, I added the last of the photo-etch parts; the hanger door, boat deck doors and the safety net around the helicopter deck:
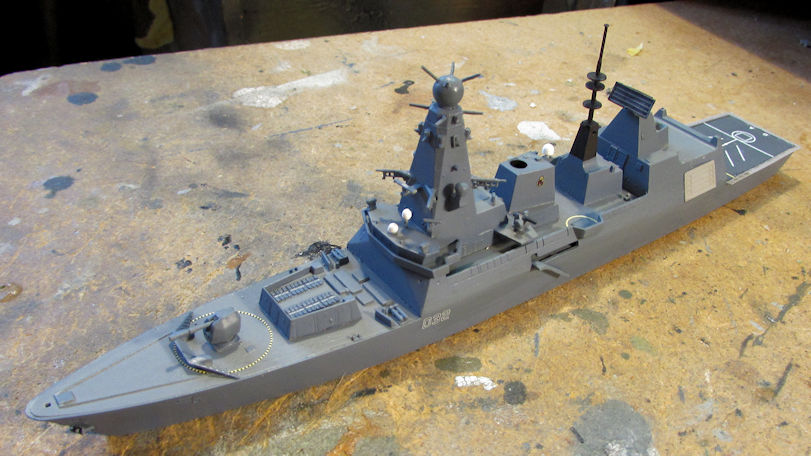
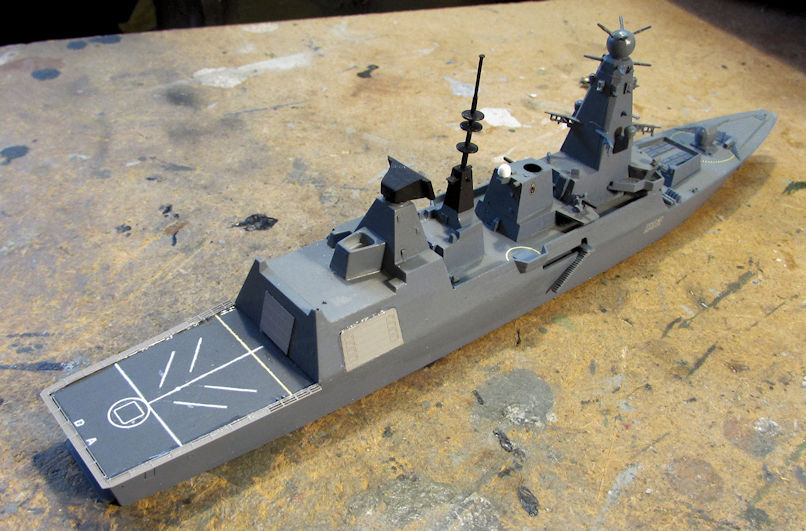
And another one down.......
After that, I wanted something simple....
I pulled out my USS Bootes Liberty Ship and added the decals to the bow; all two of them:
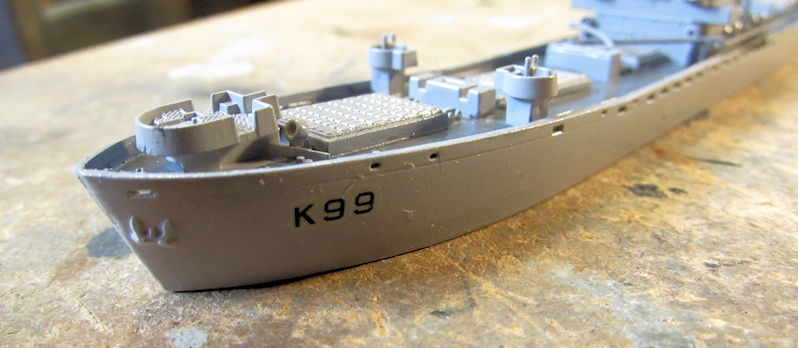
After that was dry, I dullcoated this and then installed all the final greeblies and masts on this ship to finish it off:
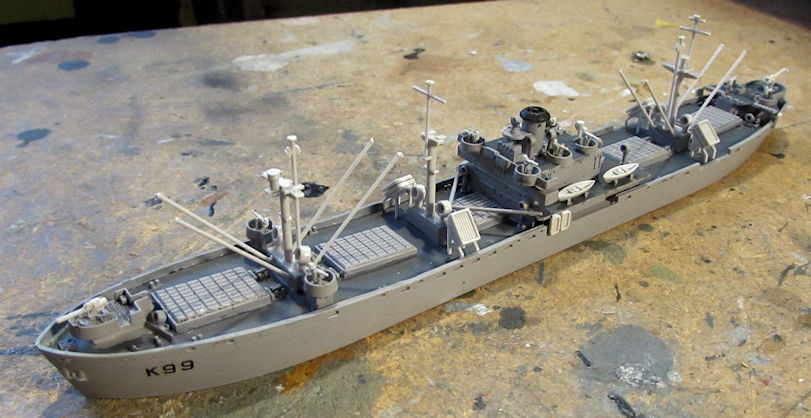
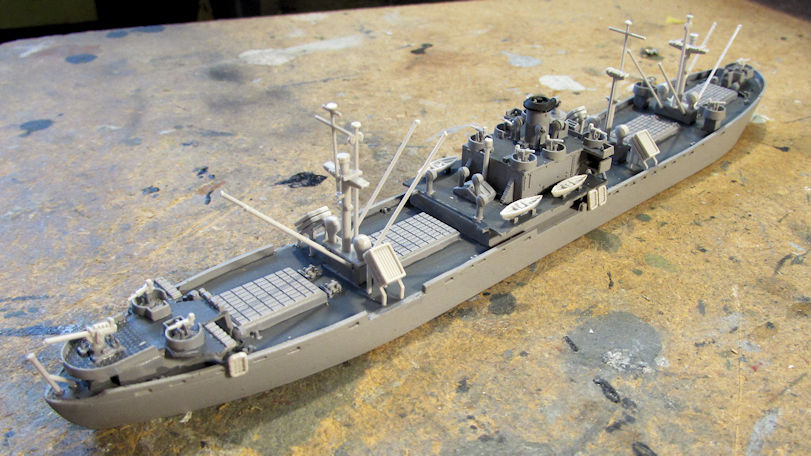
All that was left was to finish detail painting that and it was done.
Another one down....
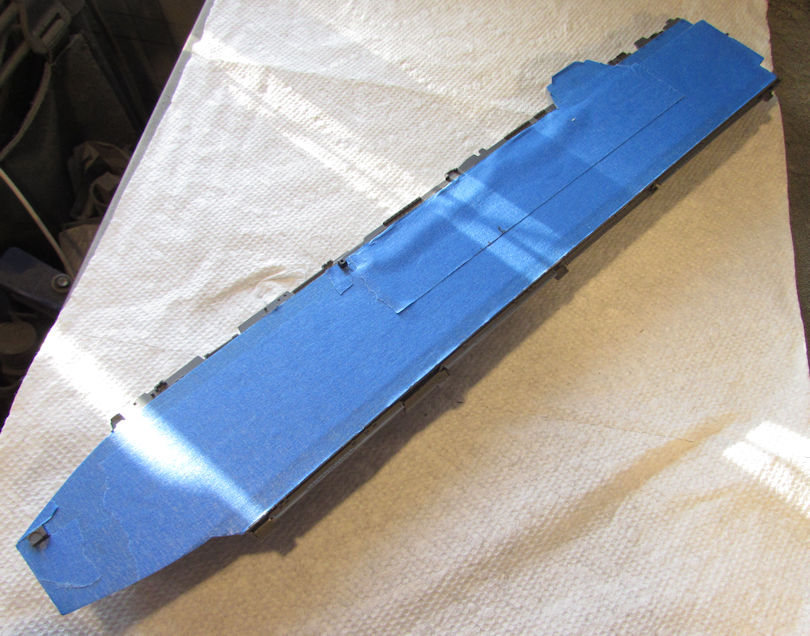
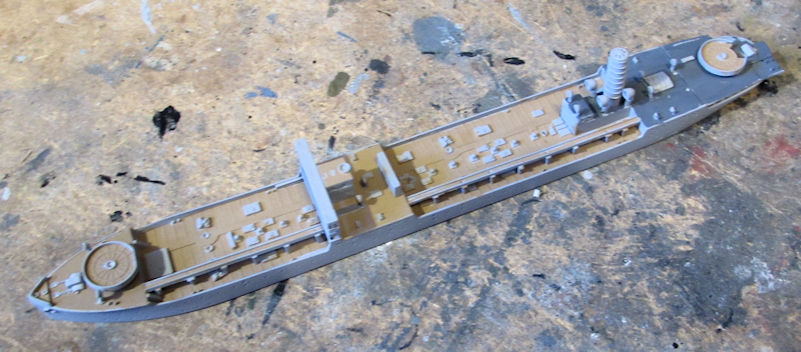
Since I was able to finish the Bootes so quickly, I also pulled out the Japanese Fleet Oiler and got the decks all painted up:
After that was dry, added all the last greeblies and masts as well. I was going to apply decals, but the decal sheet they included in the kit was for a Japanese destroyer. So, no markings on this beastie:
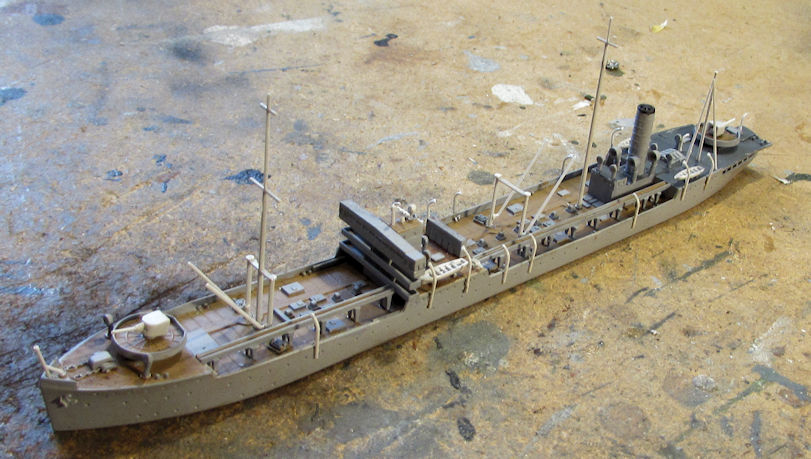
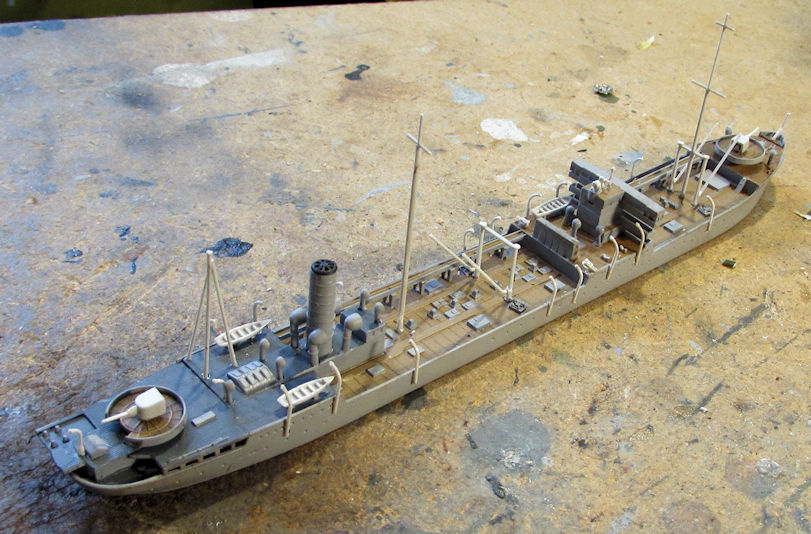
All that's left here is detail painting also.
....and a final one down......
Okay, that completes this long and tedious update. My apologies for the length; I'll try to slow down if it helps.
Thanks all for looking in, comments are welcome. Feel free to check out the armor, aircraft and ships Forums to see the finished models.
Let's now take a tour of the motor pool to see the latest progress I got done on my vehicles I've been working on. I'll start with the little Japanese Kurogane pickup truck. The fight with this little beastie is almost over. I got the wheels all installed on it and now it is ready for touch up painting and weathering:


And that's another one down....
Next I started work on the two Humvees. To start with, I pulled the wheels out of the bag to paint. I wondered how I was going to do this since they were packed all loose in a baggie. Finally, I hit upon an idea: I taped a large paint brush handle to make it thick enough to hold these tires and then slipped them on:

Painting was a snap after that:

Later I wondered why I painted them in the first place but you'll see why later on...
While I waited for them to dry, I added the photo-etch to the two Humvees, starting with the bench grid on the troop carrier:

Then I added the armor plate to the gun truck:

I then painted the bench grid in the troop carrier before adding the canvas tilt:

Finally, the wheels were dry enough so I could install them on the hubs. The problem was that the ridge used to hold the tires on the hubs was far too big to get the tires around them. They were too big to push on through the tires. So, I had to sand down all eight of the interior ridges to make these tires fit over them. The sanded one is to the right:

Now you can see what I was talking about.
Finally, I added all the tires to the hubs. Here is the first four that I did. You can see what I meant about painting them first; everything scraped off during the installation on the hubs:

I'm glad that was done. Man that hurt my fingers!
Moving on; I added the cabin doors to the front and then painted the camouflage pattern on the troop carrier:


Yeah, that door does look like it's protruding quite far. I tried everything to get it to flush in, but to no avail.
I then painted the undersides of the two Humvees:

...and then installed the wheels:

Finally, here they are after decals and dullcoats. Now these two are ready for final weathering:

That's two more down.....
Another truck I started some time ago finally got some more assembly done. My Russian ZIS-5 Fire truck which was in sub-assemblies finally got put together... mostly:


Later on I added the windows to the cab and then closed up the roof. I also added the ladder framework above the tank:


Once that was dry, I masked the windows with Silly Putty to prepare this for paint:

First was a white primer coat. It is still wet in this picture:

Once the primer dried though, I shot the red over it:


That's as far as I got so far on this. I have it drying now.
Finally, I decided to build another truck for the WWI campaign here on the Alliance. I didn't get too far yet, but I have the main cab done so far...

...and the engine all assembled:

Once I get the chassis done, this will fly.
Let's move on to my shipyards now....
The HMS Daring destroyer was almost complete. It was time to do the decals on this model. The way Dragon did the helicopter deck decal was totally screwed up! I had to cut all around every strip on this decal. Putting it on the deck was almost impossible, as you can see here:

Finally, I managed to get this all laid flat the way it is supposed to look. It wasn't easy but surprisingly, I didn't even break this:

I later doused this with Solvaset to eliminate that silvering. I'm still having so much trouble with silvering....
All the rest of the decals went on fine, especially after more Solvaset:


Finally, I added the last of the photo-etch parts; the hanger door, boat deck doors and the safety net around the helicopter deck:


And another one down.......
After that, I wanted something simple....
I pulled out my USS Bootes Liberty Ship and added the decals to the bow; all two of them:

After that was dry, I dullcoated this and then installed all the final greeblies and masts on this ship to finish it off:


All that was left was to finish detail painting that and it was done.
Another one down....
Since I was able to finish the Bootes so quickly, I also pulled out the Japanese Fleet Oiler and got the decks all painted up:

After that was dry, added all the last greeblies and masts as well. I was going to apply decals, but the decal sheet they included in the kit was for a Japanese destroyer. So, no markings on this beastie:


All that's left here is detail painting also.
....and a final one down......
Okay, that completes this long and tedious update. My apologies for the length; I'll try to slow down if it helps.
Thanks all for looking in, comments are welcome. Feel free to check out the armor, aircraft and ships Forums to see the finished models.

