Post by dukemaddog on Jun 11, 2018 3:20:58 GMT
Okay, here's an update showing the most recent work I got done during Hobby Day on Friday and Saturday.
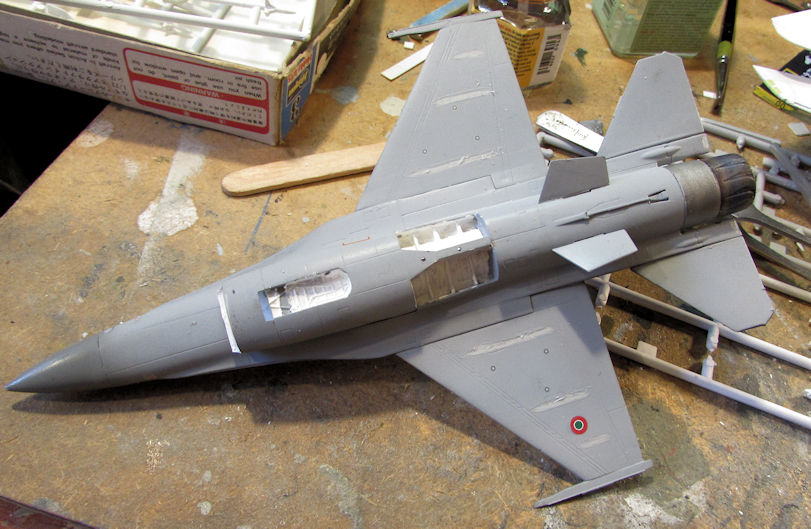
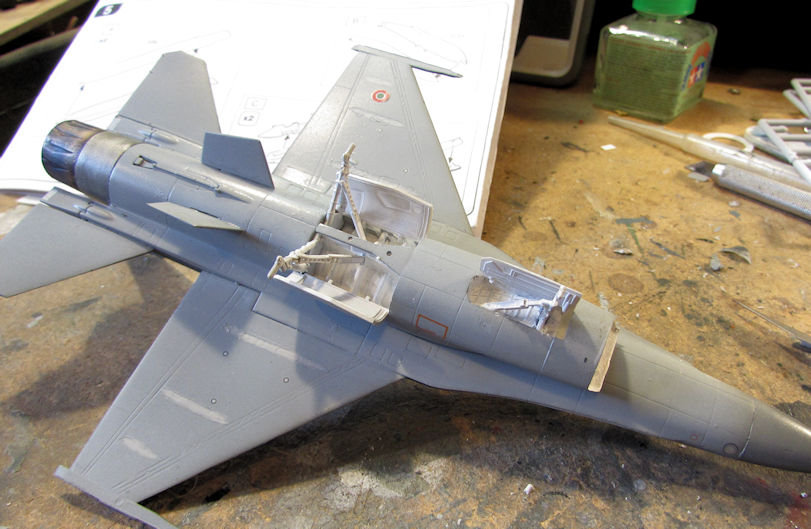
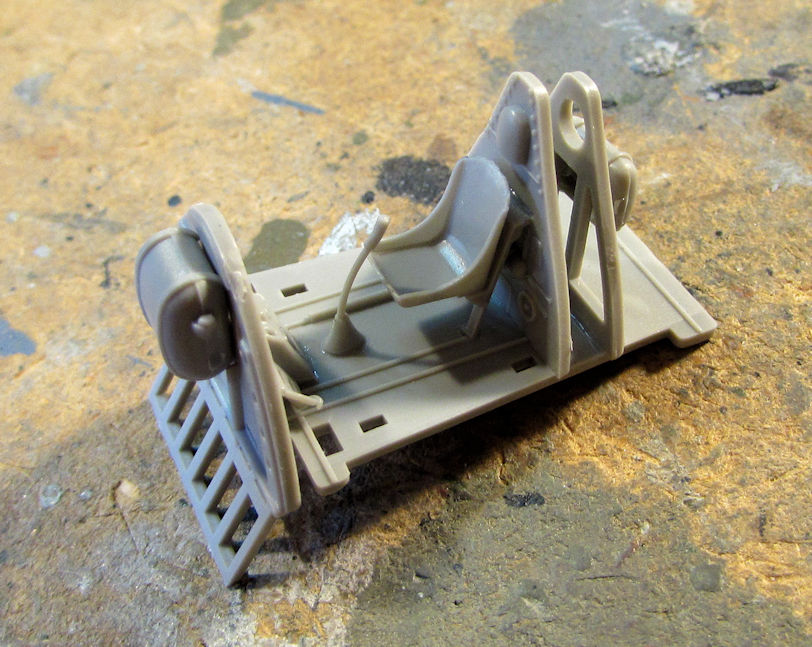
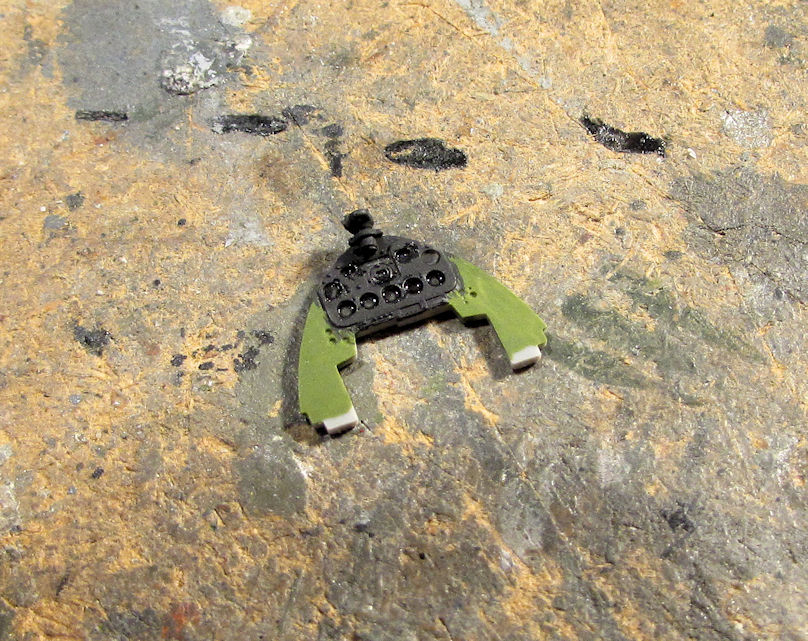
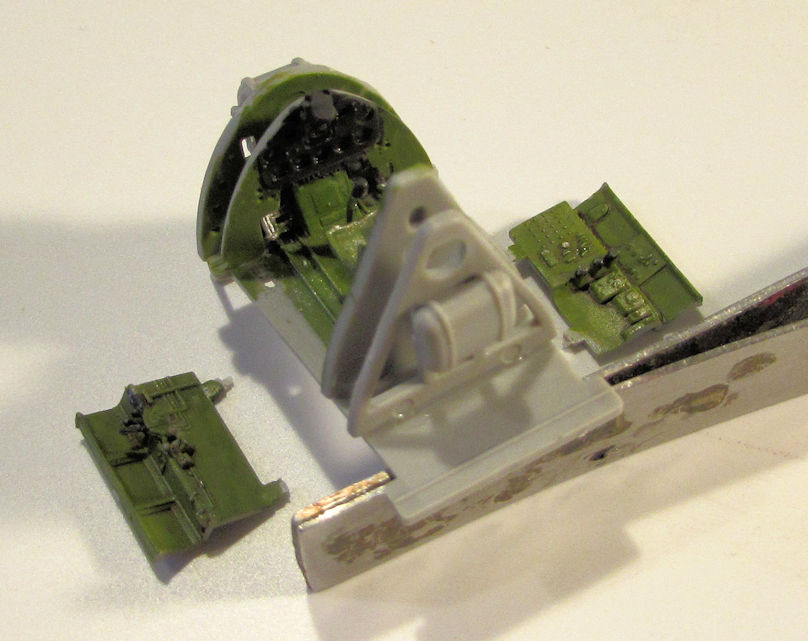
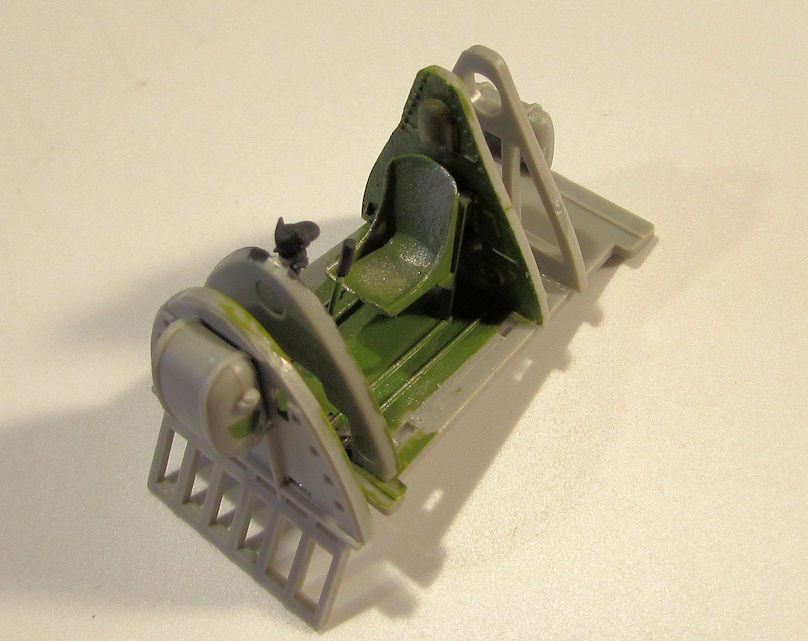
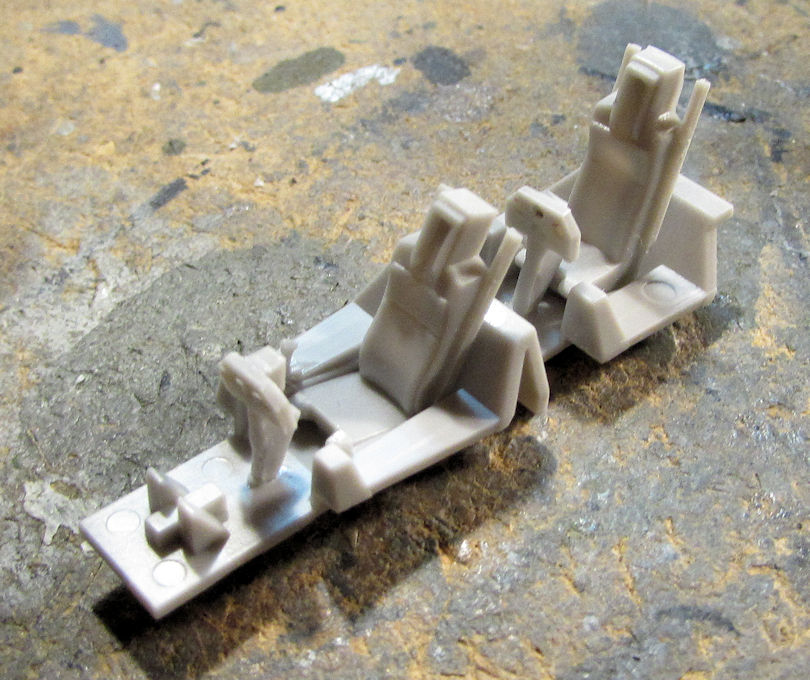
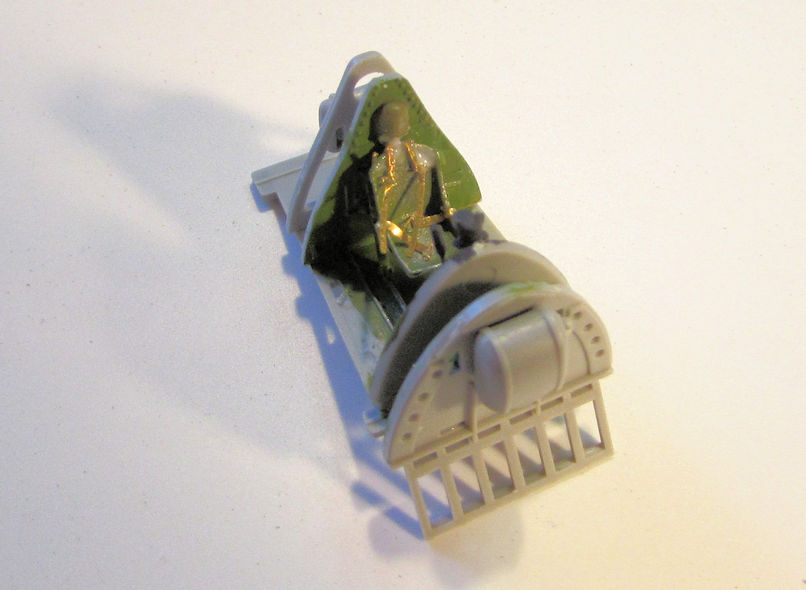
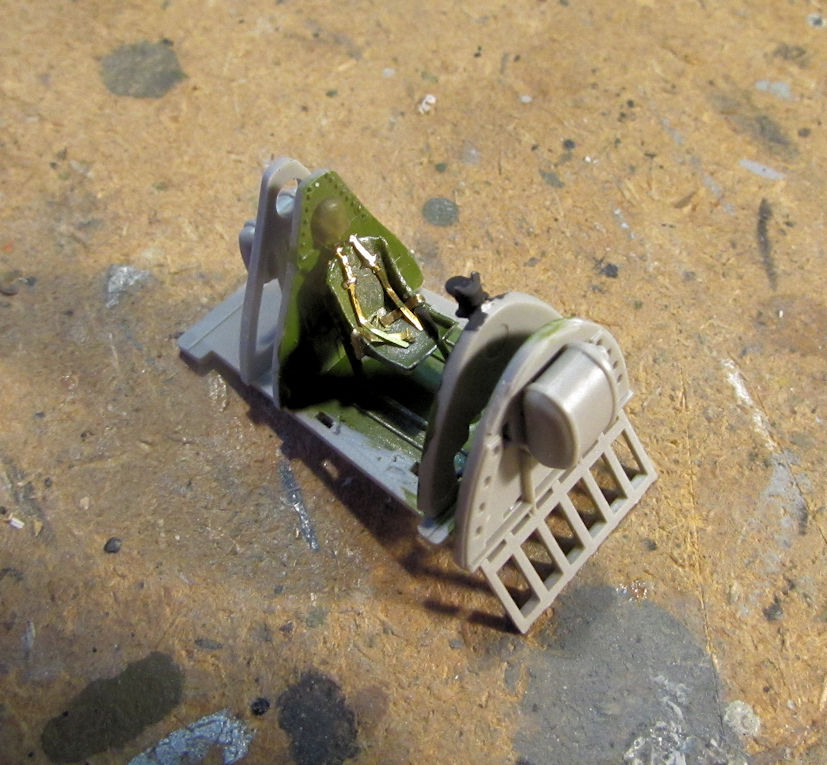
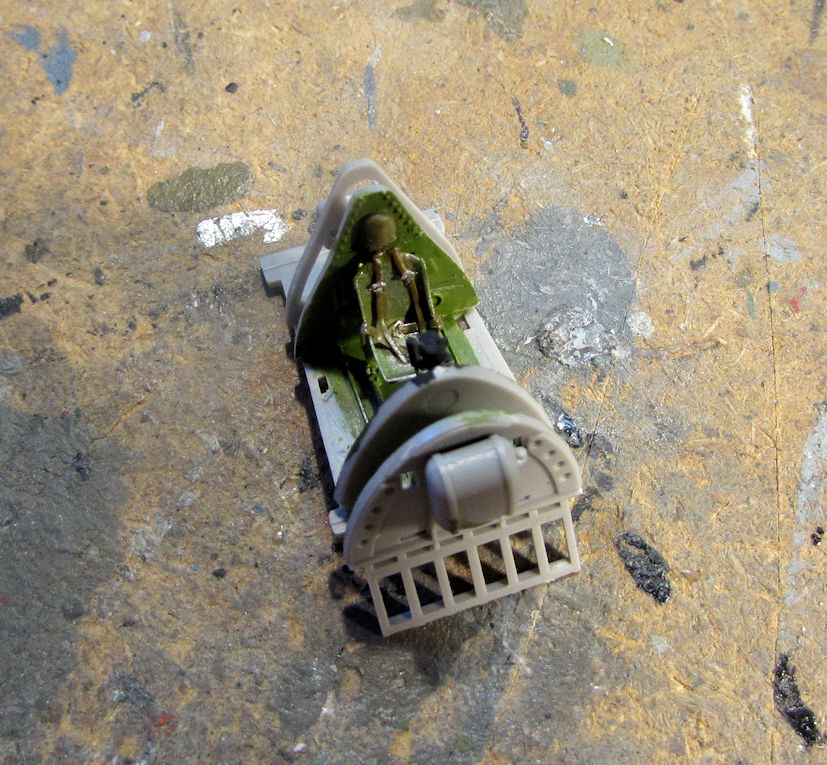
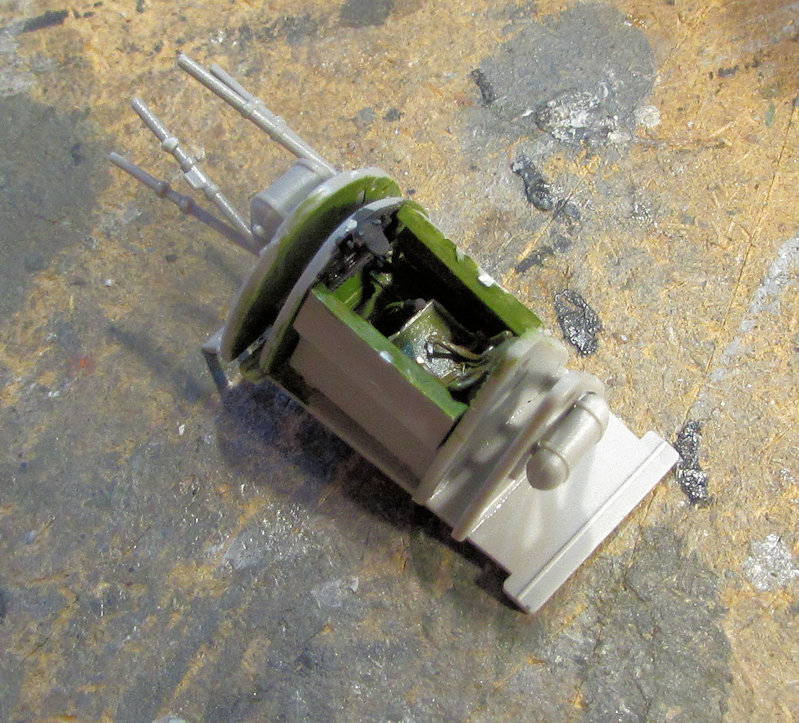
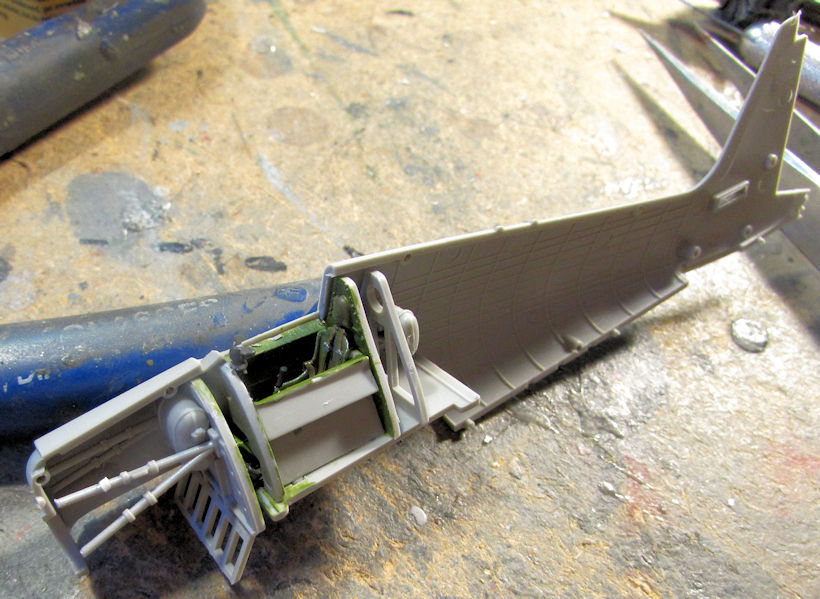
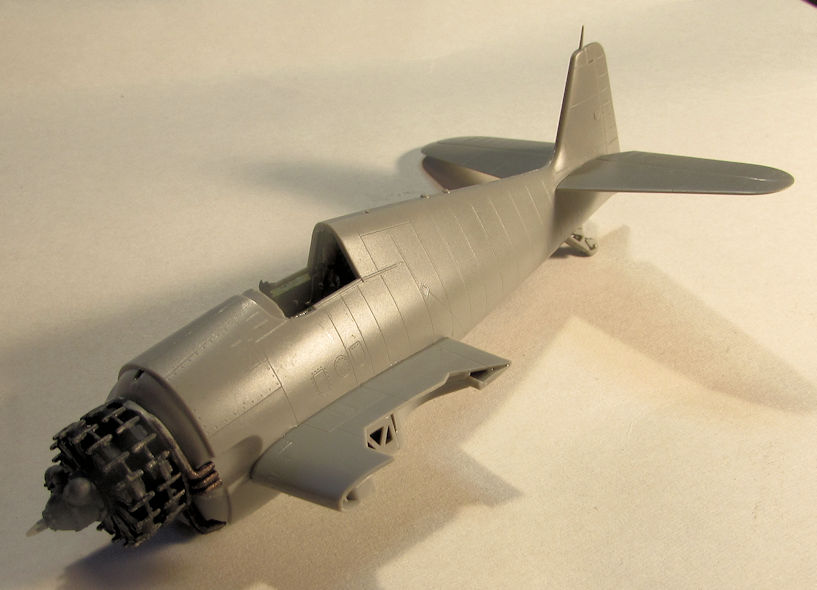
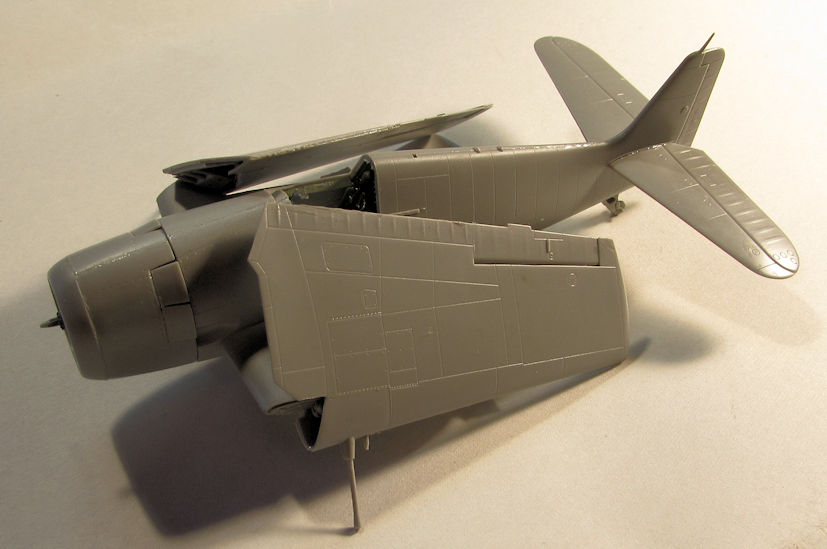
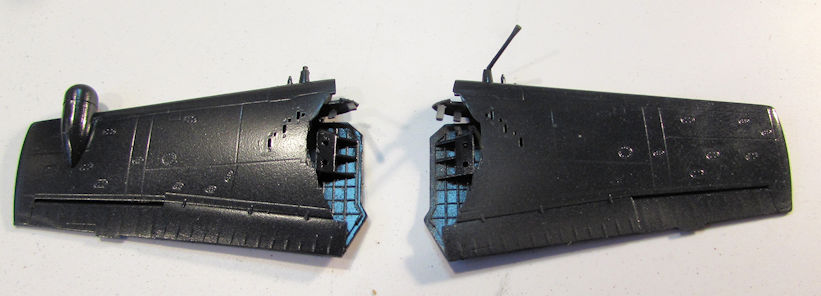
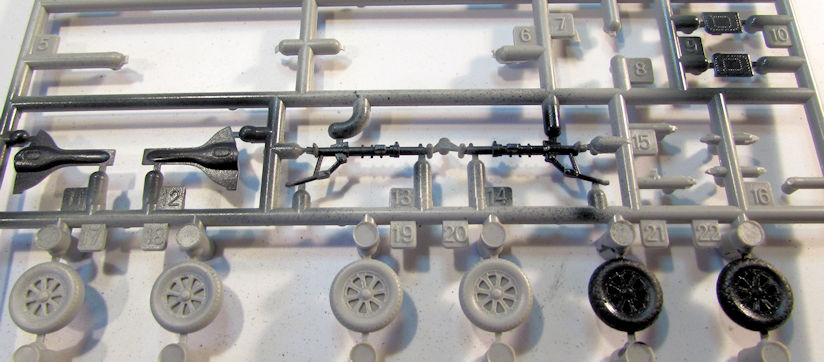
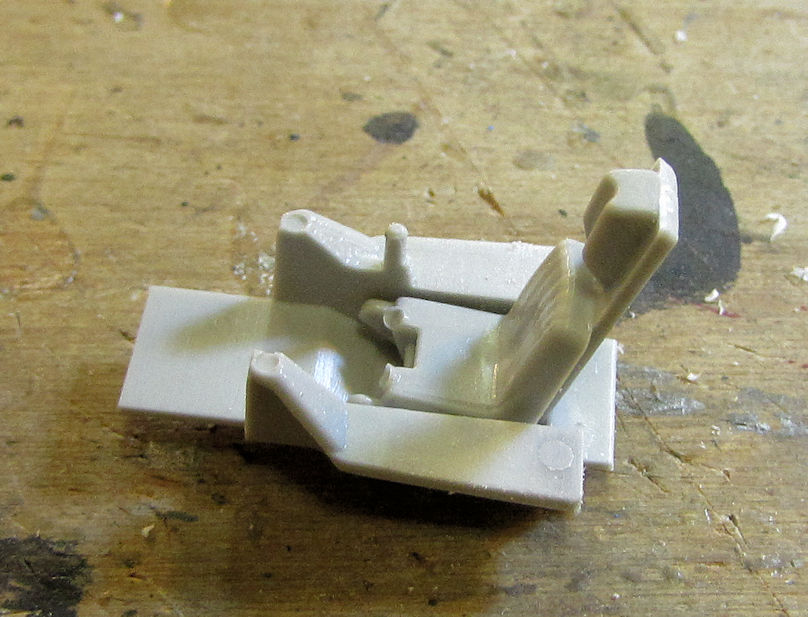
Once again I'll start with some aircraft. I started one aircraft and continued a second one in hopes of getting them to the paint stage so I can paint them along with about seven others on the paint staging area. Since I wanted to build something simple, I pulled out my Italeri F-16 Fighting Falcon which will be made into a single-seat Italian Falcon. Naturally, I started with the (very!) basic cockpit:
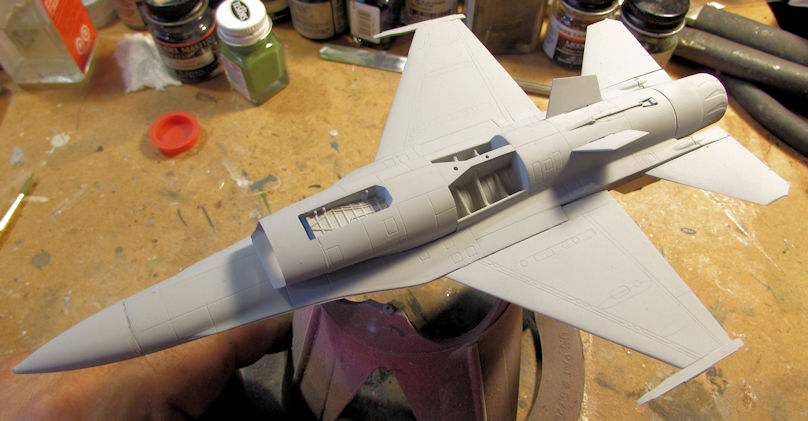
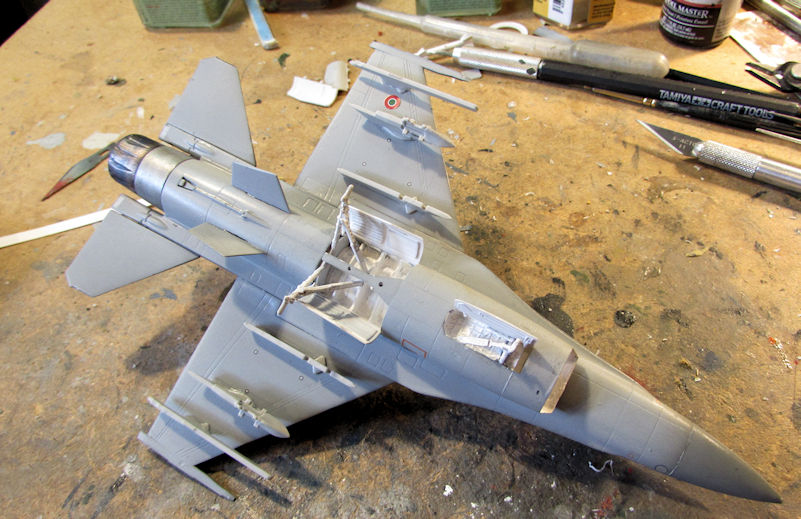
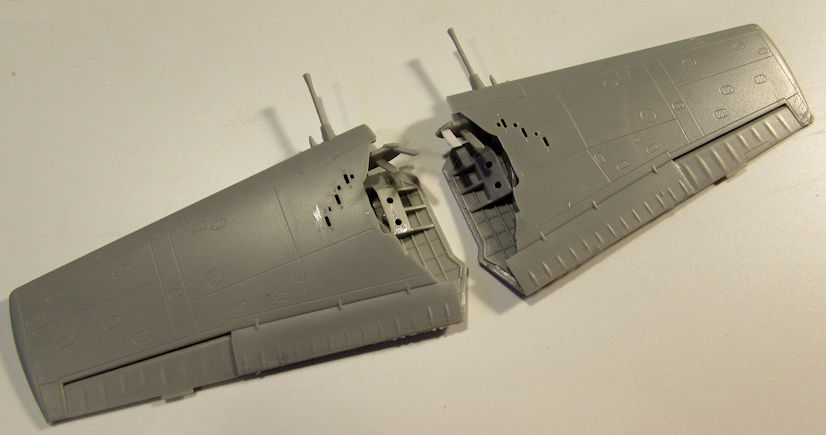
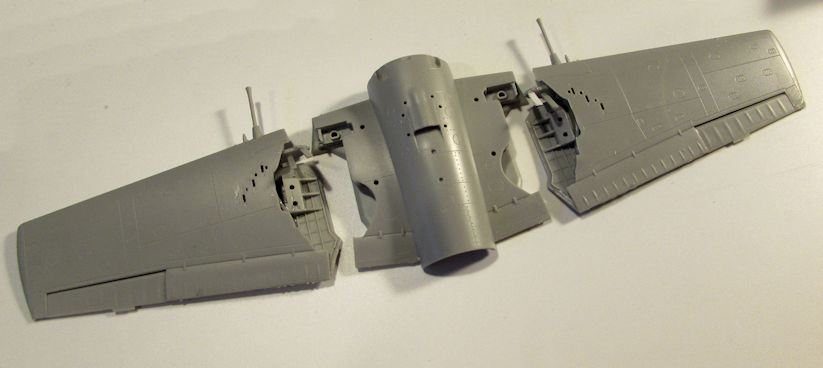
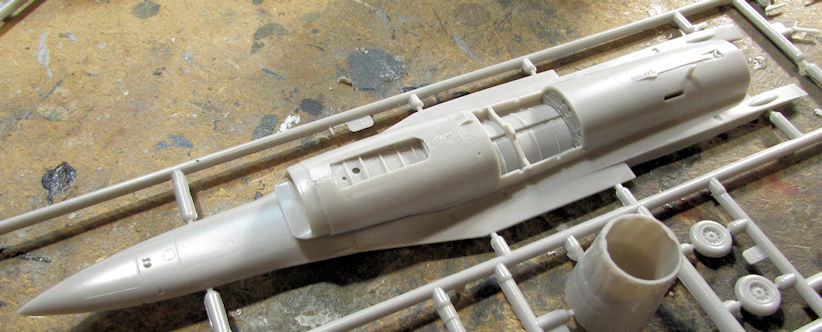
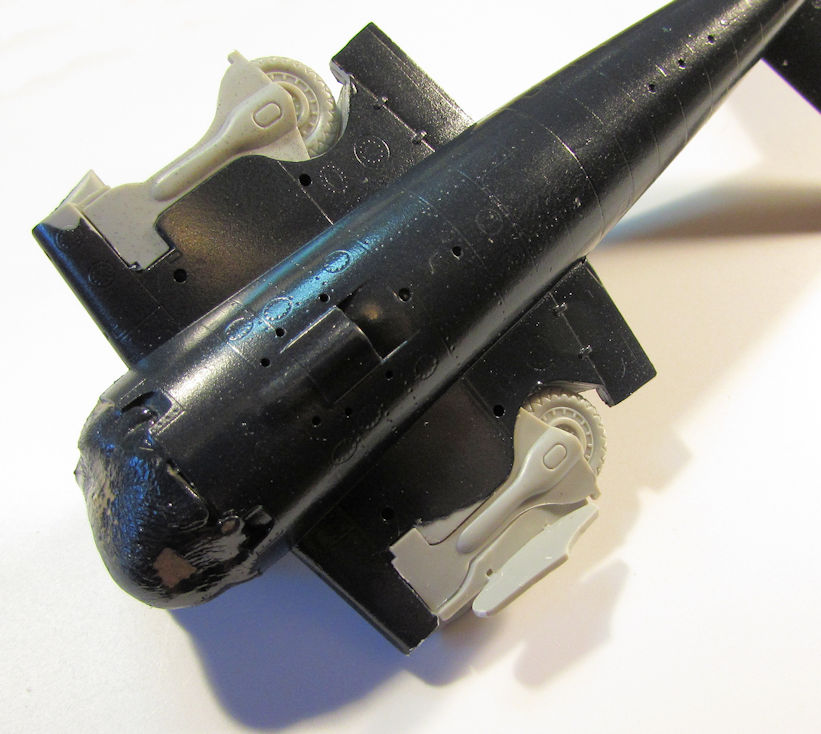
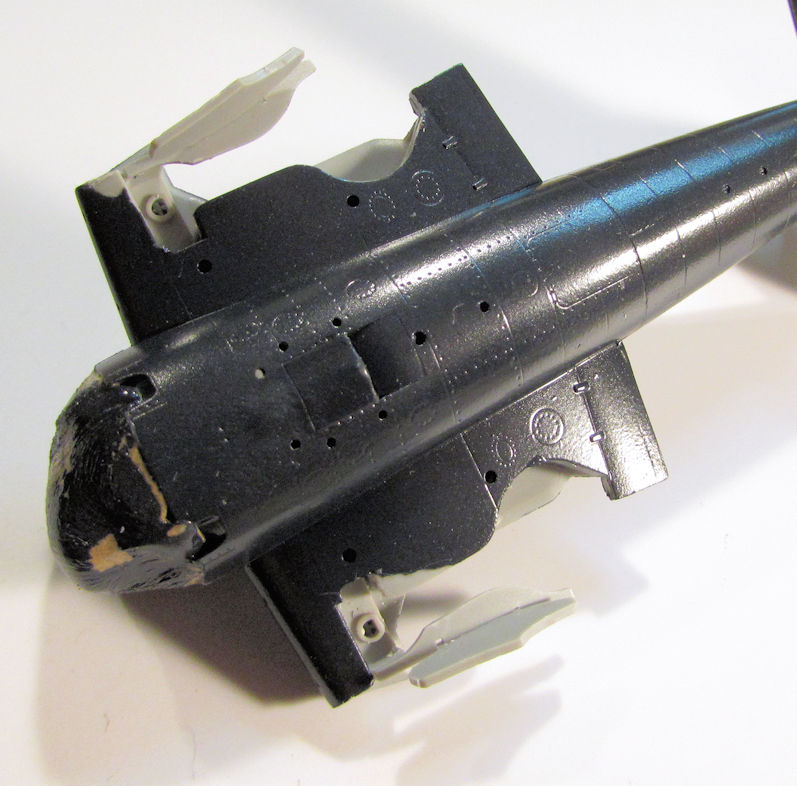
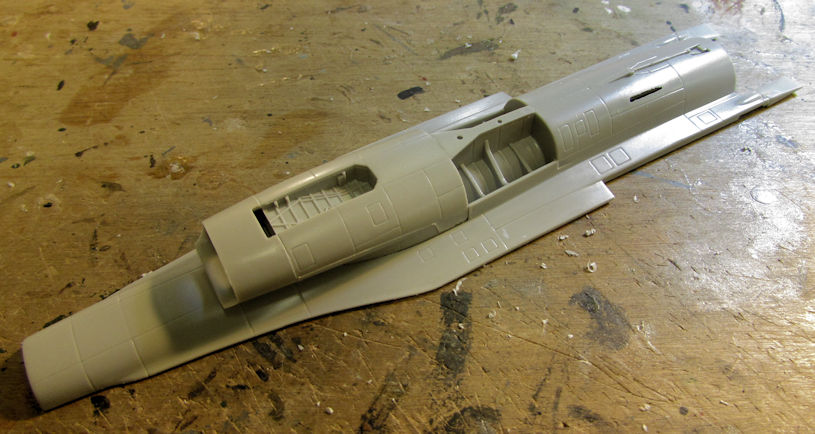
Later I added all the parts to the underside; air intake, main gear bay parts etc.:
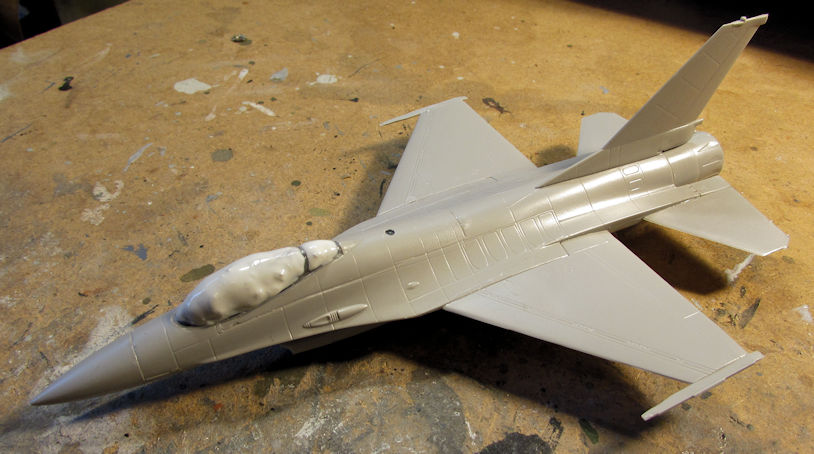
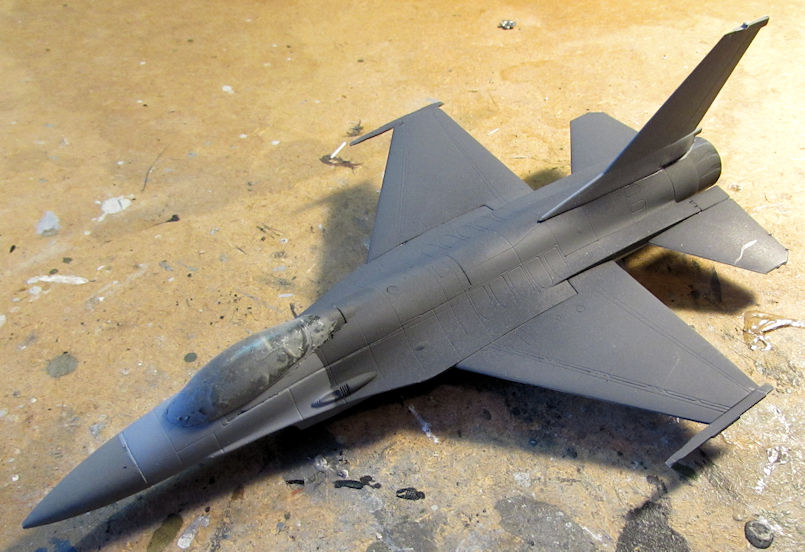
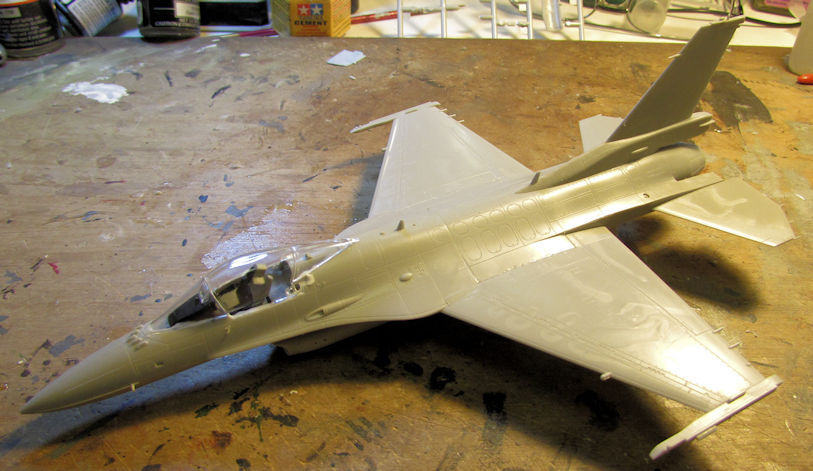
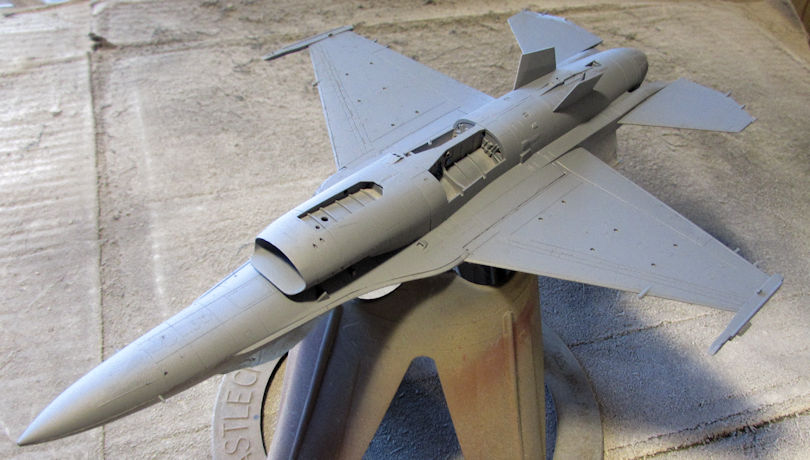
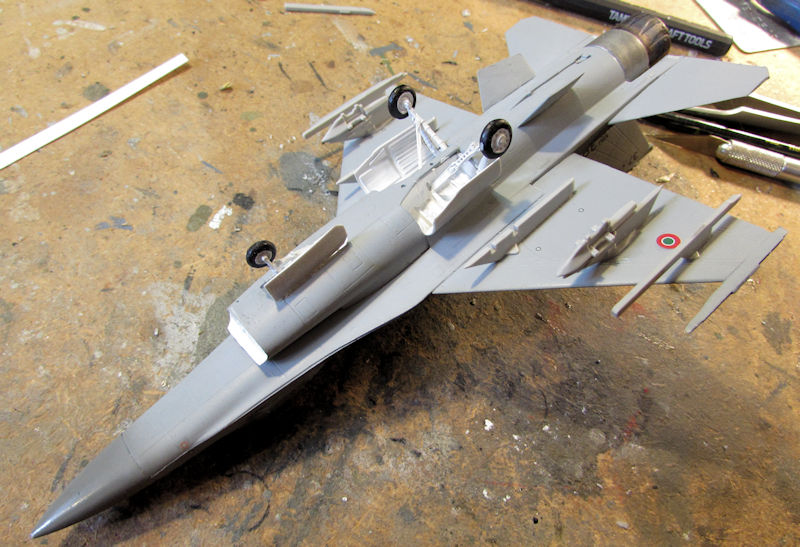
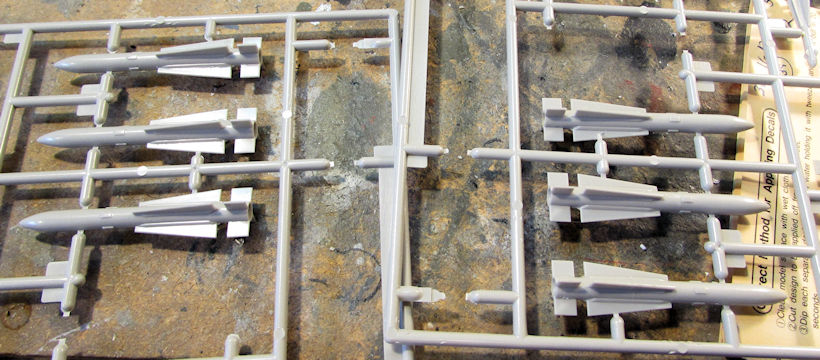
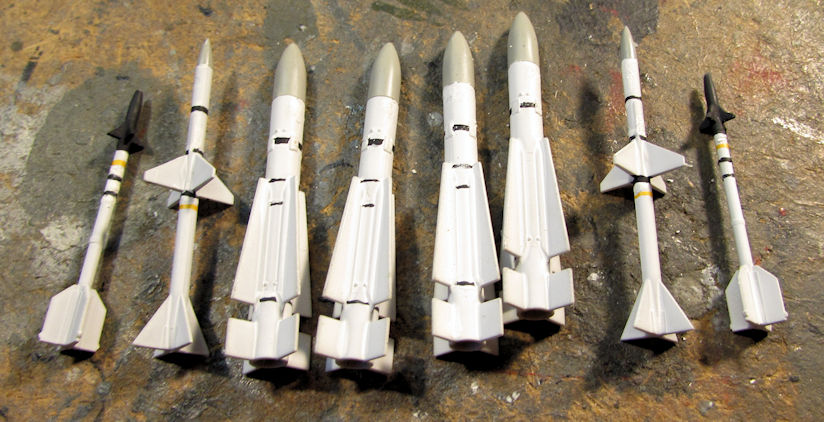
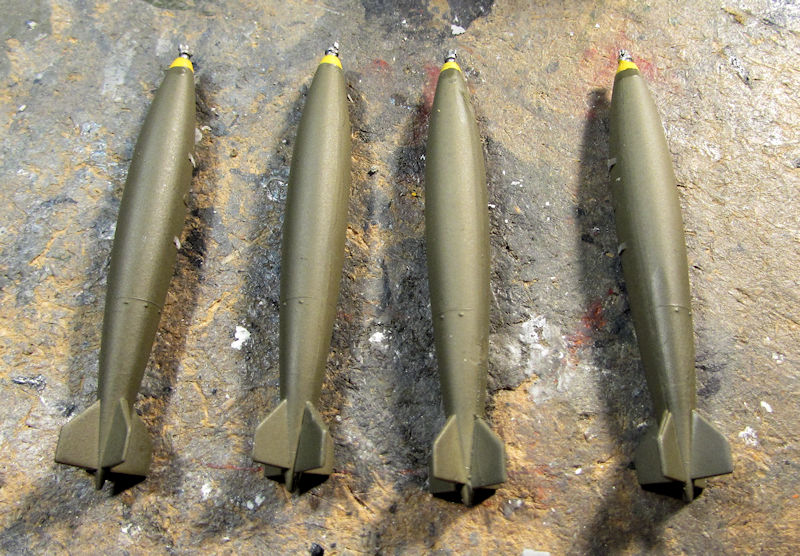
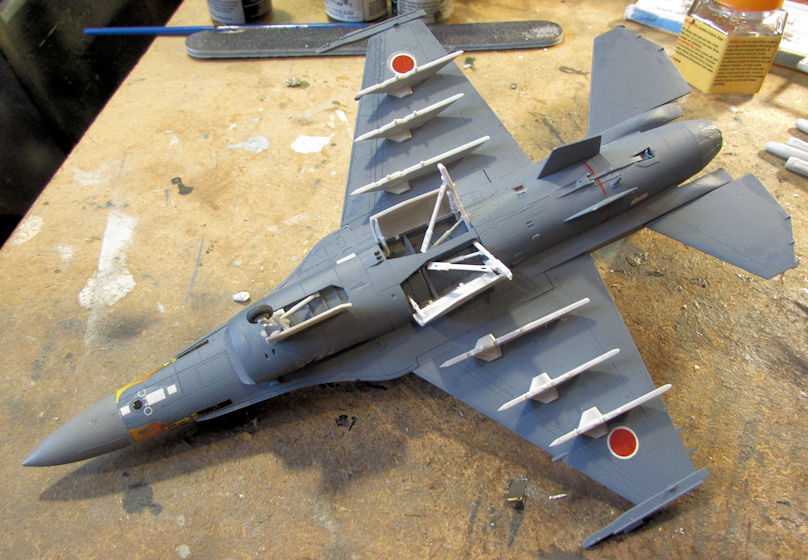
I had also gone through and cemented all the halves of the ordinance and underwing stores to complete them and have them ready to hang under the wings when the time comes. Later, I added weight in the front of this plane as per the instructions and closed it all up. Adding the tail parts, wings and canopy has brought this to the paint stage as planned:
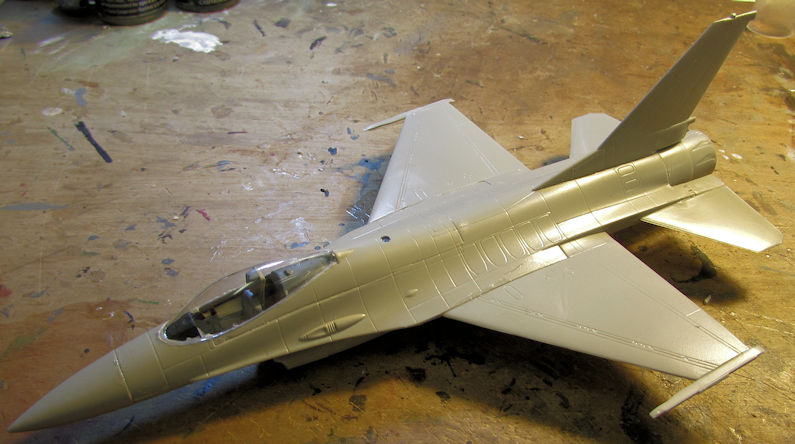
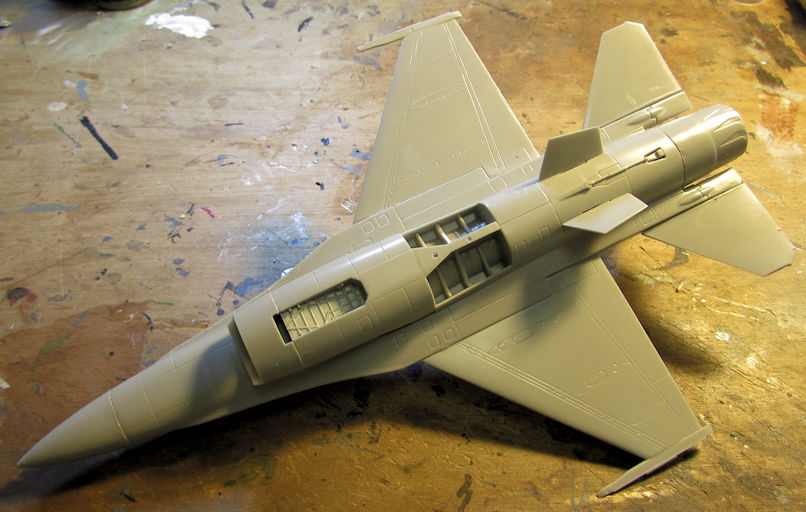
There is a bit of sanding and filling I do need to do; as well as masking the canopy, but this is already right where I was hoping to get it. I'm going to have a lot of time to spray this and many other models over the next couple weeks as I follow Doc's orders. I'm just hoping I can get them all done.
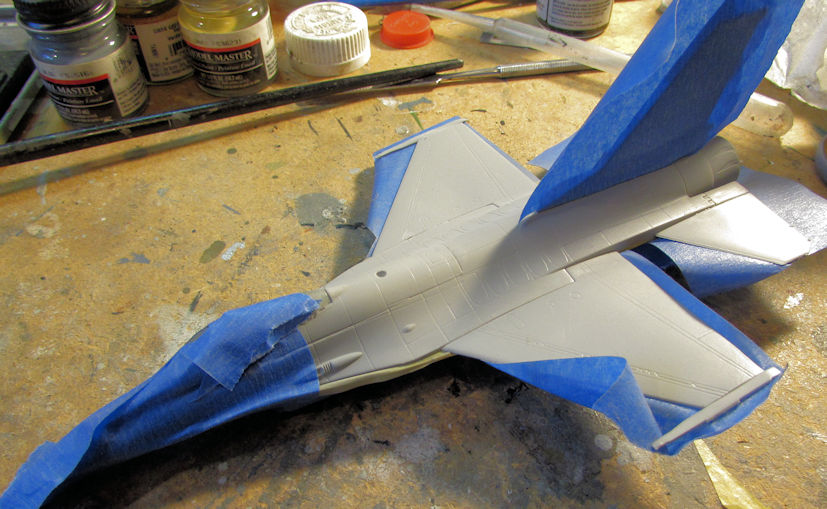
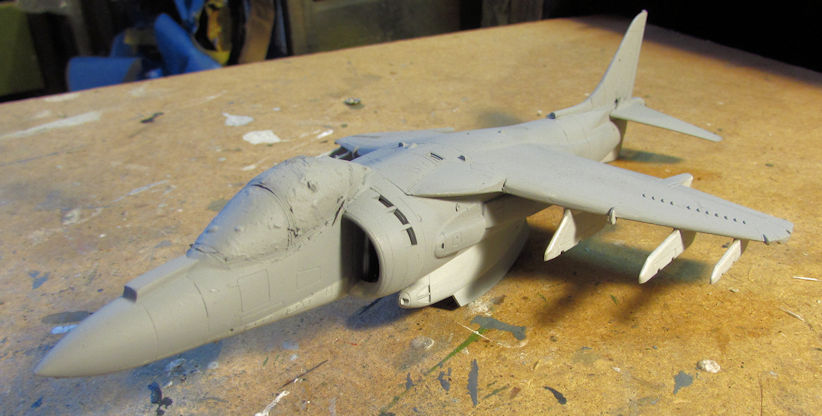
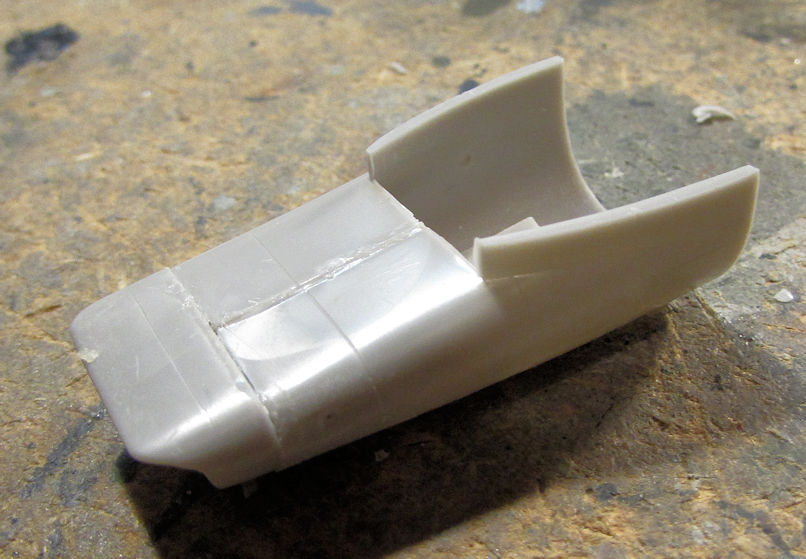
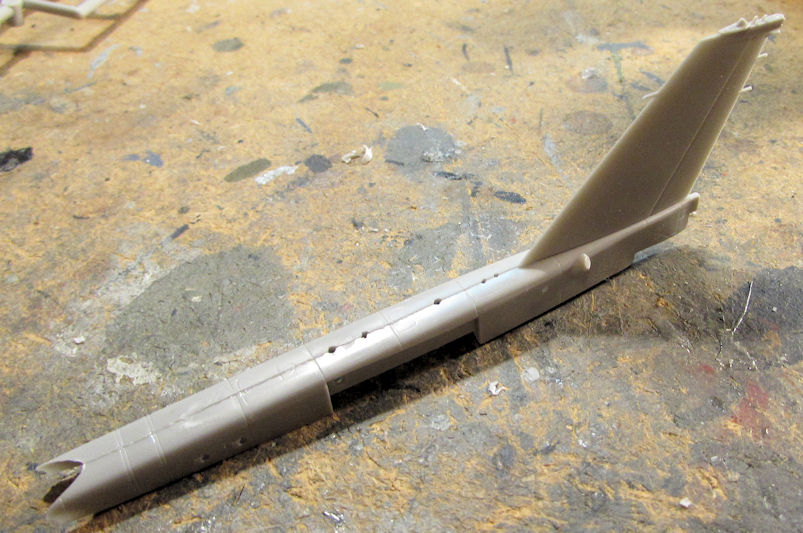
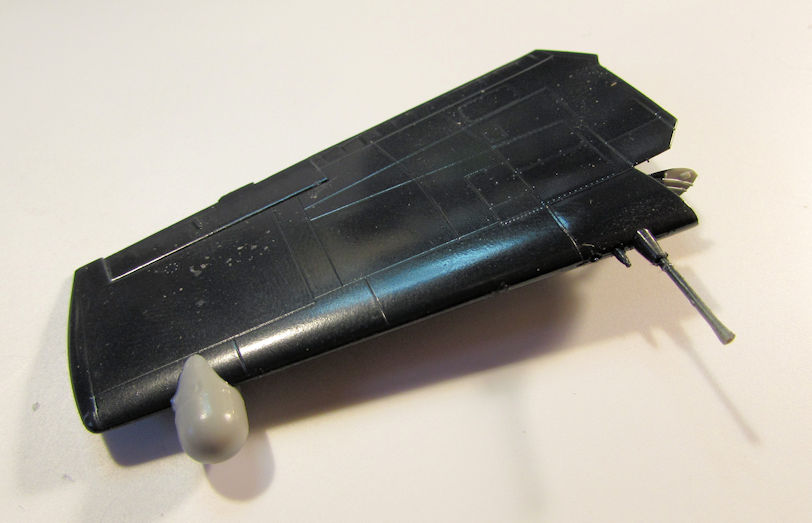
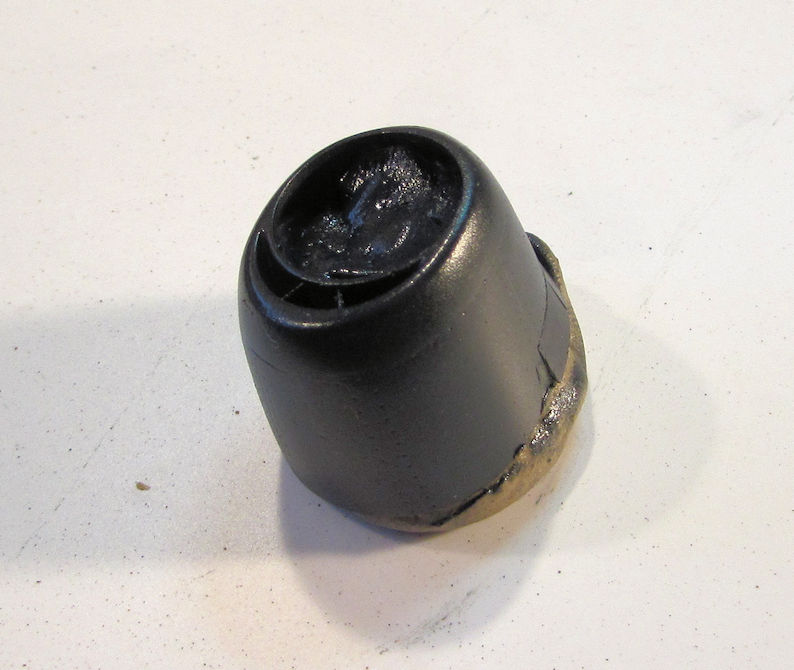
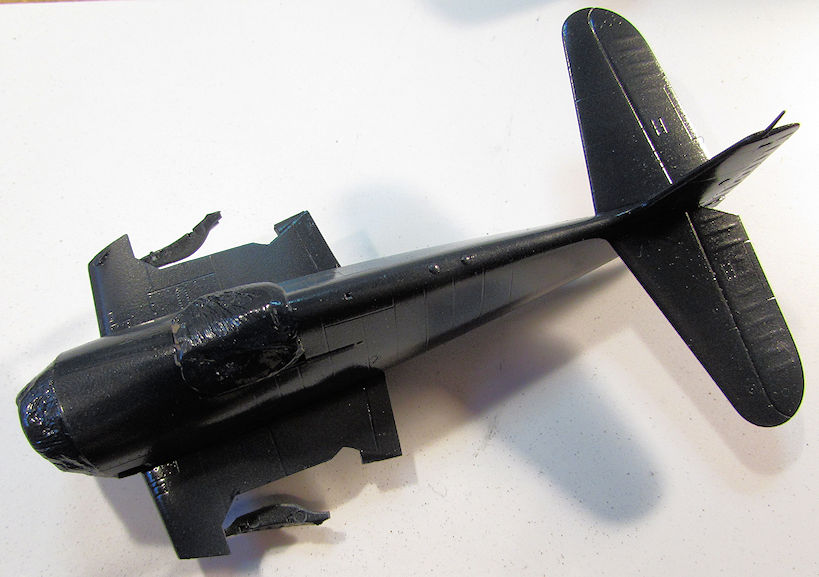
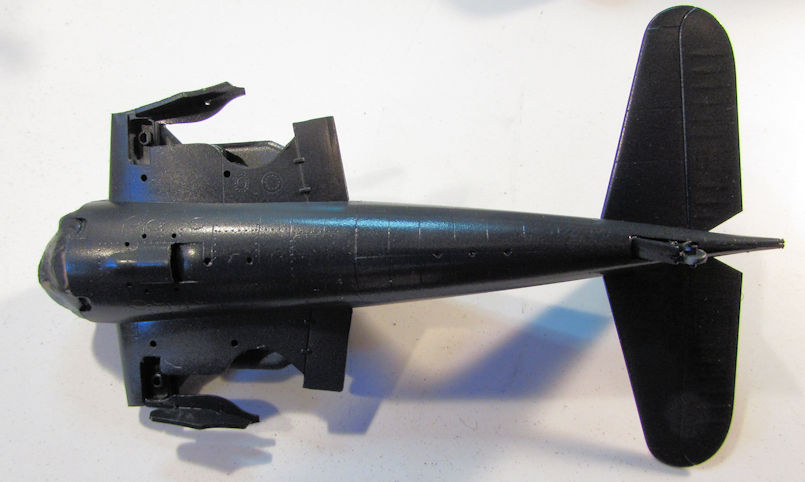
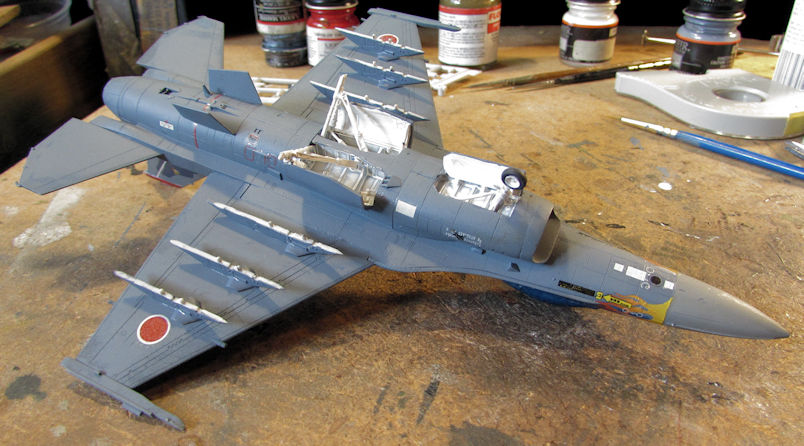
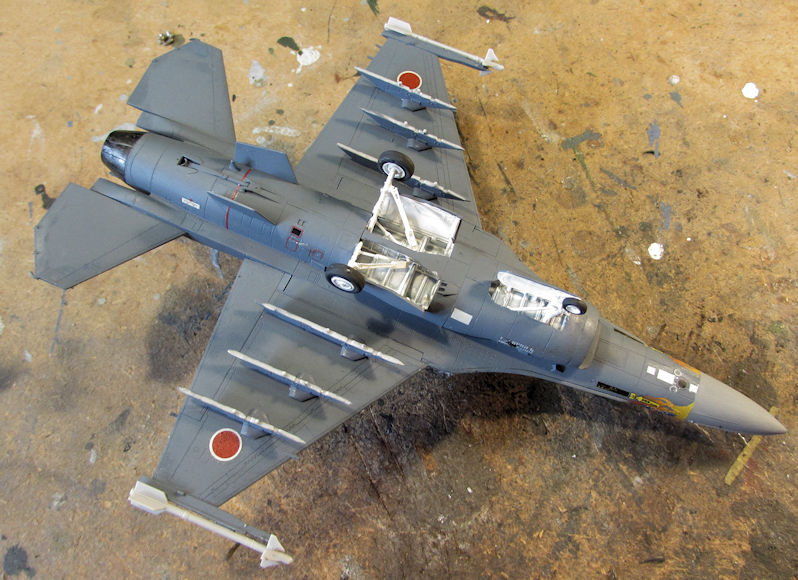
Moving on, I pulled out the Japanese F-2A fighter that I'd assembled the cockpit for some time back. This time, I cemented the air intake into place, assembled the rear portion of the fuselage and added the vertical tail piece:

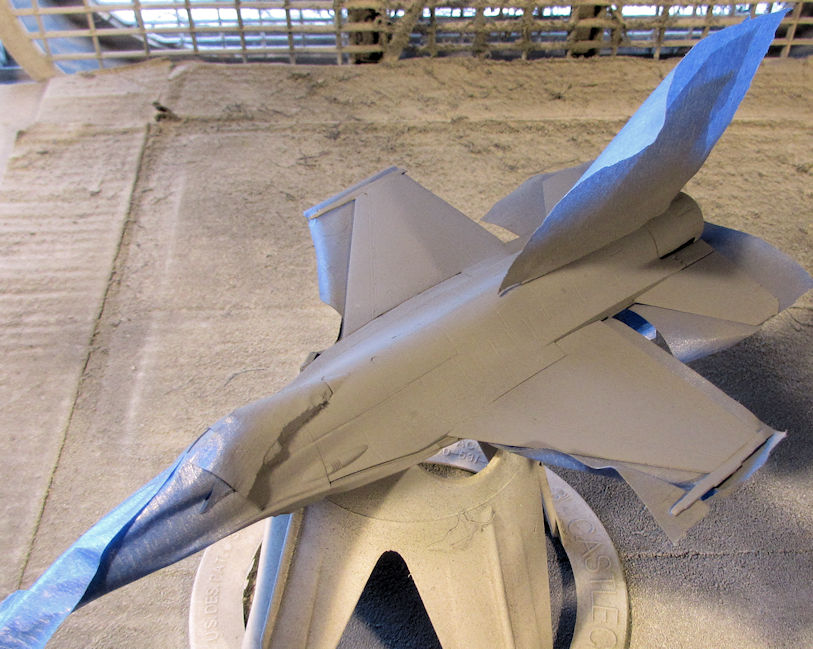
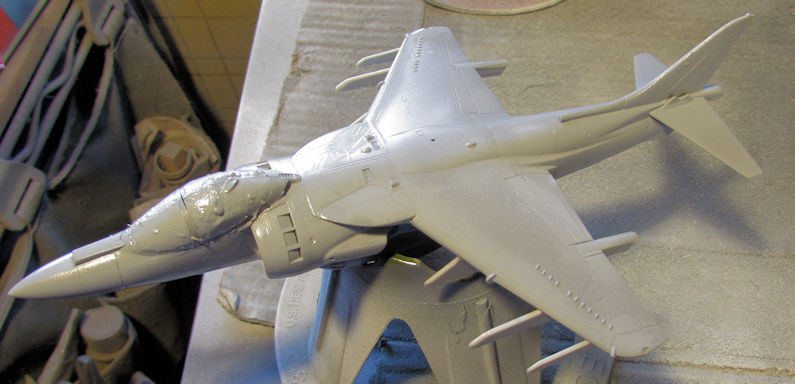
Later I added the cockpit and painted it. With some additional weight for this as well, it was ready to close up:
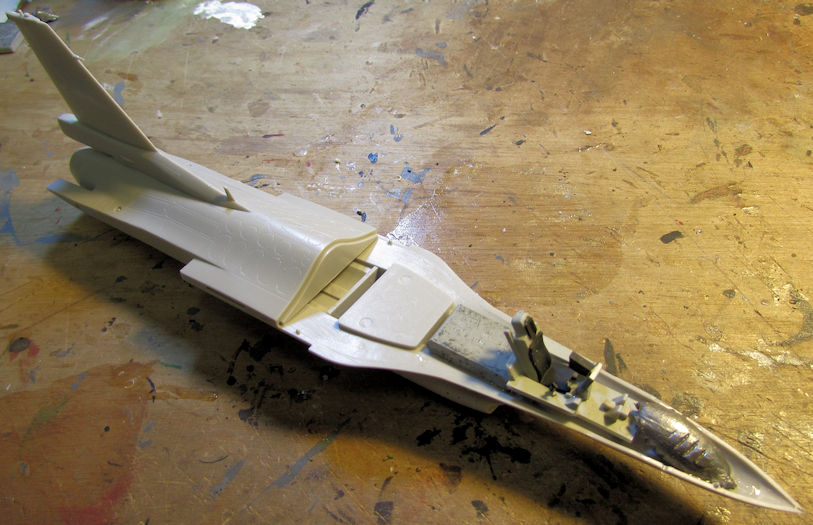
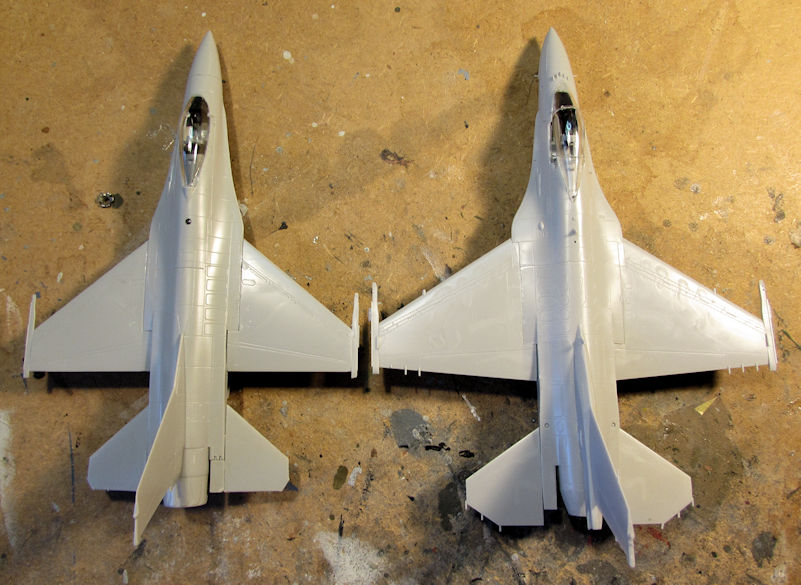
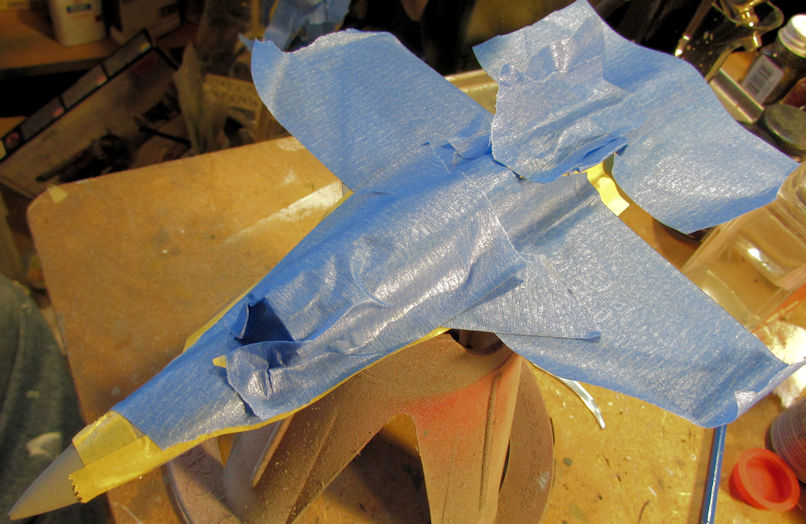
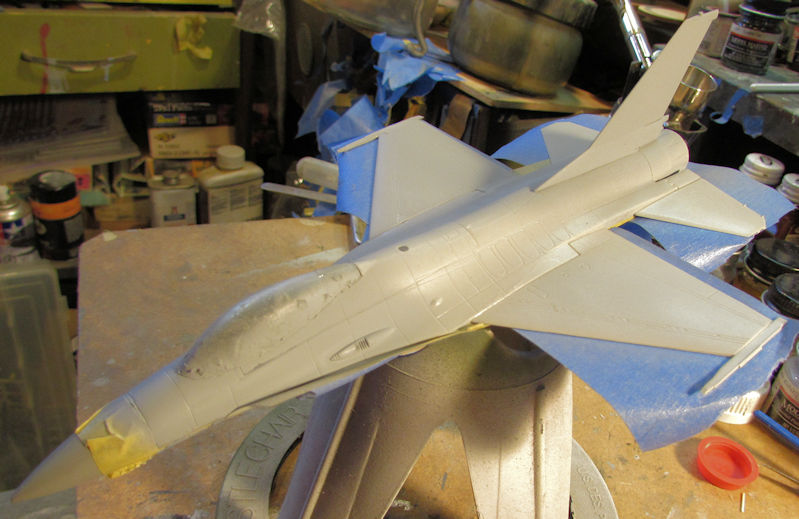
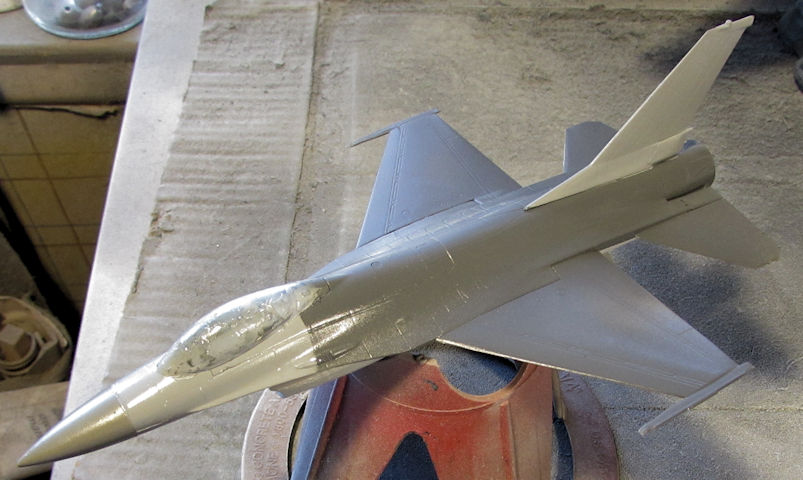
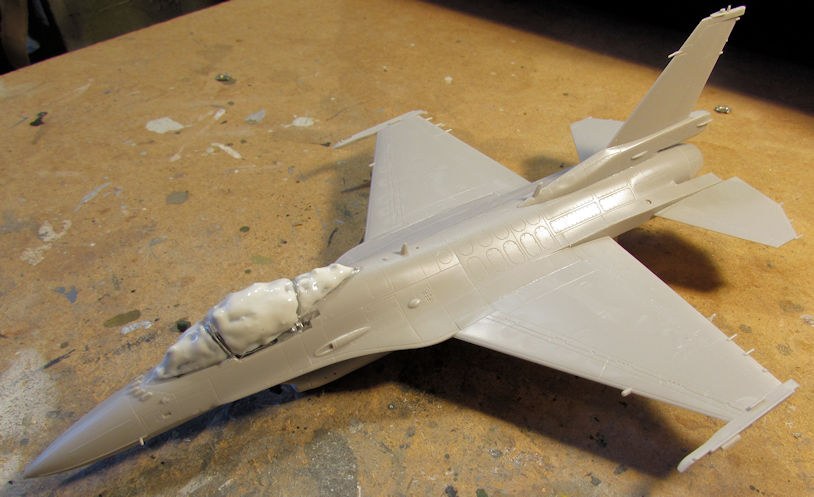
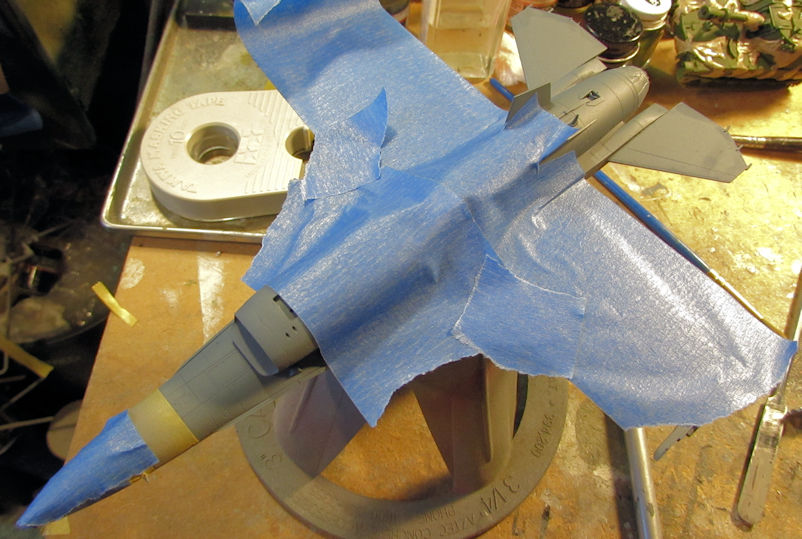
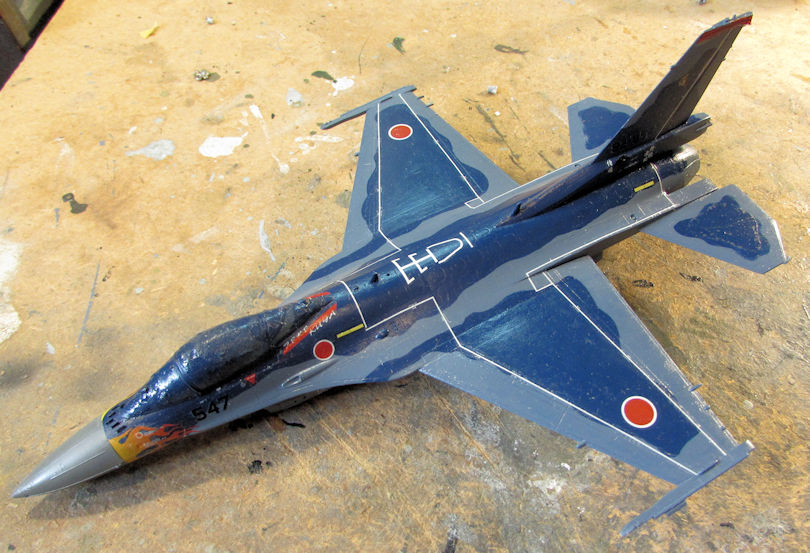
After that was done, I added the canopy to this as well, closing it up for paint. All that is left again is a bit of sanding, filling and masking the canopy:
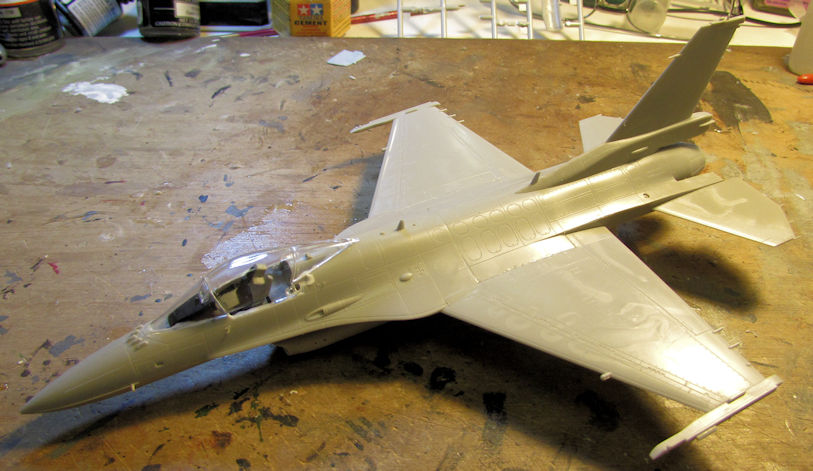
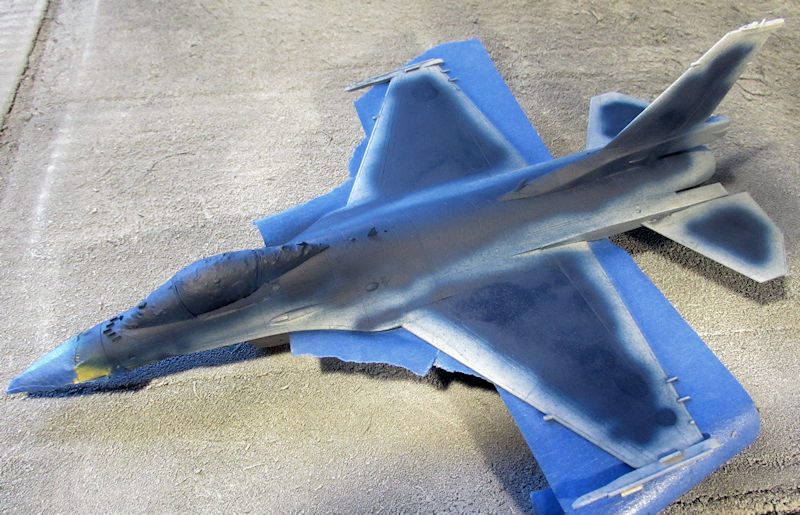
You may think that is the Italian F-16, but look closer: the main difference is in the canopy for the most part. These are two different aircraft.
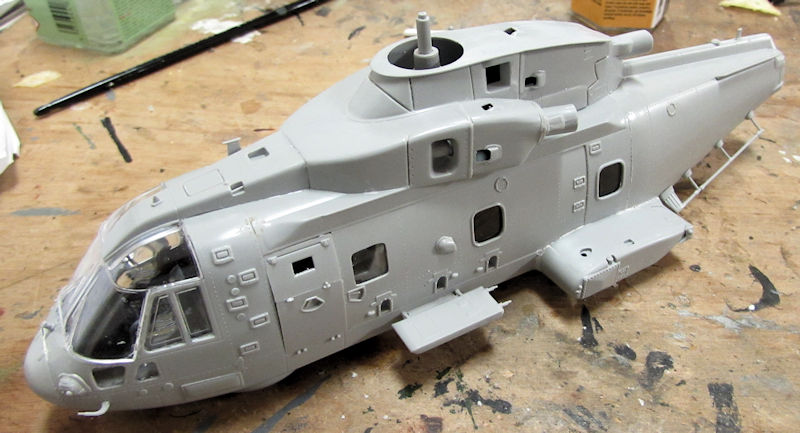
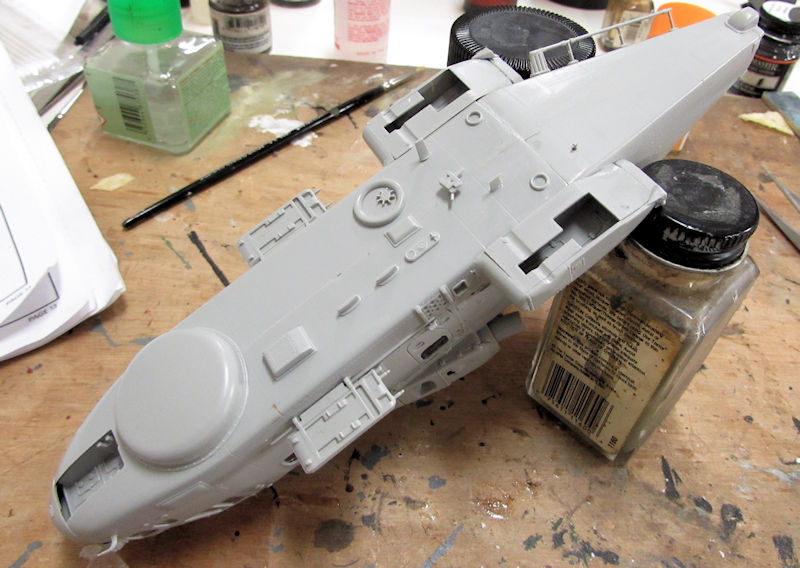
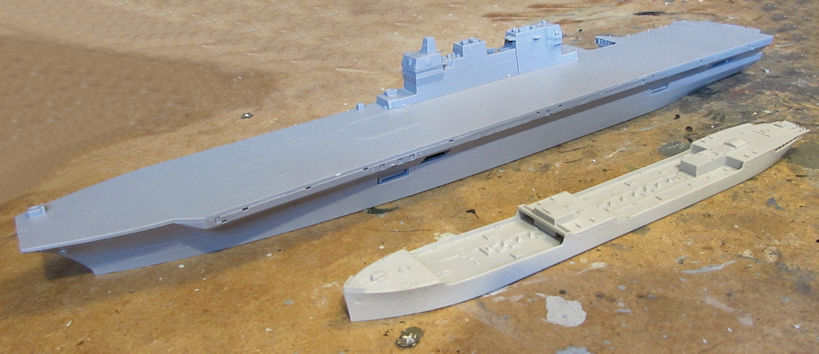
I was also hoping to get further along on my EH-101 Merlin but I ran out of time.
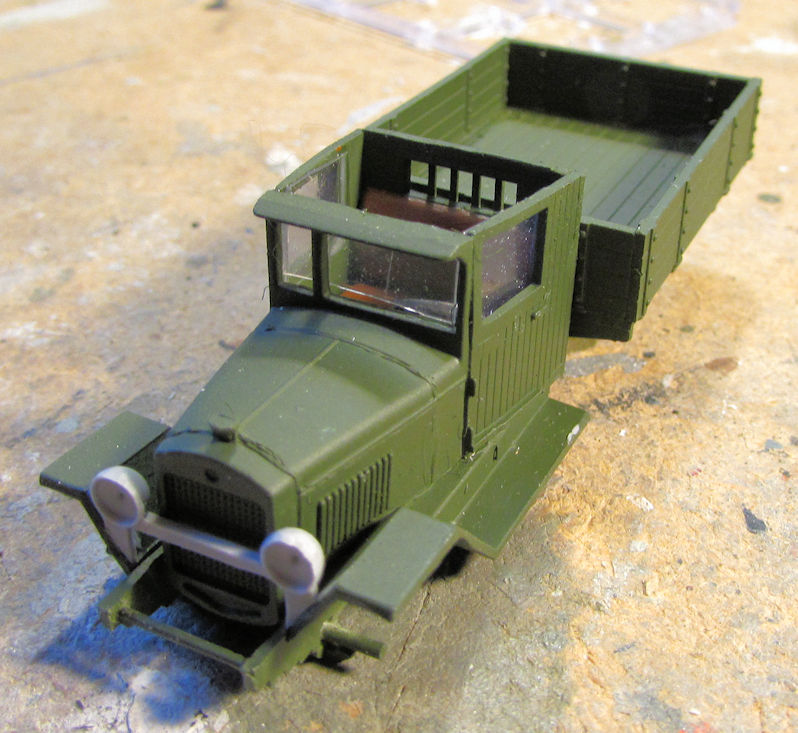
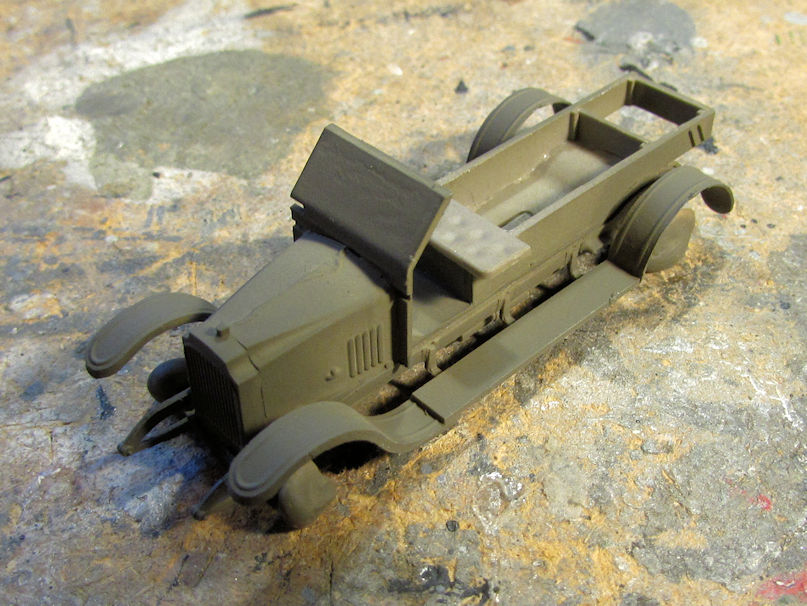
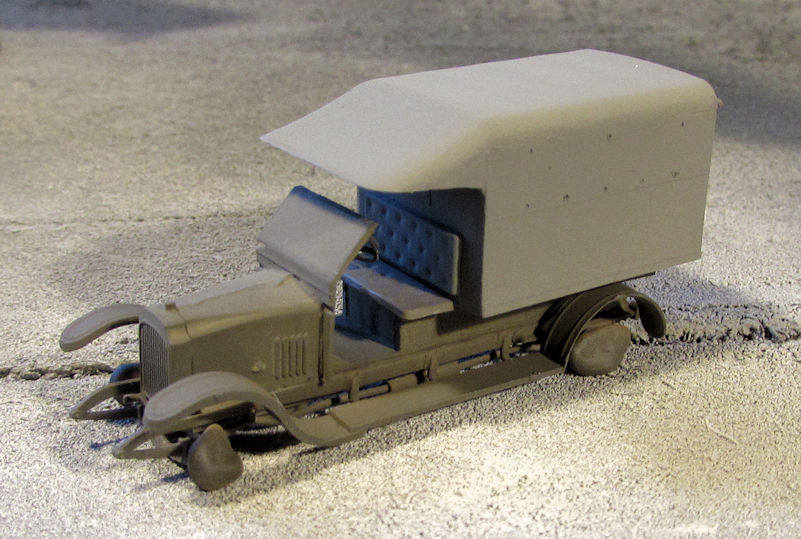
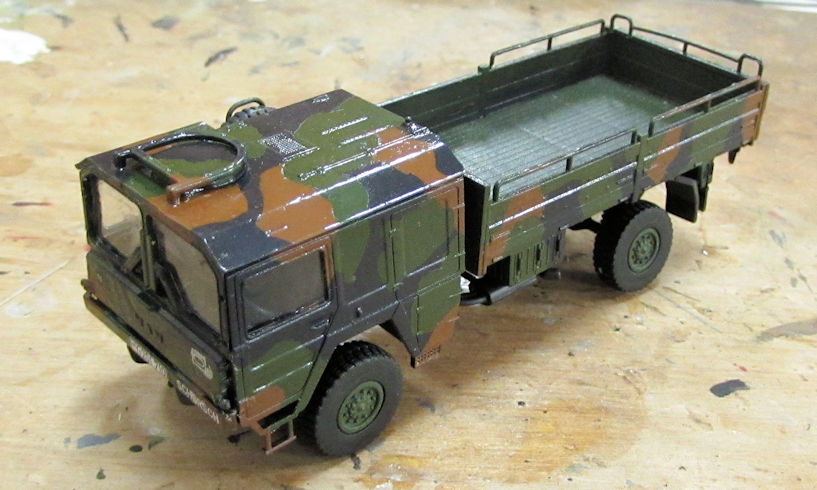
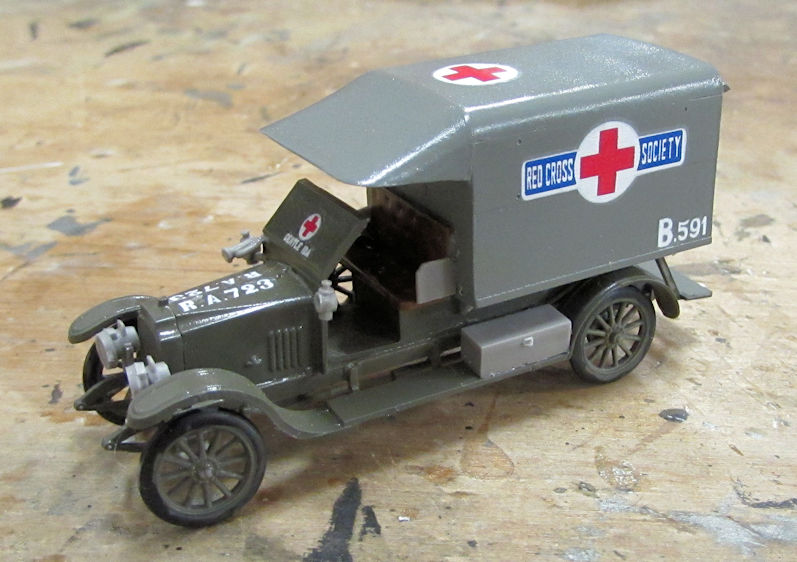
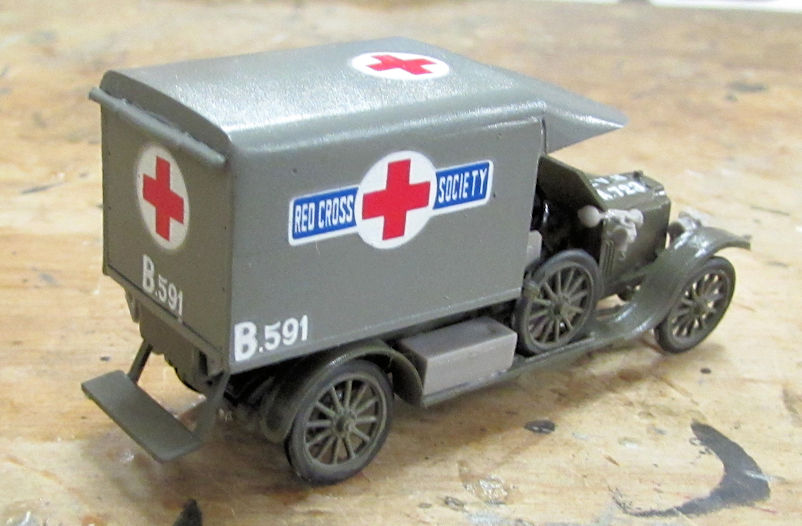
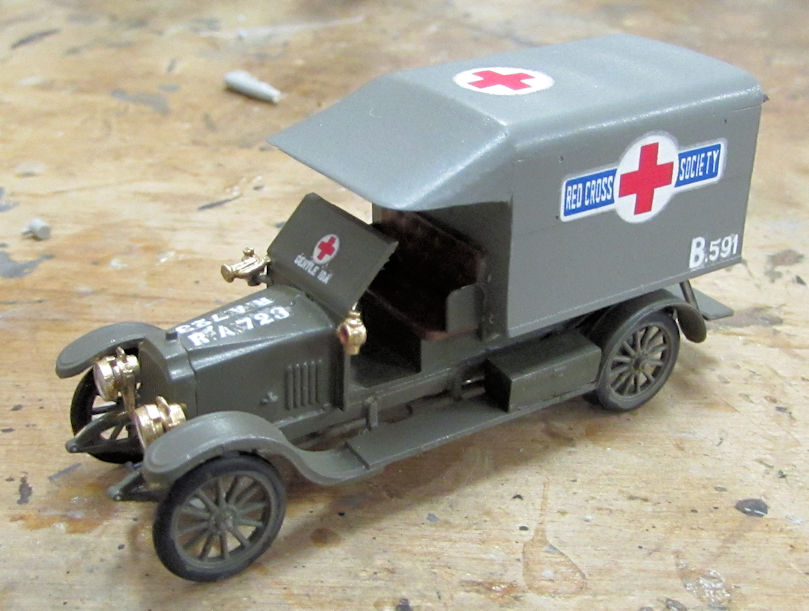
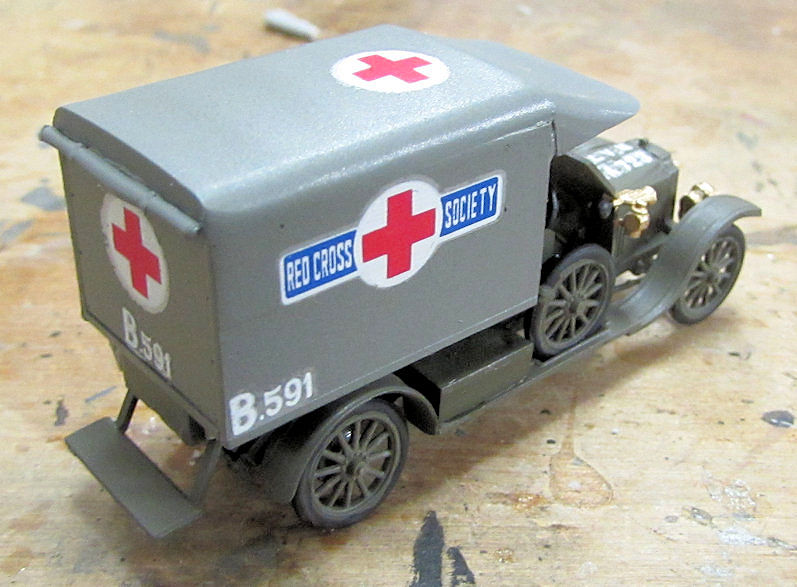
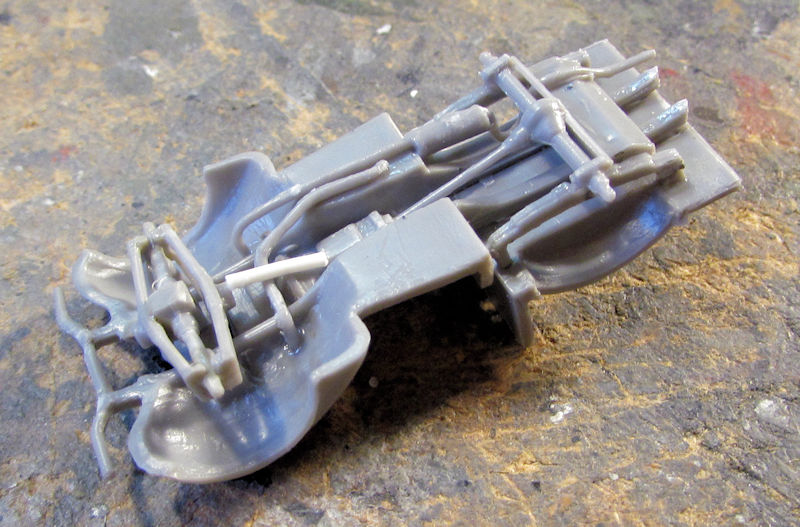
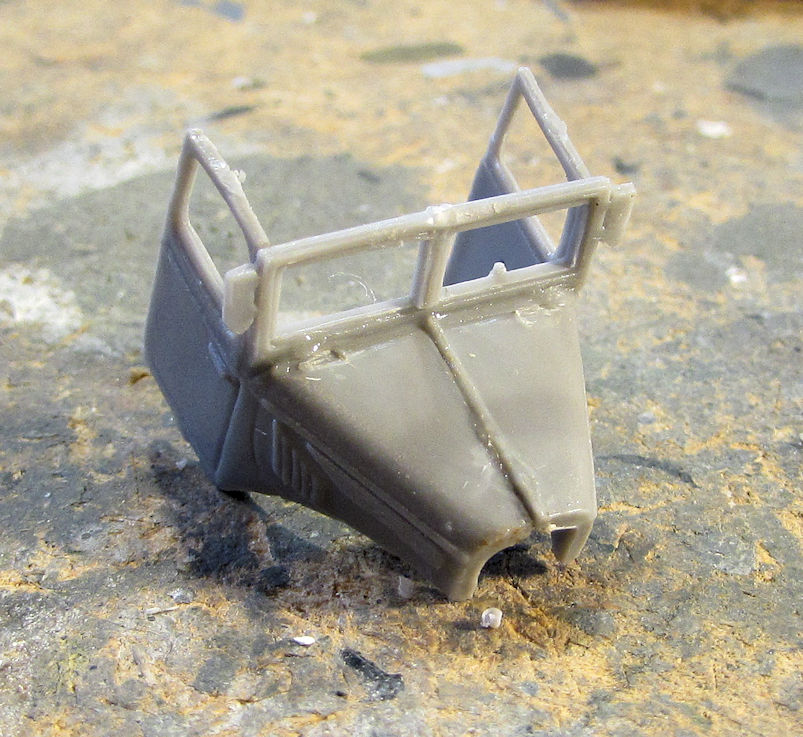
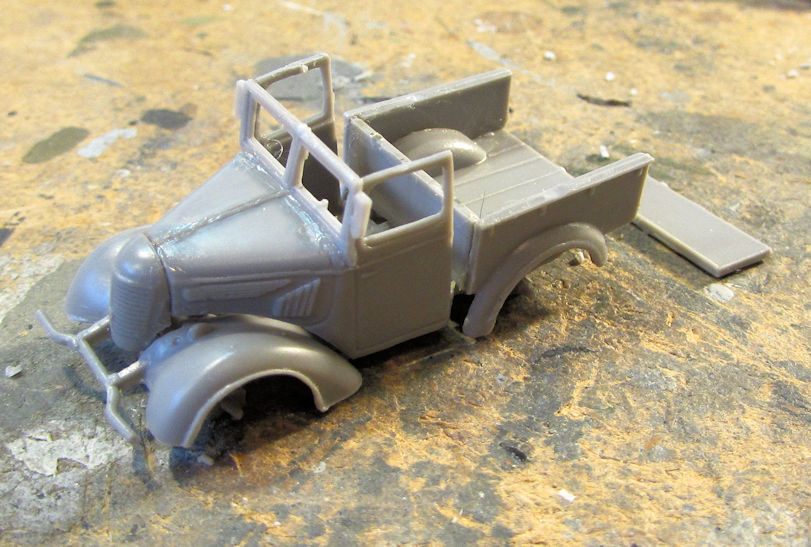
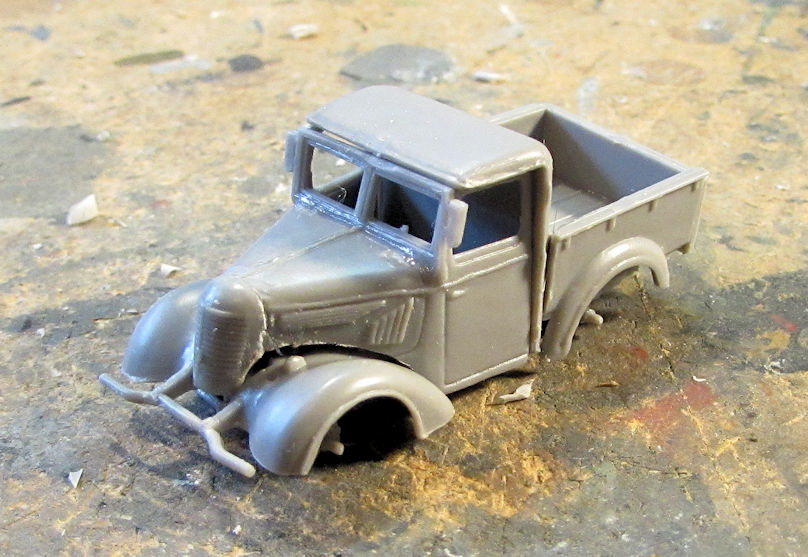
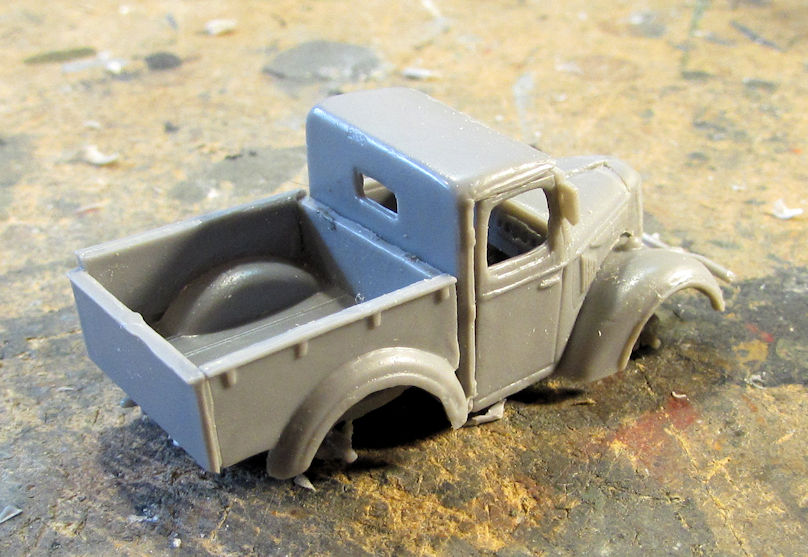
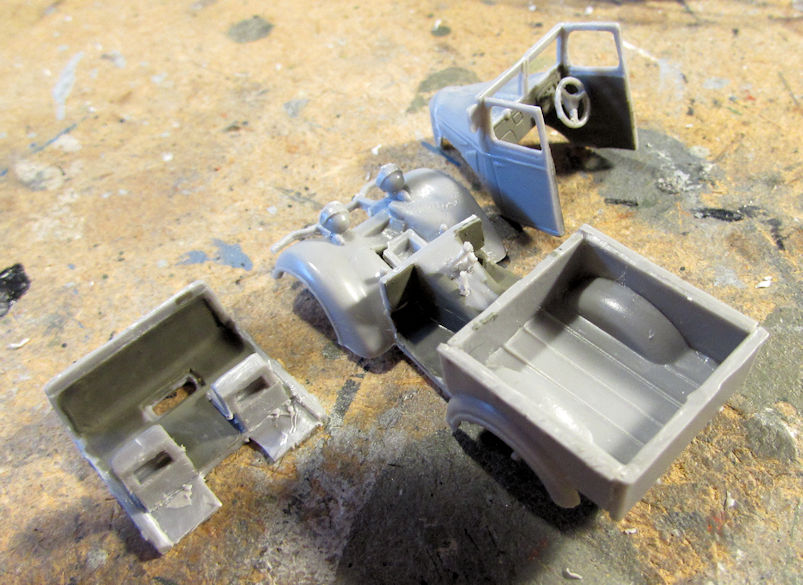
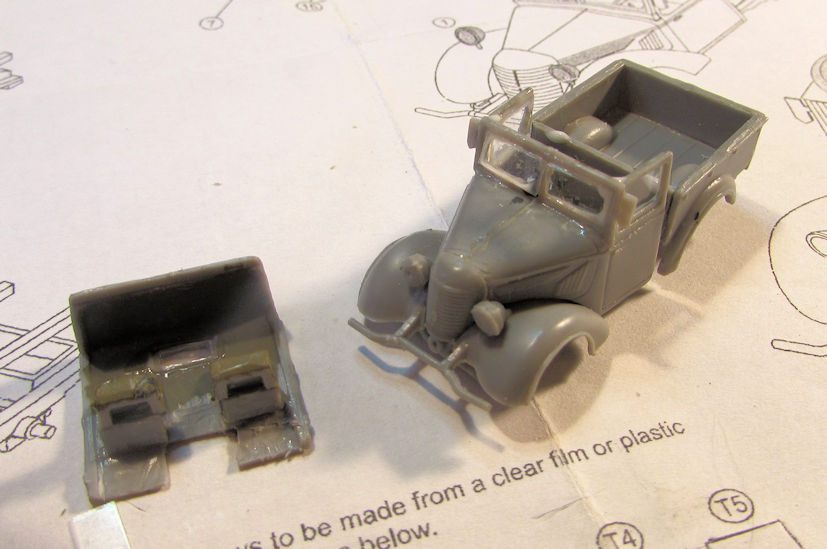
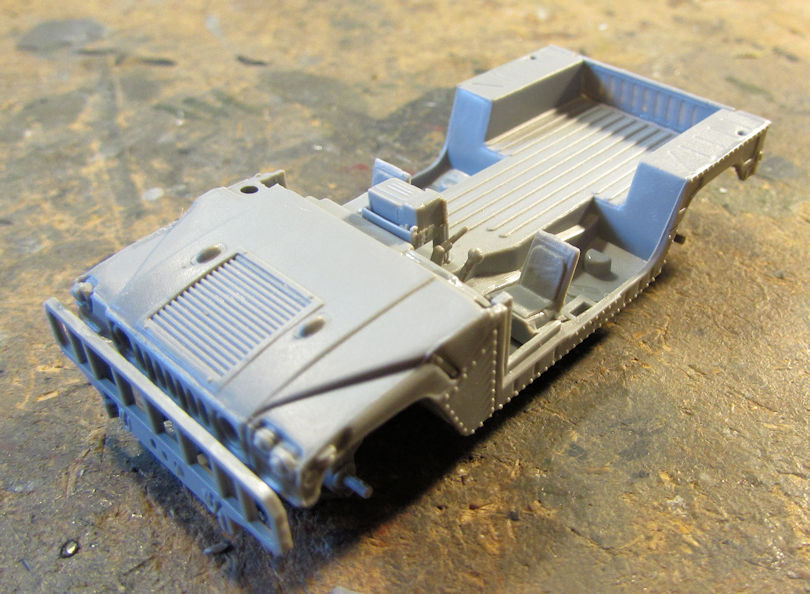
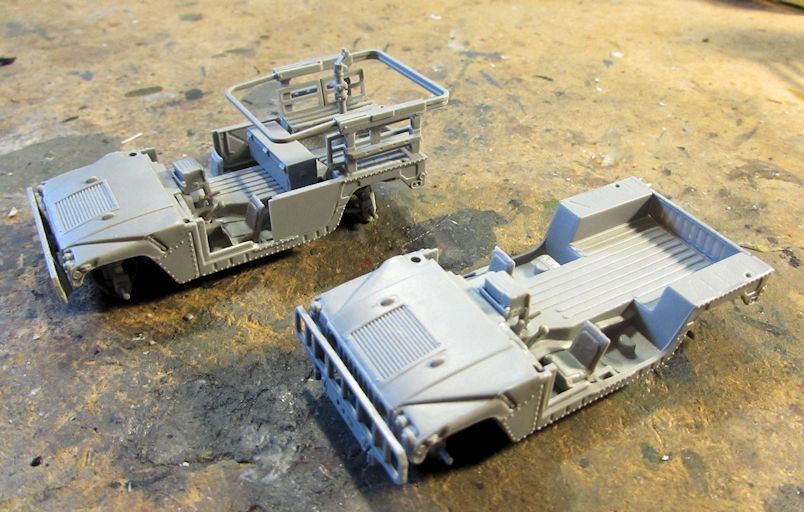
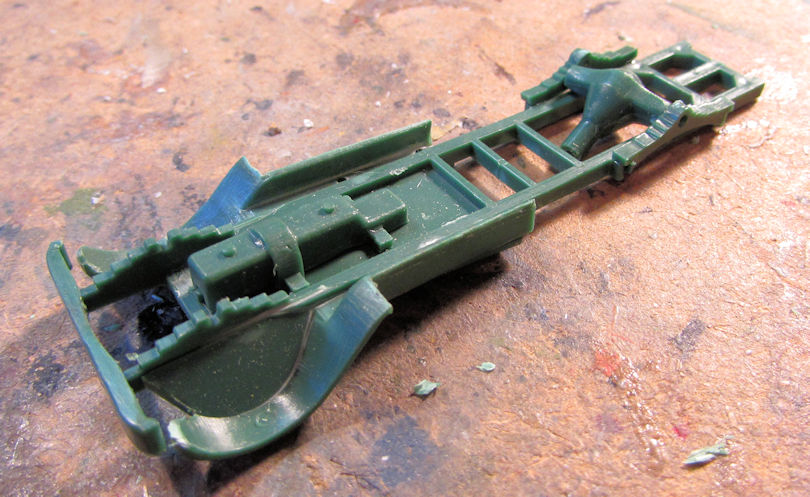
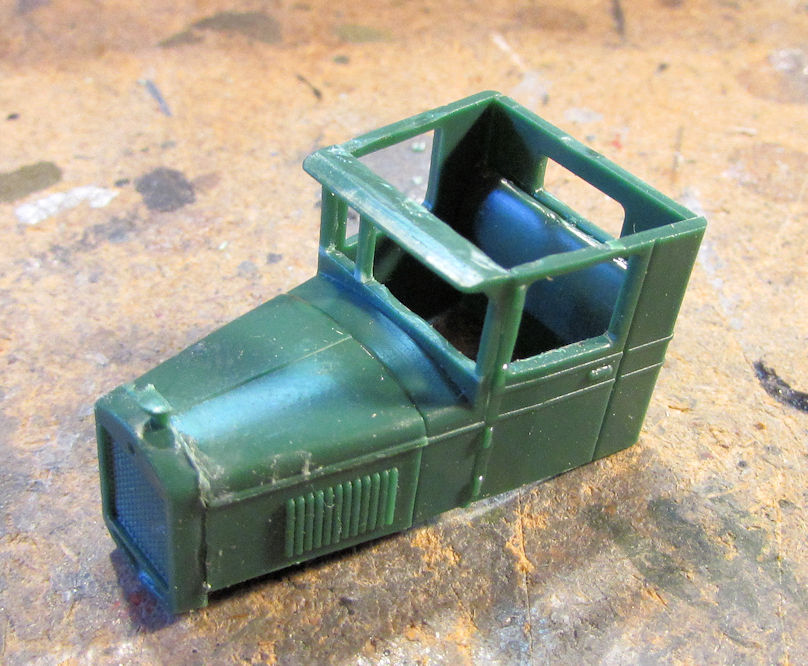
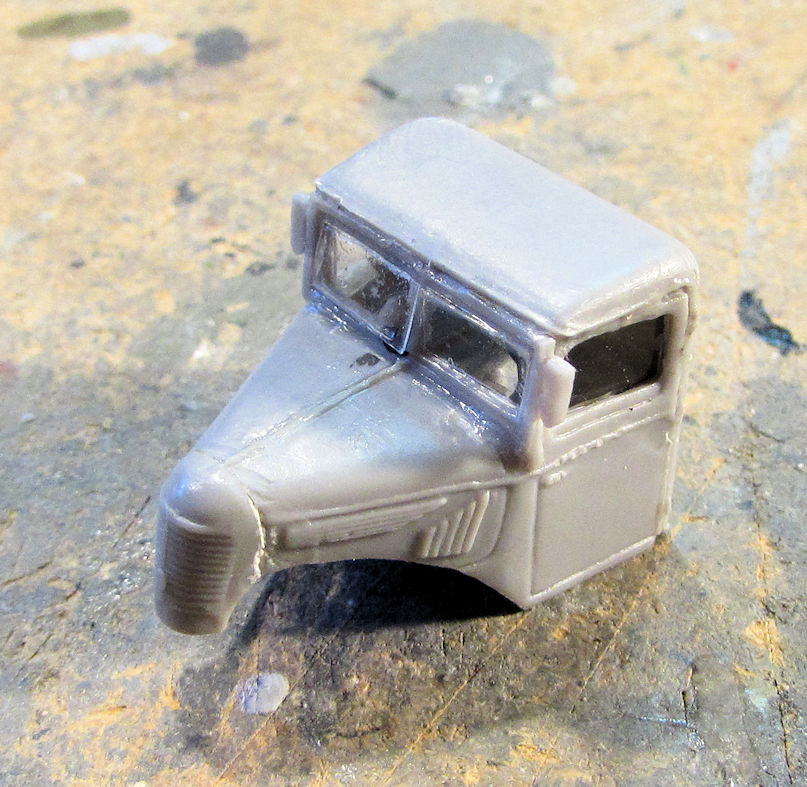
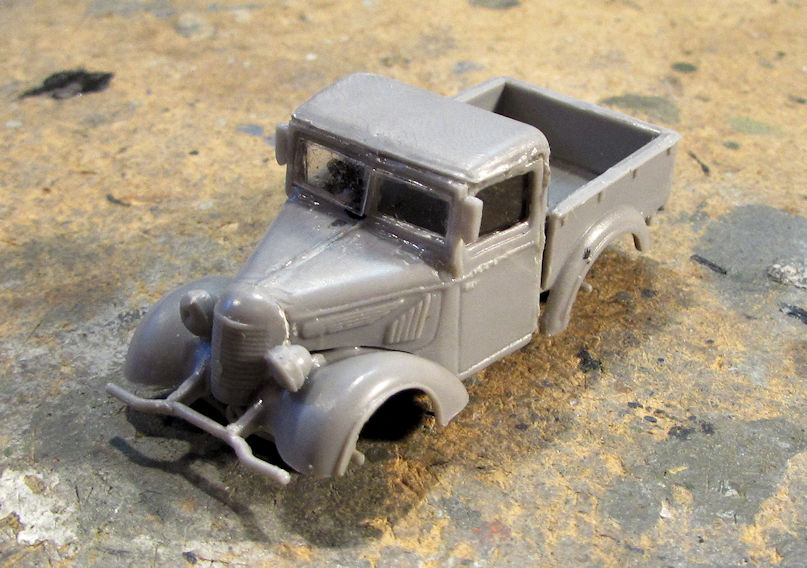
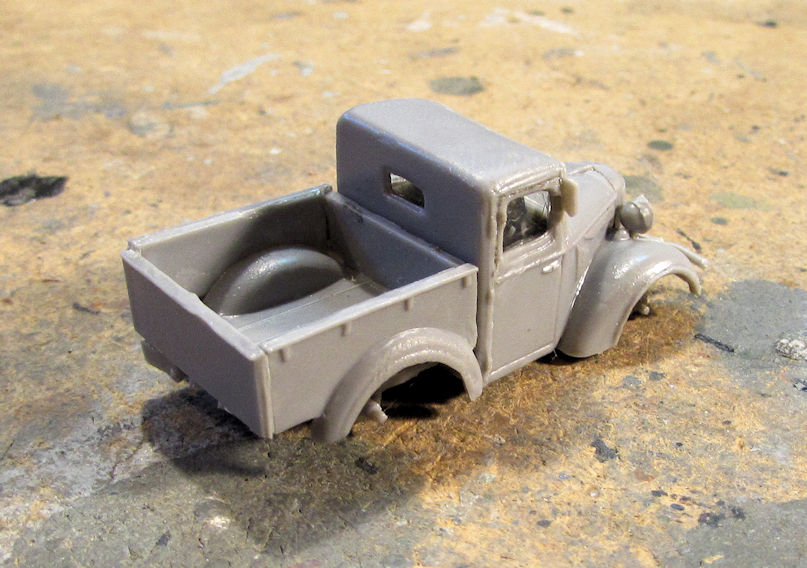
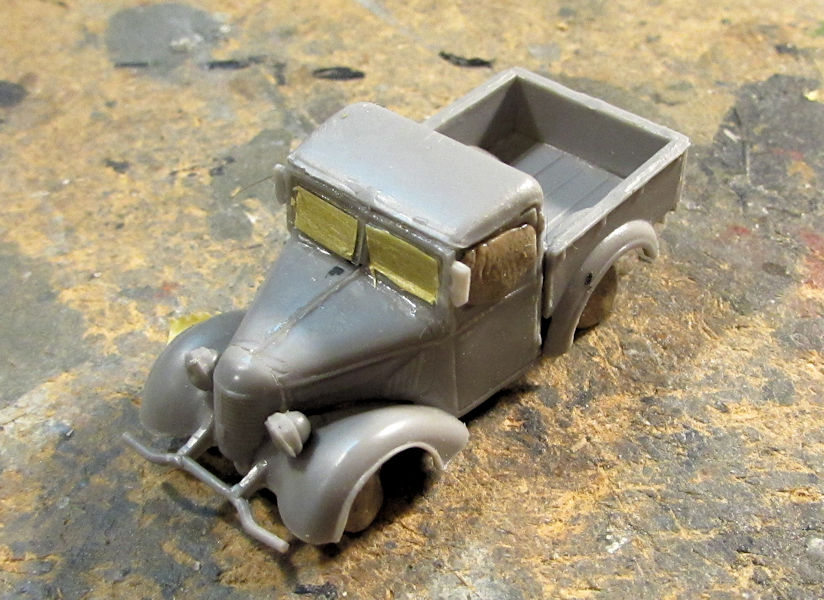
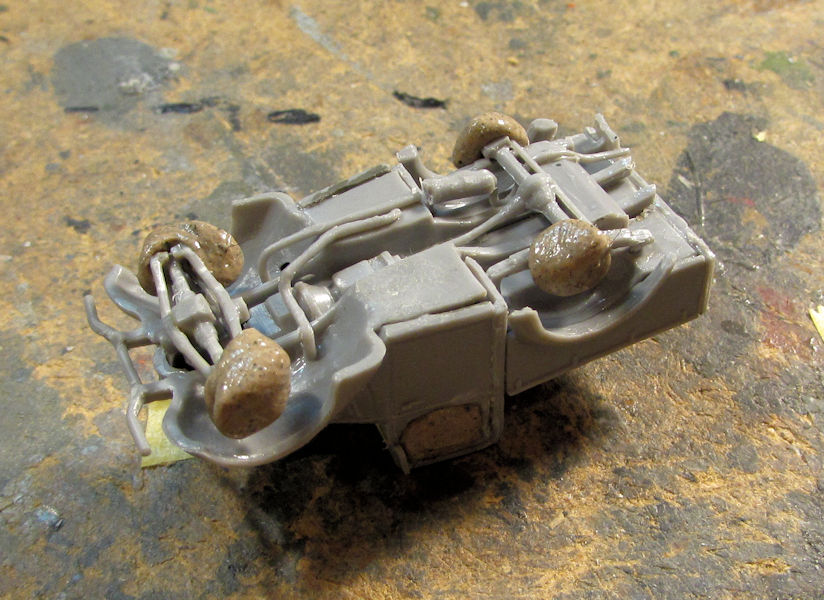
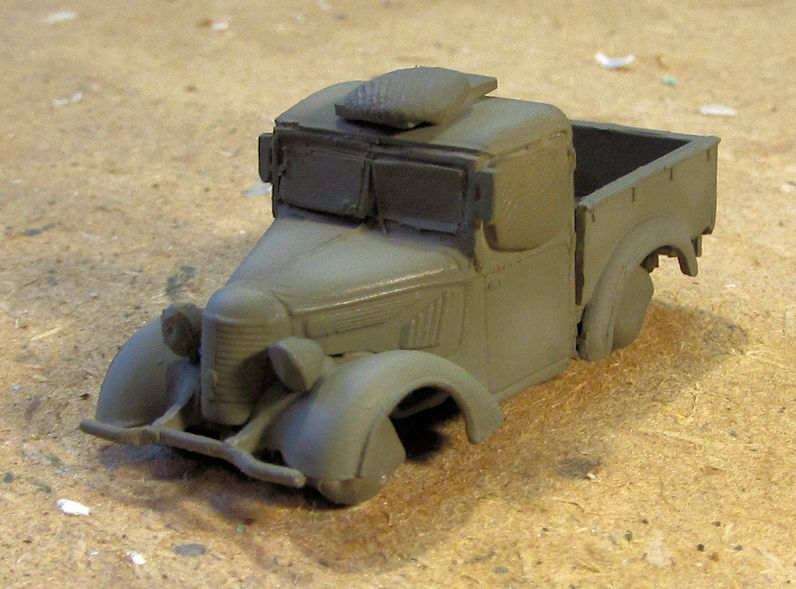
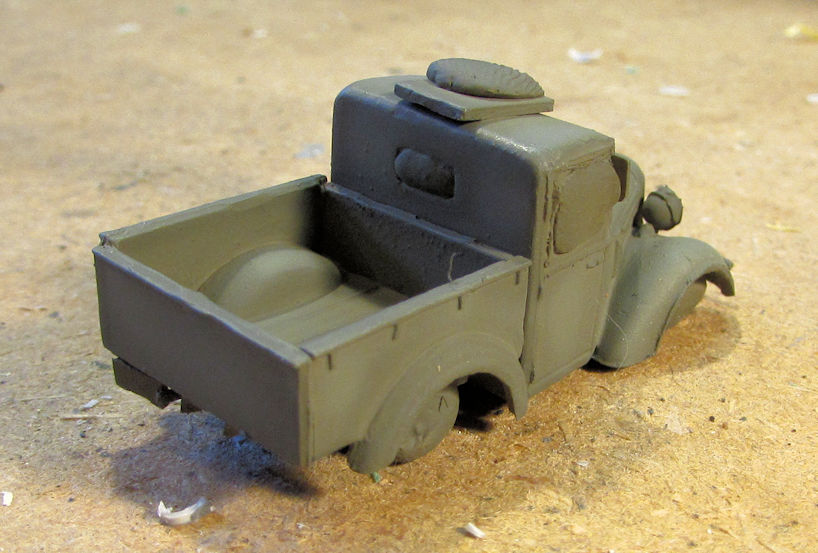
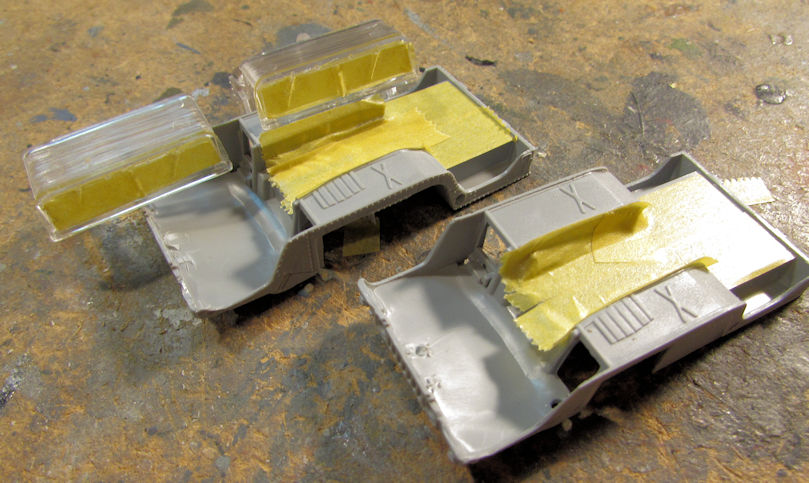
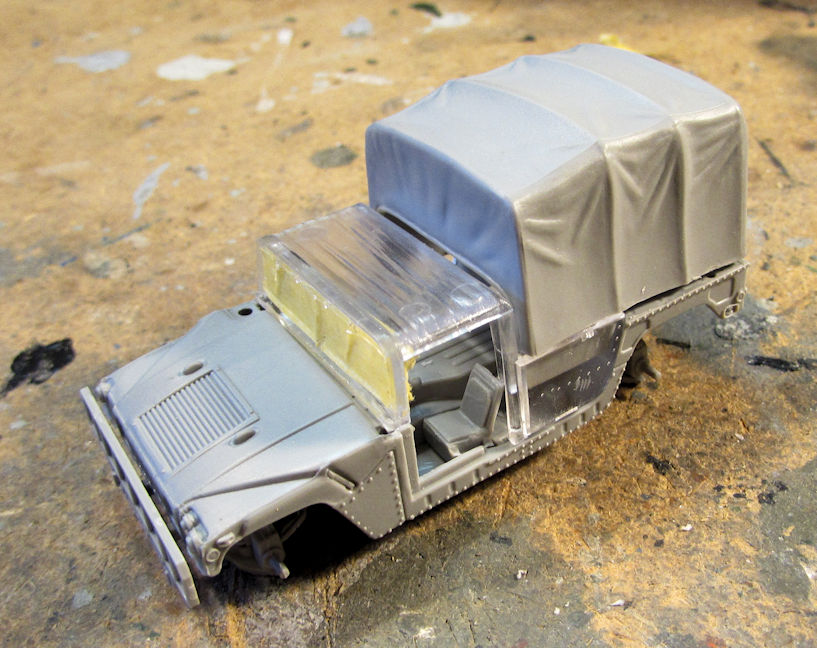
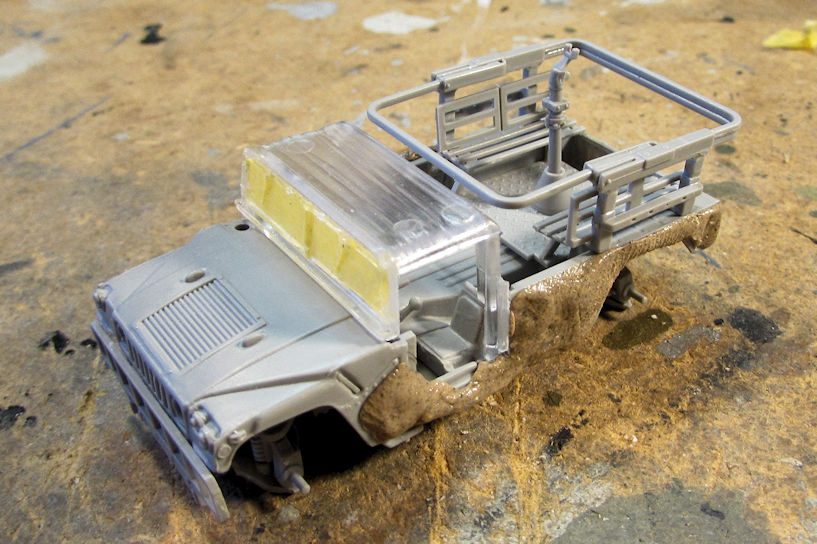
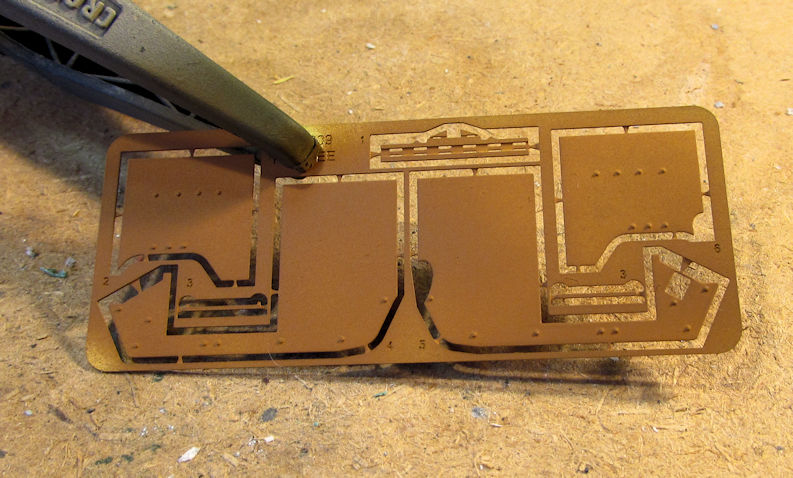
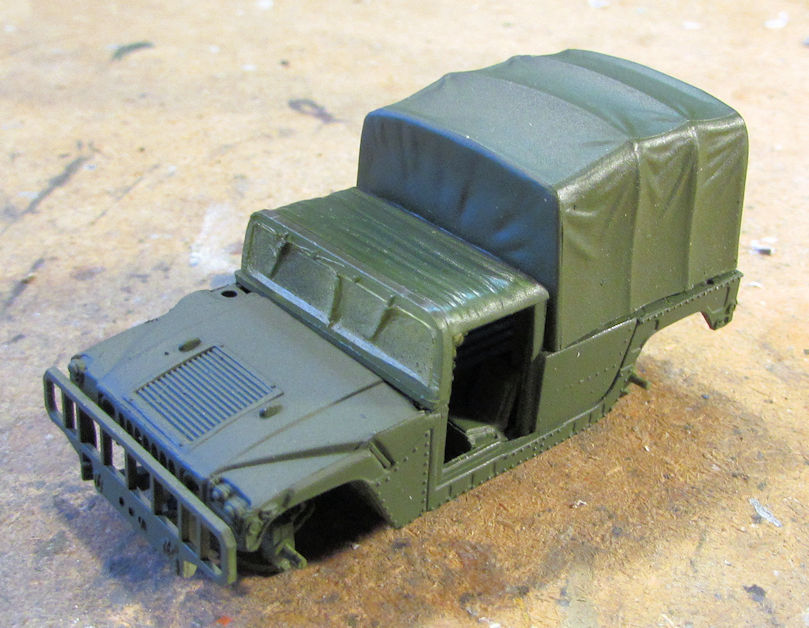
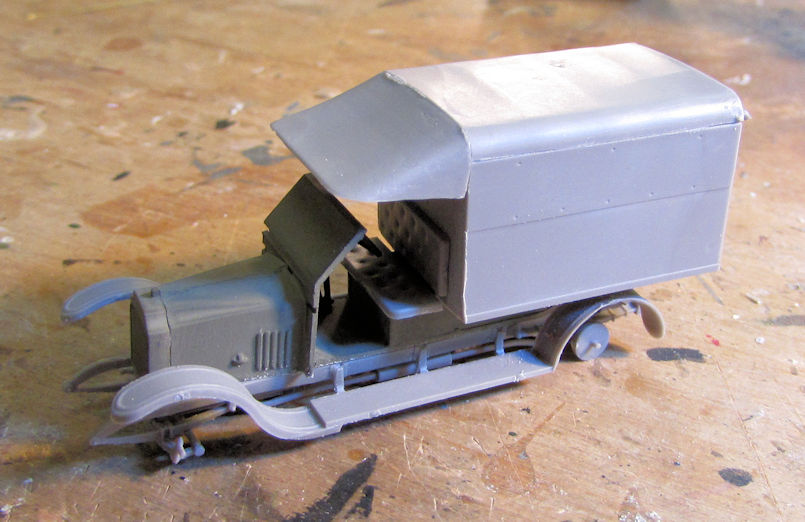
Moving on to my armor, I started out by adding the fenders and running boards to the side of my ambulance. Then I closed the rear portion of the ambulance bed and added the driver's seat cushions to the front of the ambulance. Here it is all dry-fit together. I'm gonna paint some more before I glue this all together:
Next up, I decided to take a shot at the Modelcollect BMP-3, particularly the photo-etch bar armor.
This photo-etch is extremely difficult to assemble, especially the turret armor which is what I started with. These three pieces were finally glued together properly after 15 minutes of attempting to cement a fourth P/E piece to it to make a 'box'. I had to give that up since I couldn't get one side piece to glue in place without knocking the other one off:
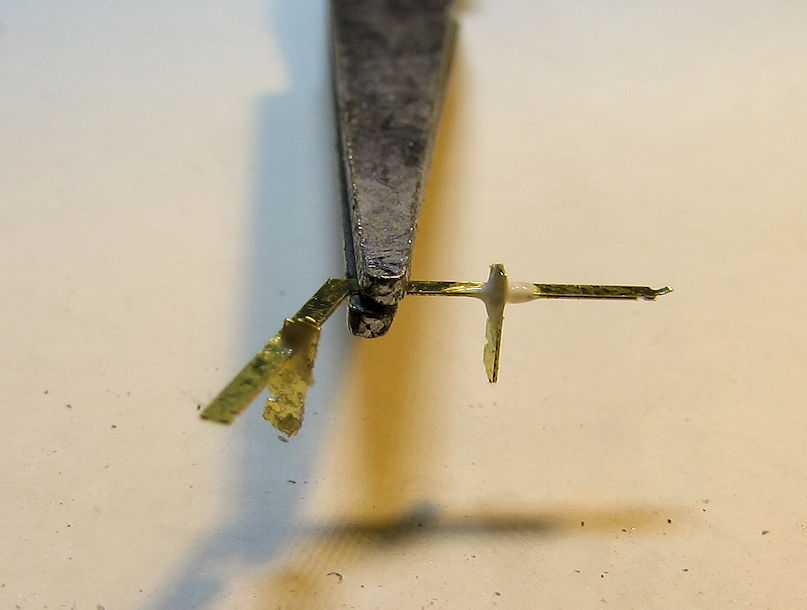
Yes, that is a set of clamping tweezers holding that three-piece assembly. This is what I got done after a total of 34 minutes working on this bar armor for the turret:
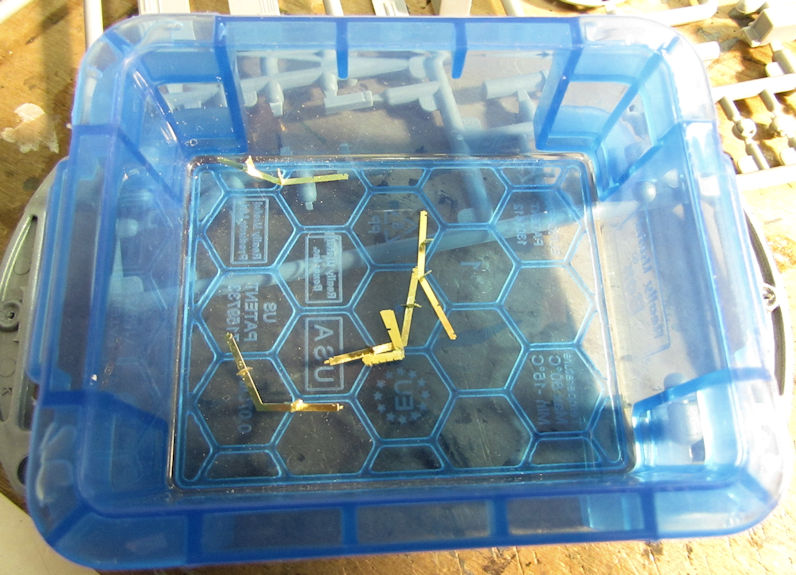
When I start this again, I think I'll invite my friend Jack (Daniels) to 'assist'.
After that, I'd had enough and so I set all that aside to set up fully. That's when I pulled out the rest of this model to add the easier P/E parts to it. I started with the turret, adding all the panels and doors:
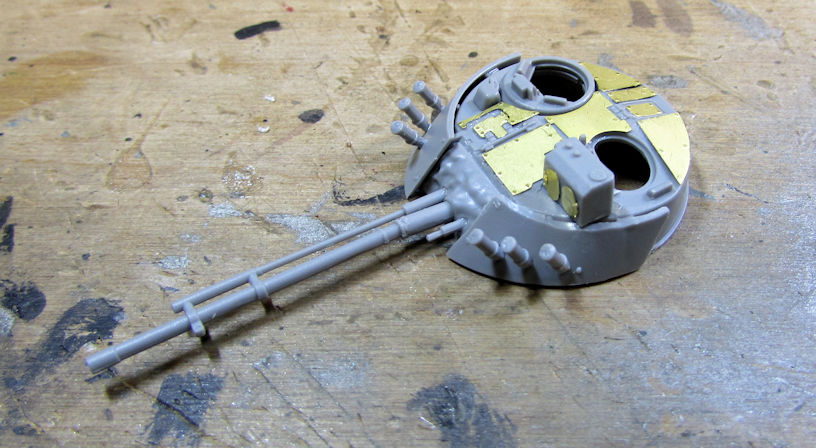
Since this turret has an interior, I assembled all that to get it ready for interior paint:
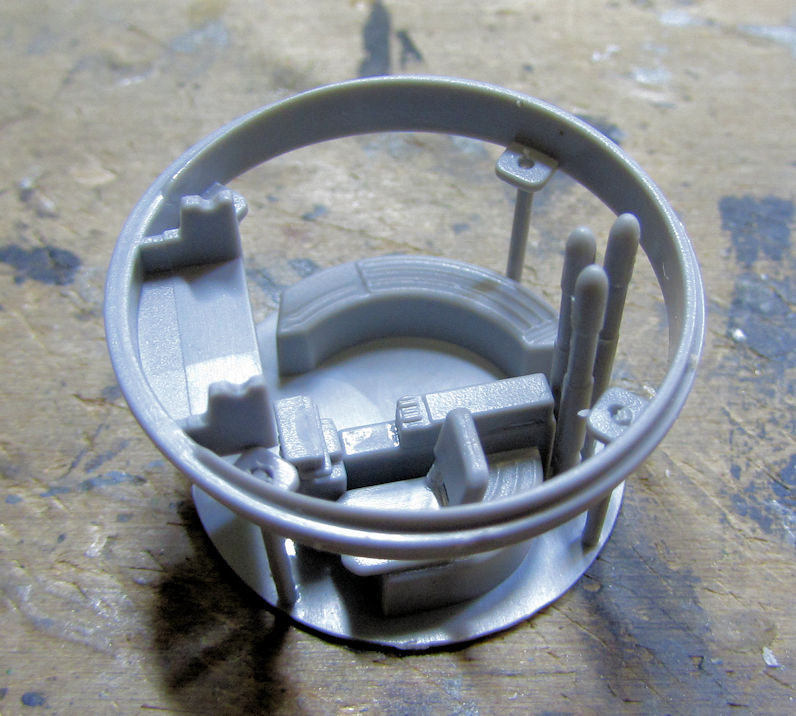
Looks pretty good. Next I dry-fit this to see how it sits and how it will look:
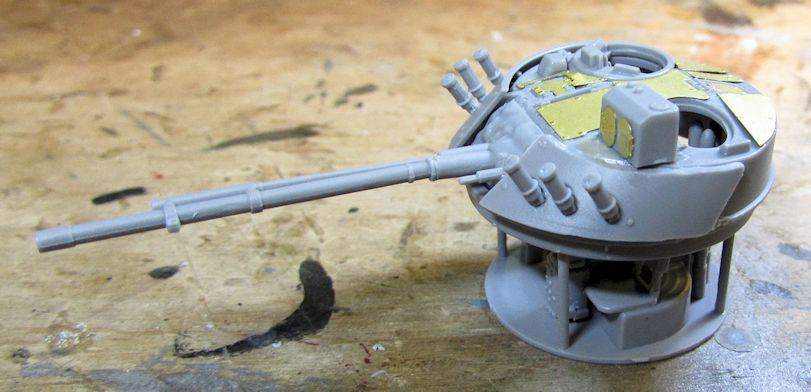
Time to find out how these vehicles look inside.....
Moving on from there, I finished assembling the upper hull, adding the sides and front fenders to this:
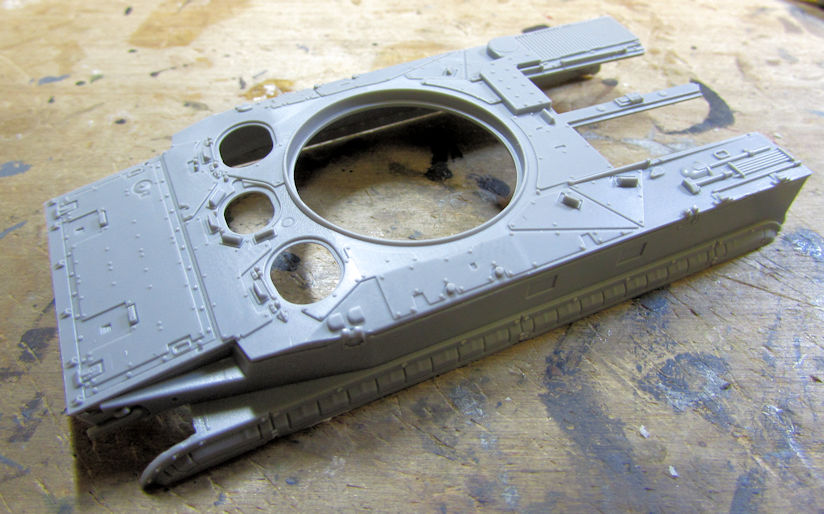
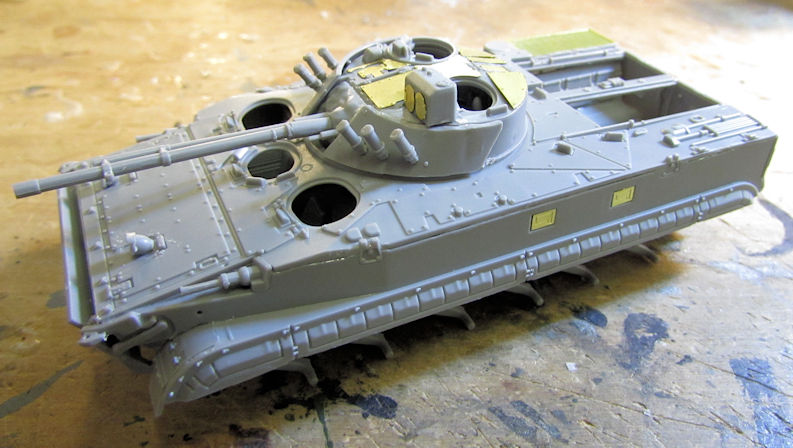
Then I dry-fit this to the lower hull to make sure it dries in the proper position so this top glues right. I also added more photo-etch to the upper hull, For fun, I also popped in the turret to see how it looks:
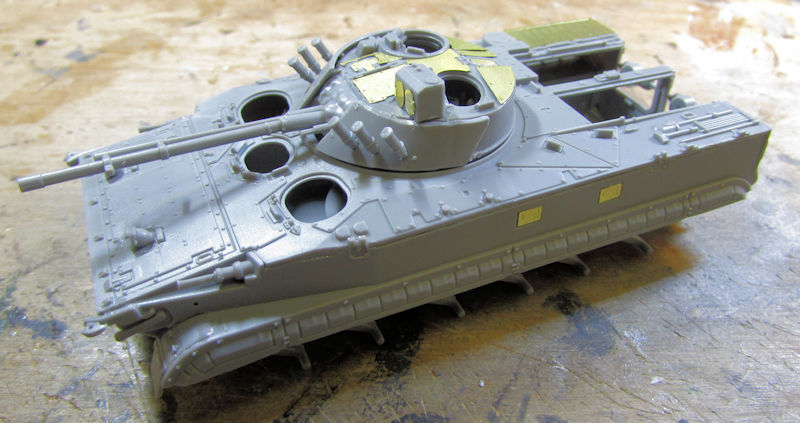
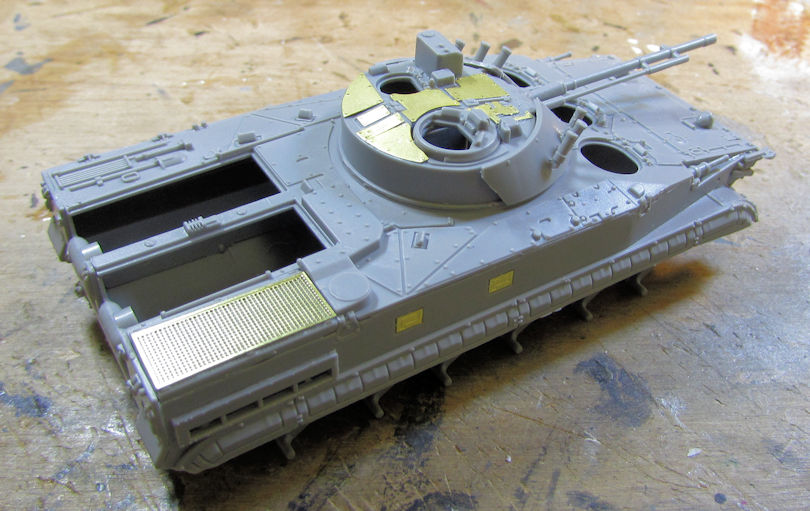
You'll note I'm leaving the hatches open; I plan on posing them open to show off whatever interior can be seen when this is done. Yes, this lower section has a full interior as well. I popped off the top when it had set enough and started building the interior:
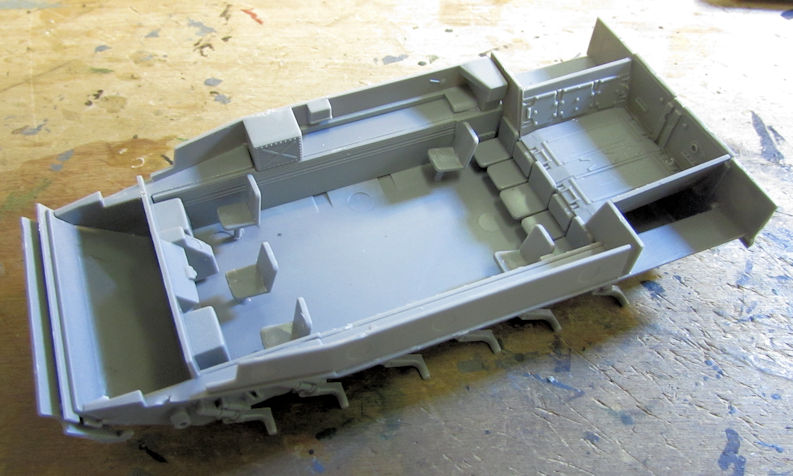
It doesn't look like much, but with some additional paint and possibly some decals for the instrument panels (if I can find something small enough and suitable enough) this should start looking better. Still, not much of the interior can be seen when the whole thing is together as you can see here:
Well, that is about all I have for now. This week coming up might allow me to do a lot of spraying so hopefully I can get a lot done by next weekend. Stay tuned for more. Meanwhile, thanks for looking in, comments are always welcome!
Once again I'll start with some aircraft. I started one aircraft and continued a second one in hopes of getting them to the paint stage so I can paint them along with about seven others on the paint staging area. Since I wanted to build something simple, I pulled out my Italeri F-16 Fighting Falcon which will be made into a single-seat Italian Falcon. Naturally, I started with the (very!) basic cockpit:

Later I added all the parts to the underside; air intake, main gear bay parts etc.:

I had also gone through and cemented all the halves of the ordinance and underwing stores to complete them and have them ready to hang under the wings when the time comes. Later, I added weight in the front of this plane as per the instructions and closed it all up. Adding the tail parts, wings and canopy has brought this to the paint stage as planned:


There is a bit of sanding and filling I do need to do; as well as masking the canopy, but this is already right where I was hoping to get it. I'm going to have a lot of time to spray this and many other models over the next couple weeks as I follow Doc's orders. I'm just hoping I can get them all done.
Moving on, I pulled out the Japanese F-2A fighter that I'd assembled the cockpit for some time back. This time, I cemented the air intake into place, assembled the rear portion of the fuselage and added the vertical tail piece:

Later I added the cockpit and painted it. With some additional weight for this as well, it was ready to close up:

After that was done, I added the canopy to this as well, closing it up for paint. All that is left again is a bit of sanding, filling and masking the canopy:

You may think that is the Italian F-16, but look closer: the main difference is in the canopy for the most part. These are two different aircraft.
I was also hoping to get further along on my EH-101 Merlin but I ran out of time.
Moving on to my armor, I started out by adding the fenders and running boards to the side of my ambulance. Then I closed the rear portion of the ambulance bed and added the driver's seat cushions to the front of the ambulance. Here it is all dry-fit together. I'm gonna paint some more before I glue this all together:

Next up, I decided to take a shot at the Modelcollect BMP-3, particularly the photo-etch bar armor.
This photo-etch is extremely difficult to assemble, especially the turret armor which is what I started with. These three pieces were finally glued together properly after 15 minutes of attempting to cement a fourth P/E piece to it to make a 'box'. I had to give that up since I couldn't get one side piece to glue in place without knocking the other one off:

Yes, that is a set of clamping tweezers holding that three-piece assembly. This is what I got done after a total of 34 minutes working on this bar armor for the turret:

When I start this again, I think I'll invite my friend Jack (Daniels) to 'assist'.
After that, I'd had enough and so I set all that aside to set up fully. That's when I pulled out the rest of this model to add the easier P/E parts to it. I started with the turret, adding all the panels and doors:

Since this turret has an interior, I assembled all that to get it ready for interior paint:

Looks pretty good. Next I dry-fit this to see how it sits and how it will look:

Time to find out how these vehicles look inside.....
Moving on from there, I finished assembling the upper hull, adding the sides and front fenders to this:

Then I dry-fit this to the lower hull to make sure it dries in the proper position so this top glues right. I also added more photo-etch to the upper hull, For fun, I also popped in the turret to see how it looks:


You'll note I'm leaving the hatches open; I plan on posing them open to show off whatever interior can be seen when this is done. Yes, this lower section has a full interior as well. I popped off the top when it had set enough and started building the interior:

It doesn't look like much, but with some additional paint and possibly some decals for the instrument panels (if I can find something small enough and suitable enough) this should start looking better. Still, not much of the interior can be seen when the whole thing is together as you can see here:

Well, that is about all I have for now. This week coming up might allow me to do a lot of spraying so hopefully I can get a lot done by next weekend. Stay tuned for more. Meanwhile, thanks for looking in, comments are always welcome!

